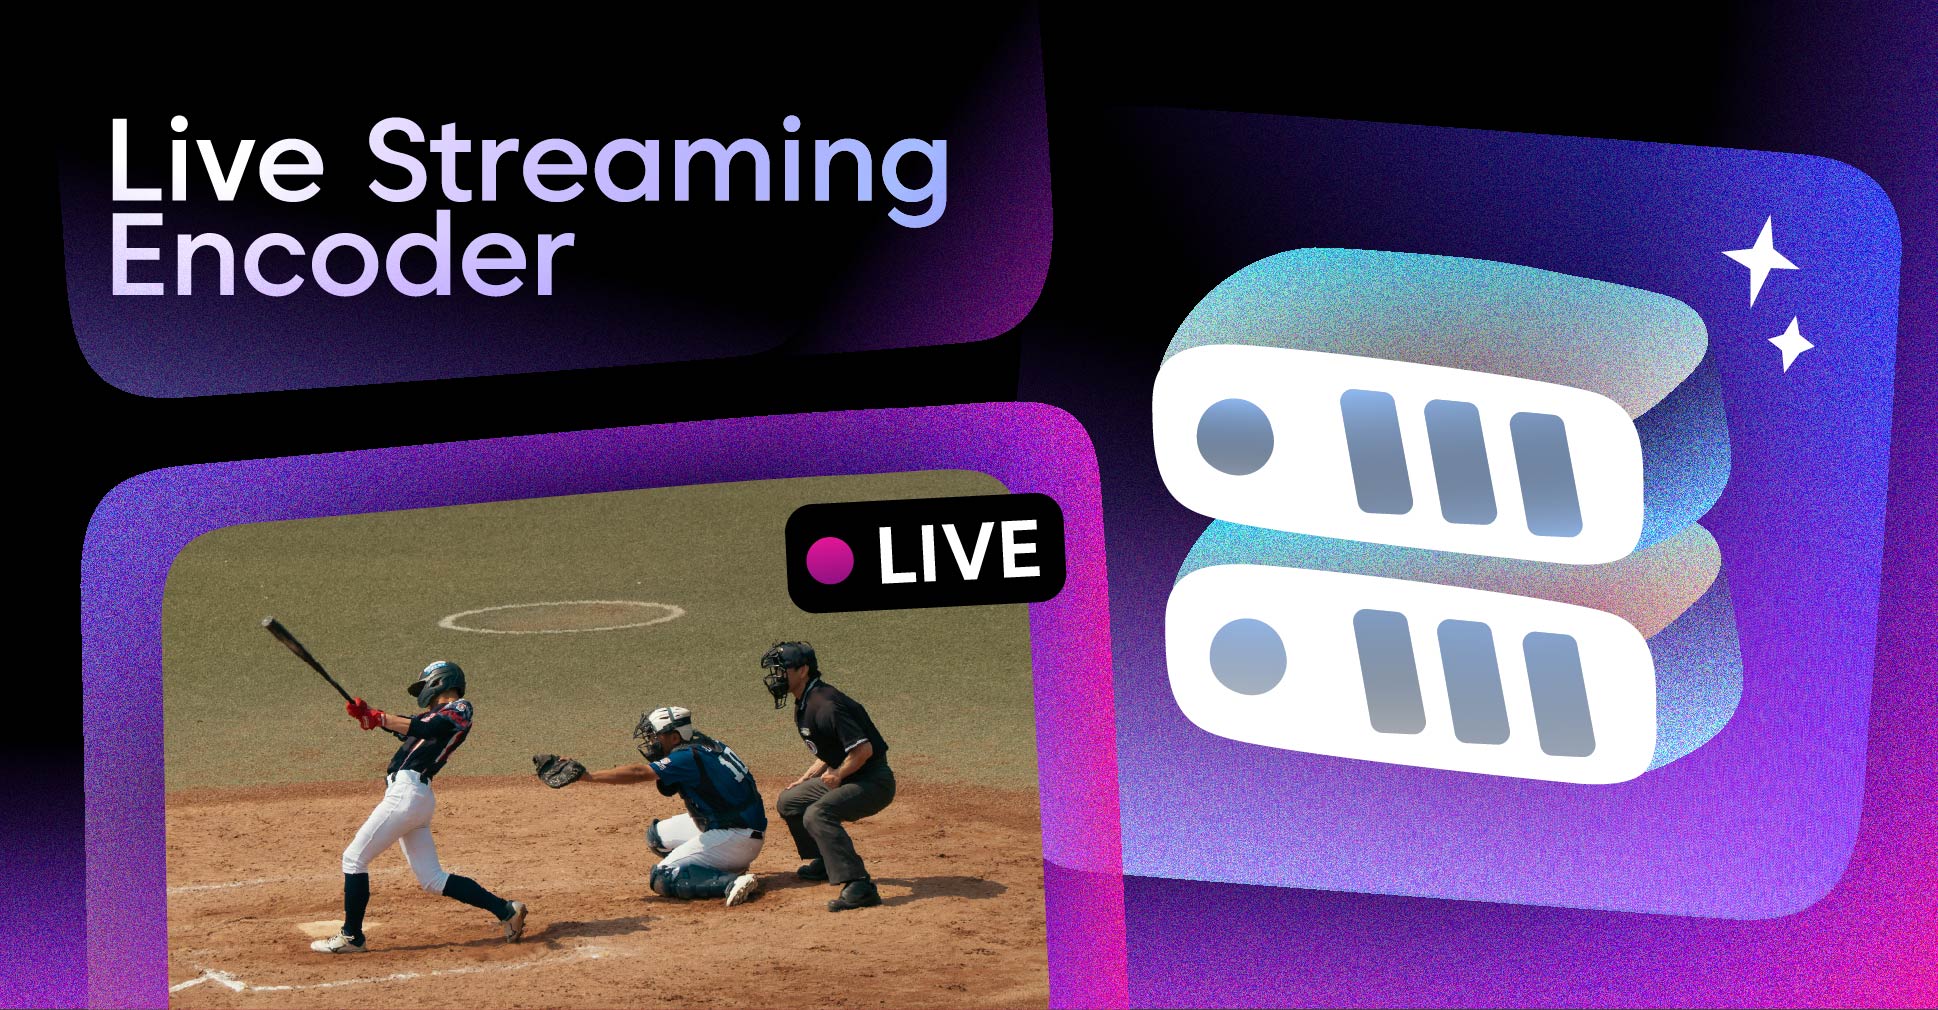
Before a single video frame reaches your viewers, your camera’s raw footage has to be compressed, packaged, and transmitted — all in real time. A live streaming encoder is what makes that happen.
Whether you’re building a live streaming application, running a corporate event, or deploying a permanent broadcast setup, understanding how encoders work shapes every architectural decision downstream. This guide covers what a live streaming encoder is, how it works under the hood, the difference between software and hardware options, the settings that actually matter, and how to connect your encoder to a streaming platform.
What Is a Live Streaming Encoder?
A live streaming encoder is a piece of software or hardware that converts raw video and audio data into a compressed digital format suitable for transmission over the internet in real time.
Your camera produces uncompressed video — at 1080p/30fps, that’s roughly 1.5 Gbps of raw data. That volume is impossible to stream directly. An encoder compresses this footage using a codec (typically H.264), wraps it in a transport protocol (RTMP or SRT), and sends it to a streaming server via your internet connection.
The terms “live streaming encoder” and “video encoder” are often used interchangeably, though “live streaming encoder” specifically refers to encoding for real-time transmission rather than file-based processing for storage.
What Is Live Video Encoding?
Live video encoding is the process of compressing and formatting raw video in real time so it can be delivered over a network to viewers. It’s the bridge between your camera signal and your audience’s screen.
Unlike offline encoding — where you convert a recorded file after the fact — live encoding has no tolerance for delay. The encoder must process each incoming frame at the capture frame rate (typically 30 or 60 fps) without falling behind. A single second of lag at the encoder shows up as buffering or dropped frames for every viewer.
The process involves three core steps:
- Capture — The encoder receives raw video and audio from your camera, capture card, or software source
- Compression — A codec (H.264 is the default) reduces file size by removing redundant visual data between frames
- Transmission — The compressed stream gets packaged and sent to a streaming server using RTMP or SRT
How Does a Live Streaming Encoder Work?
A live streaming encoder processes raw video frames, applies inter-frame compression, and continuously pushes the output to a server endpoint. Here’s what happens at each stage.
1. Input Capture
The encoder takes input from one or more sources: a camera via HDMI or SDI, a capture card, a screen capture, or a webcam. Software encoders typically accept multiple simultaneous sources and let you mix, switch, and add overlays in real time.
2. Codec Compression
The encoder applies a video codec to reduce file size. H.264 (AVC) is the industry default — supported by virtually every encoder, platform, and device. H.265 (HEVC) offers roughly 40–50% better compression at the same quality level but demands more processing power and isn’t universally supported at ingest. Newer codecs like AV1 provide even better efficiency but are rarely used for live encoding today due to computational overhead.
For audio, AAC is standard at 128–320 Kbps depending on content type.
3. Container and Protocol Packaging
The compressed video gets packaged for transmission. The two dominant protocols for live ingest are:
- RTMP — The original standard for live stream ingest. RTMP sends video over TCP and is supported by virtually every streaming platform. Despite being over two decades old, it remains the most widely supported ingest protocol.
- SRT — A newer protocol designed for reliability over unstable networks. SRT encoders use UDP with error correction and packet retransmission, making them the preferred choice for field production over public internet or cellular.
4. Ingest to Server
The packaged stream goes to a streaming server. You provide the encoder with a server URL (RTMP endpoint) and a stream key — a unique token that identifies which account and stream the data belongs to. The server then handles ingest, transcoding, and distribution to viewers.
Types of Live Streaming Encoders
Live streaming encoders fall into two broad categories: software encoders running on a computer, and hardware encoders that are dedicated physical devices.
Software Encoders
A software encoder is an application — running on Mac, Windows, or Linux — that uses your CPU or GPU to compress video in real time. Software encoders are flexible, often free, and support complex production setups with multiple scenes, overlays, and source switching.
Advantages:
– Low upfront cost (many are free or under $100/year)
– Highly configurable — change settings, scenes, and overlays instantly
– Support multiple input sources and complex production workflows
– Run on hardware you already own
Disadvantages:
– Performance depends entirely on your computer’s CPU/GPU
– Competing processes (browser, OS updates, antivirus) can cause dropped frames
– Requires a laptop or desktop to be physically present at the stream location
Popular software encoders:
| Encoder | Platform | Price | Best For |
|---|---|---|---|
| OBS Studio | Win, Mac, Linux | Free | Developers, creators, game streaming |
| Wirecast | Win, Mac | $35–$799/year | Professional multi-camera broadcast |
| vMix | Windows | $60–$1,200 (lifetime) | TV-quality production, virtual sets |
| XSplit Broadcaster | Windows | $0–$100/year | Gaming, online events |
| Streamlabs Desktop | Win, Mac | Free / $19/month | Creator-focused, interactive streams |
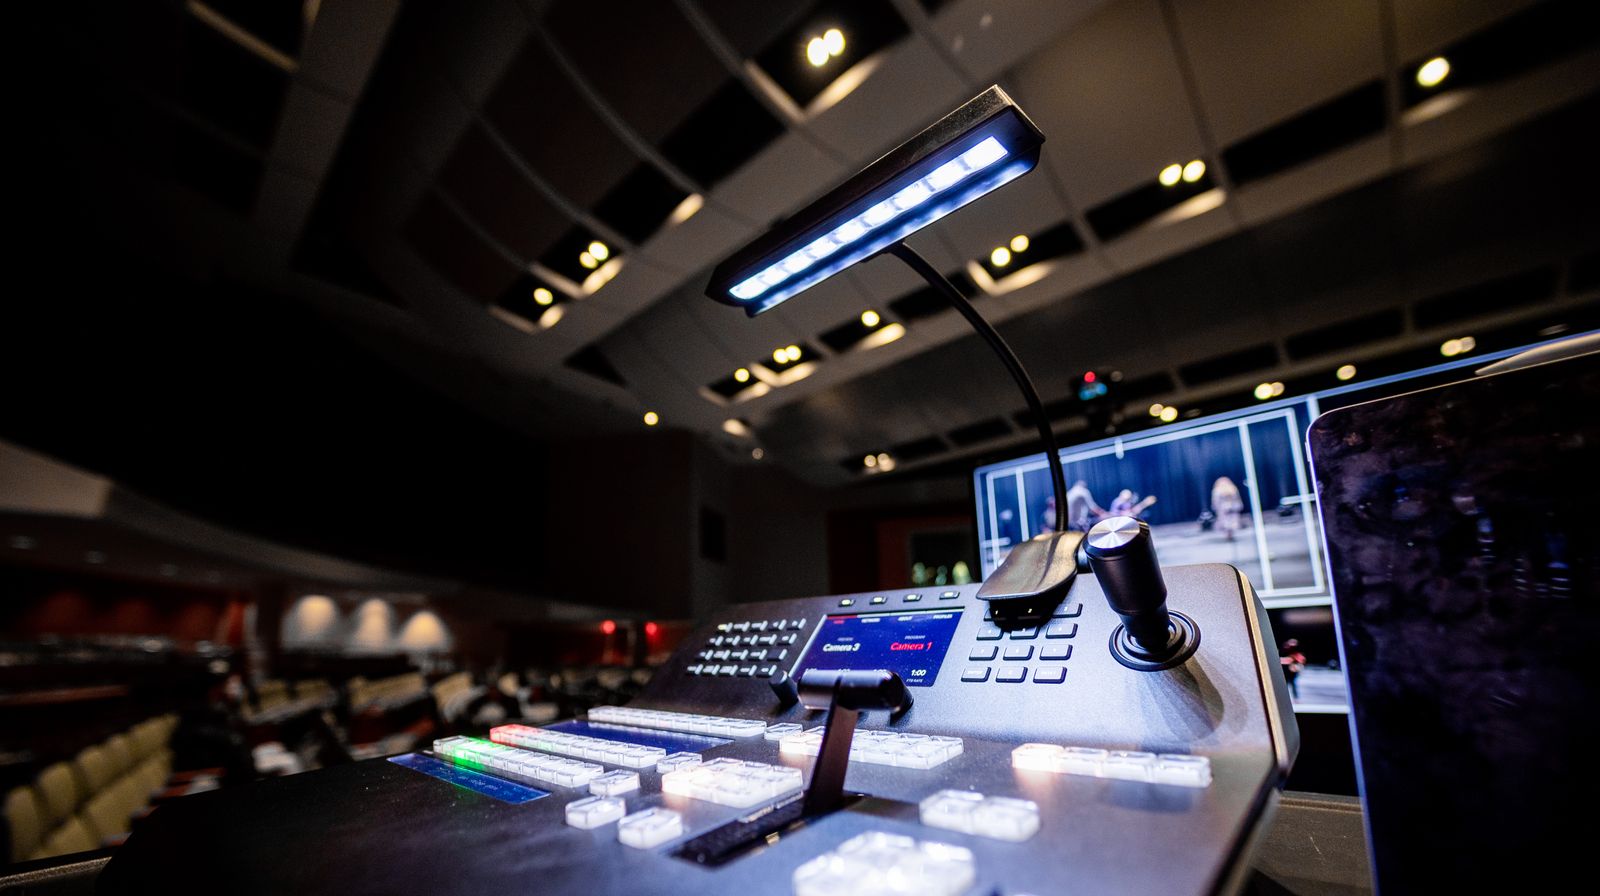
Hardware Encoders
A hardware encoder is a dedicated physical device built specifically to encode and transmit video. It handles all compression in its own chipset, fully independent of any computer.
Hardware encoders are the professional standard for live events, sports broadcasts, houses of worship, and any situation where reliability is non-negotiable. The device does one thing — encode — and does it without competing with other processes.
Advantages:
– Deterministic performance — not affected by background system load
– Runs continuously for 24+ hours without stability issues
– Lower power draw than a full workstation
– Compact for on-location deployment
– Many support direct ethernet or cellular (bonded) connectivity
Disadvantages:
– Higher upfront cost ($400–$18,000+)
– Less flexible — settings are firmware-based, overlays are limited
– Slower to update than software
Popular hardware encoders:
| Encoder | Inputs | Protocols | Price Range | Best For |
|---|---|---|---|---|
| Blackmagic ATEM Mini Pro | HDMI ×4 | RTMP, HLS | ~$400 | Small events, corporate |
| Teradek VidiU Pro | HDMI, SDI | RTMP, SRT | ~$1,500 | Field production, sports |
| LiveU Solo Pro | HDMI, SDI | RTMP, SRT, HLS | ~$1,800 | Mobile broadcast, journalism |
| Magewell Ultra Stream | HDMI, SDI | RTMP, SRT, RTSP | ~$500 | Events, houses of worship |
| Epiphan Pearl-2 | HDMI, SDI, DVI | RTMP, SRT, RTSP | $6,000+ | Enterprise, multi-camera |
HDMI Live Streaming Encoders
A specific subcategory worth calling out: HDMI streaming encoders are compact hardware devices that accept HDMI input and output a network stream directly. They’re popular for AV installations, church livestreams, and conference rooms because they require no computer — just power, HDMI in, and ethernet out.
Devices like the Magewell Ultra Stream HDMI and similar units from URayCoder start around $150–$500 and typically support RTMP and SRT output. They’re the simplest path from a camera to a streaming endpoint without any software configuration.
Software Encoder vs. Hardware Encoder: How to Choose
| Factor | Software Encoder | Hardware Encoder |
|---|---|---|
| Cost | Low ($0–$800) | Medium–High ($400–$18,000+) |
| Reliability | Depends on host machine | Deterministic, purpose-built |
| Flexibility | High (scenes, plugins, overlays) | Low–Medium (firmware-based) |
| Portability | Requires laptop | Compact, standalone |
| CPU/GPU load | High | None (dedicated chip) |
| Setup complexity | Moderate | Low (web interface) |
| Multi-source mixing | Yes | Limited |
| Best for | Developers, creators, events teams | Broadcast, permanent installs, field |
Choose a software encoder if: You’re building a developer integration, running ad hoc streams, need multi-source switching and overlays, or are working within a tight budget. A laptop with OBS and a good camera gets you to broadcast quality for almost no cost.
Choose a hardware encoder if: You’re running long-duration streams (8+ hours), streaming from the field over cellular, deploying a permanent installation (church, conference room, stadium), or operating in a context where a crashed stream has real consequences.
Key Encoder Settings for Live Streaming
Getting encoder settings right determines stream quality, bandwidth usage, and viewer experience. These are the parameters that matter most.
Video Codec
Use H.264 for ingest unless your platform explicitly supports H.265. H.264 is universally accepted, computationally efficient, and well-understood by every CDN and transcoding system. H.265 offers better compression but adds CPU overhead and reduces platform compatibility at the ingest stage. The transcoding layer (not your encoder) is where codec efficiency gains matter most for viewer delivery.
Bitrate
Bitrate controls how much data you transmit per second. Higher bitrate means better quality but requires more upload bandwidth. Use Constant Bitrate (CBR) for live streaming — variable bitrate (VBR) causes buffer instability on RTMP servers.
Recommended bitrates by resolution:
| Resolution | Frame Rate | Recommended Bitrate | Min Upload Speed |
|---|---|---|---|
| 480p | 30 fps | 1,000–2,000 Kbps | 2.5 Mbps |
| 720p | 30 fps | 2,500–4,000 Kbps | 5 Mbps |
| 1080p | 30 fps | 4,500–6,000 Kbps | 8 Mbps |
| 1080p | 60 fps | 6,000–9,000 Kbps | 12 Mbps |
| 4K | 30 fps | 20,000–51,000 Kbps | 65+ Mbps |
YouTube’s encoder settings documentation is a reliable reference for platform-specific bitrate requirements and serves as an industry baseline.
Your encoder only needs to send one quality level — the streaming platform handles adaptive bitrate streaming by transcoding your single input into multiple renditions (1080p, 720p, 480p) for viewers with different connections.
Resolution
Match your output resolution to your content and your audience’s likely connection speed. 1080p/30fps is the safe default for professional streams. For a global audience with mixed connectivity, a stable 720p stream often beats a 1080p stream that buffers.
Keyframe Interval
The keyframe interval (also called GOP size — Group of Pictures) sets how frequently the encoder outputs a complete frame rather than a difference frame. For live streaming, set this to 2 seconds. This is the standard requirement for RTMP ingest and ensures the server can accurately seek and segment your stream.
Audio Settings
- Codec: AAC (not MP3 — most platforms don’t accept MP3 audio at RTMP ingest)
- Sample rate: 44,100 Hz or 48,000 Hz
- Bitrate: 128 Kbps minimum; 192–320 Kbps for music or events with audio quality requirements
- Channels: Stereo
How to Connect Your Encoder to a Streaming Platform
Connecting an encoder involves three steps regardless of whether you’re using software or hardware.
Step 1: Get Your RTMP Endpoint and Stream Key
From your live streaming API or platform dashboard, retrieve:
– Server URL — e.g., rtmp://ingest.example.com/live
– Stream key — a unique token identifying your stream session
Step 2: Configure Encoder Output
In OBS Studio:
1. Go to Settings → Stream
2. Set service to Custom
3. Enter the Server URL
4. Paste your Stream Key
For hardware encoders, access the web interface via the device’s local IP address and enter the same values.
Set your output parameters:
Video codec:       H.264
Audio codec:       AAC
Video bitrate:     5,000 Kbps (1080p/30fps)
Audio bitrate:     192 Kbps
Keyframe interval: 2 seconds
Rate control:      CBR
For SRT ingest, the configuration looks like:
Protocol:   SRT
Host:       srt-ingest.yourplatform.com
Port:       9998
Latency:    120ms (increase for high-latency networks)
Mode:       Caller
Stream ID:  your-stream-id
SRT includes built-in packet retransmission, so it handles packet loss on unstable connections that would cause RTMP to stutter or disconnect. For more on the protocol differences, see our SRT vs. RTMP comparison.
Step 3: Go Live
Start your encoder. Your streaming platform’s ingest endpoint receives the stream, and your live streaming setup handles distribution from there.
Your encoder handles capture and compression. What happens next — ingest, transcoding, packaging, and CDN delivery — is the job of your streaming infrastructure.
What Happens After the Encoder: Streaming Infrastructure
Once your encoder sends the RTMP or SRT stream to a server, the streaming infrastructure takes over. For viewers to actually watch your stream, the following happens on the server side:
- Ingest — The server receives and validates the incoming RTMP/SRT stream
- Transcoding — The stream gets re-encoded into multiple quality levels (1080p, 720p, 480p, 360p) — this is separate from what your encoder does
- Packaging — The transcoded video gets segmented into HLS or DASH chunks for viewer delivery
- CDN distribution — HLS segments are pushed to CDN edge nodes globally so viewers get the nearest copy
- Playback — An embeddable player requests the HLS manifest and adapts quality based on the viewer’s connection
Your encoder doesn’t interact with steps 2–5. From its perspective, it sends one stream to one endpoint. The platform handles everything else.
LiveAPI’s live streaming infrastructure accepts streams via RTMP and SRT, automatically handles transcoding and adaptive bitrate packaging, and delivers content through CDN partnerships with Akamai, Cloudflare, and Fastly. You get RTMP and SRT ingest endpoints ready immediately — no server configuration required.
// Create a live stream and get RTMP ingest details via LiveAPI
const sdk = require('api')('@liveapi/v1.0#5pfjhgkzh9rzt4');

sdk.post('/live-streams', {
  name: 'My Live Event',
  record: true
})
.then(res => {
  console.log('RTMP endpoint:', res.data.rtmp_url);
  console.log('Stream key:', res.data.stream_key);
  // Paste these values into OBS, Wirecast, or any hardware encoder
})
.catch(err => console.error(err));
This returns an RTMP endpoint and stream key you configure directly in your encoder — software or hardware.
Is a Live Streaming Encoder Right for Your Setup?
Not every streaming scenario requires a dedicated standalone encoder. Here’s a quick decision framework:
Use a software encoder (like OBS) if:
– You’re streaming from a desktop or laptop
– You need scene switching, overlays, or multi-source mixing
– You’re a developer building and testing a streaming integration
– Budget is a primary constraint
Use a hardware encoder if:
– You’re running a permanent or semi-permanent installation
– You’re streaming for 6+ continuous hours
– You’re broadcasting from the field over cellular or satellite
– Reliability outweighs flexibility in your requirements
Use a cloud-based video encoding workflow if:
– You’re building a streaming platform or app for end users
– You need programmatic stream control (start, stop, record, multistream)
– You want to avoid managing ingest server infrastructure entirely
– You’re scaling to many concurrent streams
One important architectural note: encoders always send a single-quality stream. To serve viewers on different devices and connections without buffering, you need server-side adaptive bitrate streaming — where a transcoding layer creates multiple renditions from your single encoder input. Your encoder doesn’t need to handle that; your streaming platform does. Our guide on streaming bitrates covers bitrate selection for each rendition in detail.
Live Streaming Encoder FAQ
Do you always need an encoder to live stream?
For most platforms, yes. Consumer apps like Instagram Live or TikTok Live have encoders built into the app, so users never see them. But when streaming to YouTube, Twitch, a custom RTMP endpoint, or any professional platform, you need an encoder — either software on your computer or a hardware device. Without one, you have no way to compress raw camera data into a transmittable format.
What is the best live streaming encoder for beginners?
OBS Studio is the most widely used starting point. It’s free, open source, runs on Windows, Mac, and Linux, and outputs to any RTMP or SRT endpoint. The interface has a learning curve, but the community documentation is extensive. If you want a simpler setup, Streamlabs Desktop builds on OBS with a more creator-friendly interface and comes with built-in alerts and stream widgets.
What’s the difference between encoding and transcoding?
Encoding converts raw video (from a camera) into a compressed digital format — it’s the first compression step at the source. Transcoding takes an already-encoded stream and re-encodes it, typically to generate multiple quality levels for adaptive bitrate delivery. Your encoder encodes once and sends one quality level; the streaming server transcodes to create the 1080p, 720p, and 480p renditions viewers receive.
What bitrate should I use for 1080p live streaming?
For 1080p at 30fps, use 4,500–6,000 Kbps with H.264 in CBR mode. For 1080p at 60fps, use 6,000–9,000 Kbps. Make sure your actual upload speed (not advertised speed) is at least 1.5× your target bitrate to absorb network variability. Running a speed test during peak hours at your stream location is more reliable than trusting your plan’s spec sheet.
What’s the difference between a codec and an encoder?
A codec (H.264, H.265, AV1) is the compression algorithm. An encoder is the software or hardware that runs the codec. OBS Studio is an encoder; H.264 is the codec it uses to compress video. Think of the codec as the recipe and the encoder as the system that executes it. For more detail, see our guide on encoding for developers.
What is a keyframe interval and why does it matter?
A keyframe (I-frame) is a complete video frame rather than a difference from the previous frame. The keyframe interval sets how often these appear. For live streaming, a 2-second keyframe interval is the standard RTMP ingest requirement. Too long an interval makes seeking inaccurate; too short increases bandwidth without meaningful quality improvement. Most streaming platforms reject streams with keyframe intervals longer than 4 seconds.
Can I use one encoder to stream to multiple platforms at once?
Not directly — most encoders support a single RTMP output destination. To simultaneously reach YouTube, Twitch, Facebook, and other platforms, you need a multistreaming service that receives your single encoder output and rebroadcasts it. Check our guide on how to stream to multiple platforms for a detailed walkthrough of the workflow.
What protocol should I use: RTMP or SRT?
RTMP works for most use cases — stable wired networks, office environments, dedicated internet connections. Use SRT when streaming from unreliable networks — mobile data, public Wi-Fi, satellite, or bonded cellular — because SRT includes built-in error correction and packet retransmission. Most modern hardware encoders and recent versions of OBS support both protocols. See our SRT protocol guide for implementation details.
How much upload speed do I need to live stream?
For 1080p/30fps at 5,000 Kbps, plan for at least 7–8 Mbps upload speed under real conditions. The general rule: your actual upload speed should be 1.5–2× your encoder’s target bitrate to handle network variance without dropped frames. Always test from the specific network location you’ll stream from — not from a different office or home connection.
What is an HDMI streaming encoder?
An HDMI live streaming encoder is a compact hardware device that accepts HDMI video input and outputs a network stream directly over ethernet or Wi-Fi. They require no computer — just HDMI in and ethernet out. Devices in this category start around $150 and are popular for AV installations, church livestreams, and conference room setups. Most support RTMP and SRT output to any compatible streaming endpoint.
Choosing Your Live Streaming Encoder
A live streaming encoder is the entry point to every broadcast — the thing that turns raw camera footage into a stream your infrastructure can actually work with. For most developers and small teams, a software encoder like OBS on a decent machine handles everything you need. For permanent installations and mission-critical broadcasts, a hardware encoder eliminates the variables that cause streams to drop.
Once your encoder is configured, the bigger question is what happens after ingest: transcoding, adaptive bitrate packaging, CDN delivery, and playback all sit on the platform side, not in your encoder. Choosing infrastructure that handles those steps automatically lets you focus on the product instead of the pipeline.
Get started with LiveAPI — accept RTMP and SRT streams from any encoder, with built-in transcoding, adaptive bitrate delivery, and global CDN distribution included.