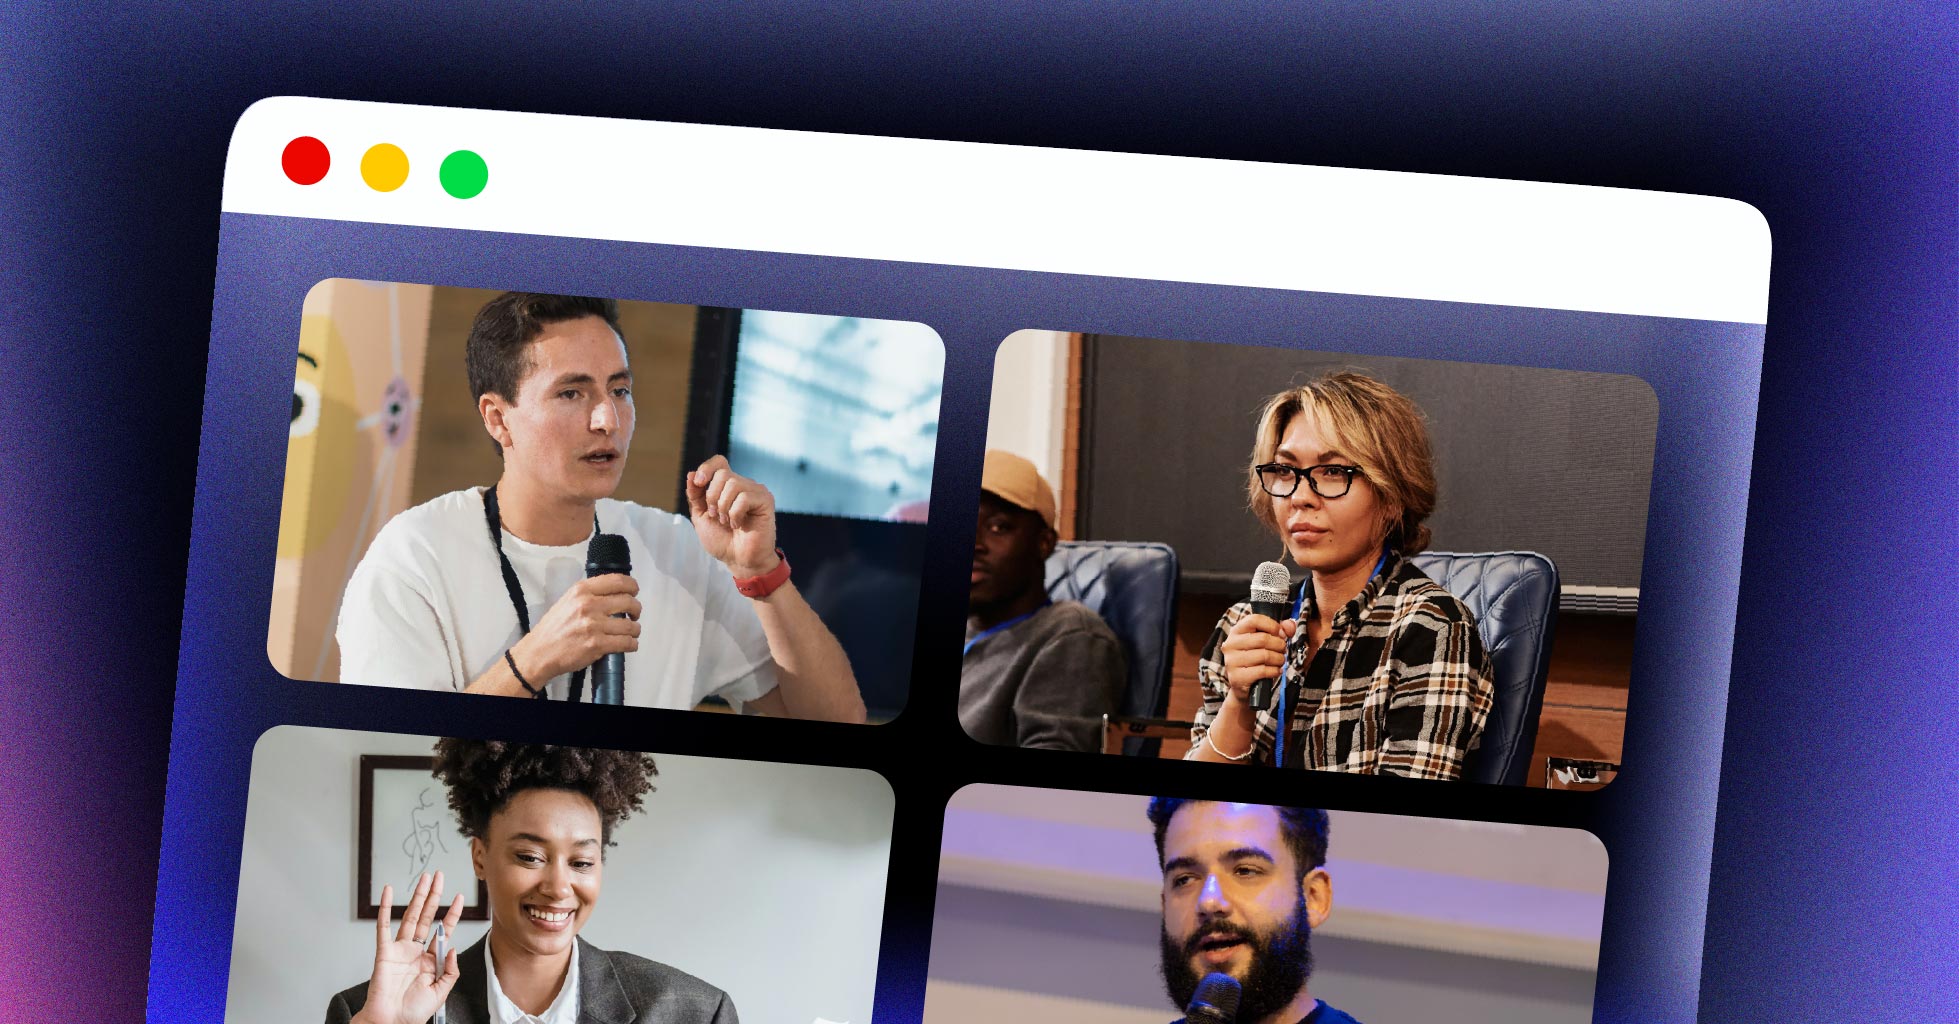
Video chat, screen sharing, and live audio all run on the same browser technology: WebRTC. Pair it with React and you get a component-driven way to build real-time features that work in the browser with no plugins and no third-party player.
The catch is that WebRTC and React don’t naturally fit together. WebRTC is an imperative, event-driven API built around long-lived connection objects. React wants declarative components and predictable renders. Getting them to cooperate (media streams in refs, peer connections in effects, signaling over a socket) is where most developers get stuck.
This article walks through WebRTC in React from the ground up: the core concepts, a working peer-to-peer video call with code, hooks patterns to keep it clean, the libraries worth knowing, and what to do when peer-to-peer stops scaling.
What Is WebRTC in React?
WebRTC (Web Real-Time Communication) is a browser API that lets two devices exchange audio, video, and arbitrary data directly, peer to peer, without routing media through a server. It’s built into every modern browser, so a React app can capture a camera, open a connection to another user, and stream video with nothing installed on either end.
React is the UI layer. It doesn’t know anything about media or connections. You use React to render the video elements, manage call state, and drive the WebRTC APIs from inside components. The pattern is consistent: WebRTC objects like RTCPeerConnection and MediaStream live outside React’s render cycle (usually in useRef), and React reacts to events they fire.
To learn the protocol itself in depth, see what is WebRTC. This guide focuses on wiring it into a React app.
Here’s the split in practice:
| Concern | Owned by WebRTC | Owned by React |
|---|---|---|
| Camera and mic access | getUserMedia() |
Trigger it, store the stream in a ref |
| Peer connection | RTCPeerConnection |
Create in an effect, clean up on unmount |
| Media rendering | Produces a MediaStream |
Attach stream to a <video> element |
| Call state (ringing, connected) | Fires connection events | Hold state, re-render UI |
| Signaling | Not included; you build it | Send/receive over a socket |
Why Use WebRTC With React
React’s component model maps well to real-time UIs. A call screen is a set of video tiles, controls, and status indicators, exactly what components are good at. A few reasons the pairing works:
- Reusable call components. A
<VideoTile>or<CallControls>component can be dropped into any screen and driven by props. - Hooks encapsulate the mess. A custom
useWebRTChook hides connection setup, cleanup, and event wiring behind a clean interface. - State-driven UI. Mute status, connection quality, and participant lists live in React state, so the UI stays in sync with the call automatically.
- One codebase, web and mobile. The same mental model carries to React Native, so teams reuse patterns across platforms.
The trade-off: WebRTC’s lifecycle doesn’t match React’s. Connections outlive renders, events fire outside React’s control, and forgetting to clean up leaks camera access. The patterns below exist to handle exactly that.
Core WebRTC Concepts Every React Developer Needs
Before writing components, you need four building blocks. Each one shows up in the code later.
getUserMedia captures local audio and video. It returns a MediaStream you attach to a <video> element and add to the peer connection.
RTCPeerConnection is the connection between two peers. It handles encoding, network traversal, and media transport. You create one per remote participant.
Signaling is how two peers find each other and agree on connection details. WebRTC does not provide this. You build it yourself, usually with WebSockets or Socket.IO. Peers exchange session descriptions (offer/answer) and network routes (ICE candidates) through the signaling channel. A dedicated WebRTC signaling server covers the protocol in detail.
ICE, STUN, and TURN solve the networking problem. Most devices sit behind routers using NAT, so their real address isn’t reachable. A STUN server tells a peer its public address; a TURN server relays media when a direct connection can’t be made. The whole discovery process is called NAT traversal.
| Concept | What it does | React responsibility |
|---|---|---|
getUserMedia() |
Captures camera/mic | Call it, store stream in a ref |
RTCPeerConnection |
Connects two peers | Instantiate, wire events, clean up |
| Signaling | Exchanges offers, answers, ICE | Send/receive over your socket |
| STUN/TURN | Finds a reachable path | Pass server URLs in config |
| ICE candidates | Possible network routes | Relay each one via signaling |
| Data channel | Sends arbitrary data peer-to-peer | Open it, handle messages |
One more concept worth knowing: the data channel. Alongside audio and video, a peer connection can open an RTCDataChannel for arbitrary data (chat messages, file transfers, game state) sent directly between browsers. If you only need data and not media, compare the approaches in WebRTC vs WebSocket.
How WebRTC Works in a React App
The connection handshake follows a fixed sequence. Understanding the order makes the code readable.
- Capture media. Each peer calls
getUserMedia()and shows its local video. - Create the connection. Each peer instantiates an
RTCPeerConnectionwith STUN/TURN config and adds its local tracks. - Caller creates an offer. It calls
createOffer(), sets it as the local description, and sends it through signaling. - Callee answers. It sets the offer as its remote description, calls
createAnswer(), and sends the answer back. - Trade ICE candidates. As each side discovers network routes, it fires
onicecandidateand relays them over signaling. The other side adds them. - Media flows. Once a route is agreed,
ontrackfires with the remote stream, and React attaches it to a<video>element.
Everything before step 6 goes through your signaling server. The media itself flows directly between peers.
How to Build a WebRTC Video Call in React
This is a minimal two-peer video call: a Node signaling server and a React client. It’s deliberately stripped down so the WebRTC logic stays visible.
Step 1: Set Up the Signaling Server
The server relays offers, answers, and ICE candidates. It never touches the media. Socket.IO keeps the relay short.
// server.js
const express = require("express");
const { Server } = require("socket.io");
const http = require("http");

const app = express();
const server = http.createServer(app);
const io = new Server(server, { cors: { origin: "*" } });

io.on("connection", (socket) => {
  socket.on("join", (room) => {
    socket.join(room);
    socket.to(room).emit("peer-joined");
  });

  // Relay signaling messages to everyone else in the room
  socket.on("offer", ({ room, offer }) => socket.to(room).emit("offer", offer));
  socket.on("answer", ({ room, answer }) => socket.to(room).emit("answer", answer));
  socket.on("ice", ({ room, candidate }) => socket.to(room).emit("ice", candidate));
});

server.listen(4000, () => console.log("Signaling server on :4000"));
Step 2: Capture Local Media
In the React client, grab the camera and mic and show the local preview. Store the stream in a ref so it survives re-renders.
import { useEffect, useRef } from "react";

function useLocalStream(videoRef) {
  const streamRef = useRef(null);

  useEffect(() => {
    let active = true;
    navigator.mediaDevices
      .getUserMedia({ video: true, audio: true })
      .then((stream) => {
        if (!active) return;
        streamRef.current = stream;
        if (videoRef.current) videoRef.current.srcObject = stream;
      });

    return () => {
      active = false;
      streamRef.current?.getTracks().forEach((t) => t.stop());
    };
  }, [videoRef]);

  return streamRef;
}
The cleanup function matters. Calling track.stop() on unmount releases the camera. Skip it and the camera light stays on after the user leaves the call.
Step 3: Create the Peer Connection
Instantiate RTCPeerConnection with a STUN server, add the local tracks, and wire the two events React cares about: onicecandidate (relay it) and ontrack (show the remote stream).
function createPeer(localStream, remoteVideoRef, socket, room) {
  const pc = new RTCPeerConnection({
    iceServers: [{ urls: "stun:stun.l.google.com:19302" }],
  });

  localStream.getTracks().forEach((track) => pc.addTrack(track, localStream));

  pc.onicecandidate = (e) => {
    if (e.candidate) socket.emit("ice", { room, candidate: e.candidate });
  };

  pc.ontrack = (e) => {
    remoteVideoRef.current.srcObject = e.streams[0];
  };

  return pc;
}
For production, add a TURN server to the iceServers array. STUN alone fails when both peers sit behind restrictive NATs. A TURN server relays the media in those cases.
Step 4: Exchange the Offer and Answer
The caller creates an offer; the callee answers. Both go through the socket. This effect ties the pieces together.
useEffect(() => {
  const pc = createPeer(streamRef.current, remoteVideoRef, socket, room);

  // Caller side
  socket.on("peer-joined", async () => {
    const offer = await pc.createOffer();
    await pc.setLocalDescription(offer);
    socket.emit("offer", { room, offer });
  });

  // Callee side
  socket.on("offer", async (offer) => {
    await pc.setRemoteDescription(offer);
    const answer = await pc.createAnswer();
    await pc.setLocalDescription(answer);
    socket.emit("answer", { room, answer });
  });

  socket.on("answer", (answer) => pc.setRemoteDescription(answer));
  socket.on("ice", (candidate) => pc.addIceCandidate(candidate));

  return () => pc.close();
}, [room]);
That’s a full WebRTC video call in React between two peers. The local preview shows immediately; the remote video appears once ontrack fires. Closing the connection on cleanup prevents leaked peer connections when the component unmounts.
Managing WebRTC With React Hooks
The code above works but spreads WebRTC logic across a component. The cleaner pattern is a custom hook that owns the connection and exposes only what the UI needs.
function useWebRTC(room) {
  const localRef = useRef(null);
  const remoteRef = useRef(null);
  const pcRef = useRef(null);

  useEffect(() => {
    const socket = io("http://localhost:4000");
    let stream;

    async function start() {
      stream = await navigator.mediaDevices.getUserMedia({ video: true, audio: true });
      localRef.current.srcObject = stream;
      pcRef.current = createPeer(stream, remoteRef, socket, room);
      socket.emit("join", room);
      // ...offer/answer/ice wiring from Step 4
    }
    start();

    return () => {
      stream?.getTracks().forEach((t) => t.stop());
      pcRef.current?.close();
      socket.disconnect();
    };
  }, [room]);

  return { localRef, remoteRef };
}
The component that uses it stays declarative:
function VideoCall({ room }) {
  const { localRef, remoteRef } = useWebRTC(room);
  return (
    <div className="call">
      <video ref={localRef} autoPlay muted playsInline />
      <video ref={remoteRef} autoPlay playsInline />
    </div>
  );
}
A few rules keep hooks-based WebRTC stable:
- Keep connections in refs, not state. Setting a peer connection in state triggers re-renders and can recreate the connection. Refs hold mutable objects without re-rendering.
- Do all cleanup in the effect’s return. Stop tracks, close the connection, and disconnect the socket. Missing any one leaks resources.
- Guard async setup. If the component unmounts mid-setup, check a flag before assigning refs so you don’t touch a detached element.
- One effect per connection lifecycle. Tie the effect’s dependency to the room or peer ID so it re-runs only when the call target actually changes.
WebRTC in React Native
The web APIs above don’t exist in React Native: there’s no browser DOM and no navigator.mediaDevices. Instead, the react-native-webrtc library provides native bindings that mirror the same API surface: RTCPeerConnection, mediaDevices.getUserMedia(), and an RTCView component to render streams.
The signaling logic, offer/answer flow, and ICE handling are identical to the web. Only media capture and rendering differ. For the full mobile setup (including permissions, Expo config, and iOS/Android quirks), see the dedicated guide on React Native WebRTC. If you’re rendering recorded or HLS video rather than live peer streams, the React Native video example covers that path.
Libraries and Tools for WebRTC in React
Writing raw RTCPeerConnection code is fine for learning and for simple one-to-one calls. For anything larger, a library removes boilerplate.
| Library | Best for | What it handles |
|---|---|---|
| simple-peer | 1-to-1 and small mesh calls | Wraps RTCPeerConnection in a clean API |
| PeerJS | Quick prototypes | Includes a hosted signaling/broker server |
| mediasoup | Self-hosted group calls | SFU for many-participant rooms |
| LiveKit | Scaled real-time apps | Open-source SFU plus React SDK |
| Socket.IO | Custom signaling | Reliable WebSocket transport for offers/ICE |
Two things none of these replace: a signaling server and, at scale, media routing. simple-peer and PeerJS shorten the client code but still need signaling. For playing back the resulting streams outside a live call, a general-purpose React video player handles HLS and on-demand files.
If you’d rather not run any of this infrastructure yourself, a video conferencing API or video SDK gives you the connection, signaling, and scaling as a managed service.
The Limits of Peer-to-Peer WebRTC
Everything above assumes a small number of peers. That assumption breaks fast, and it’s the point where most WebRTC React projects hit a wall.
In a pure peer-to-peer mesh, every participant connects directly to every other participant. Three people means three connections each; ten people means nine uploads of your video per person. Browsers and uplinks can’t sustain that past four or five participants. The connection count grows quadratically while bandwidth stays flat.
Three other limits show up in production:
- Reach. Peer-to-peer works for a handful of participants, not an audience of thousands watching one broadcaster.
- Recording and replay. Media that flows directly between browsers never touches your servers, so recording a call or turning it into video on demand takes extra infrastructure.
- Delivery to non-WebRTC devices. Smart TVs, Roku, and native players speak HLS, not WebRTC. Compare the two in WebRTC vs HLS.
This is the border between a demo and a product. Small interactive calls stay on WebRTC. One-to-many broadcasts and anything that needs recording or wide device support move to a different architecture.
Scaling Beyond Peer-to-Peer
When mesh stops scaling, media routing takes over. Instead of every peer talking to every other peer, participants send one stream to a server that forwards it. Two common shapes:
- SFU (Selective Forwarding Unit). Each peer uploads once; the server forwards streams to everyone else. This is how group video calls scale to dozens of participants. mediasoup and LiveKit are SFUs. See WebRTC server for how these are built.
- Broadcast pipeline. For one-to-many (a webinar, a live event, a class of hundreds), you ingest one WebRTC or RTMP stream and deliver it as HLS over a CDN. This trades sub-second latency for near-unlimited reach.
For that broadcast path, LiveAPI handles the heavy part. You capture the stream in your React app, send it to LiveAPI over RTMP or SRT, and it transcodes to adaptive bitrate HLS delivered through Akamai, Cloudflare, and Fastly — up to 4K, with automatic live-to-VOD recording. Your WebRTC layer stays for the interactive part; the video API handles distribution to any device.
The rule of thumb: keep WebRTC for real-time interaction between a few people, and hand off to a streaming pipeline the moment you need scale, recording, or reach.
WebRTC React FAQ
Can you use WebRTC directly in React?
Yes. WebRTC is a browser API, so any React app can call getUserMedia() and RTCPeerConnection directly. The main work is keeping WebRTC’s connection objects in refs (not state) and cleaning them up in effects so React’s render cycle doesn’t recreate or leak them.
Do you need a server for WebRTC in React?
Media flows peer-to-peer, but you always need a signaling server to exchange offers, answers, and ICE candidates before the connection forms. You’ll also typically need a STUN server for NAT traversal and a TURN server as a fallback relay when a direct connection fails.
How do you build a video call in React with WebRTC?
Capture media with getUserMedia(), create an RTCPeerConnection for each peer, exchange an offer and answer through a signaling server, trade ICE candidates, and attach the remote stream to a <video> element when the ontrack event fires. A Node plus Socket.IO server handles the signaling relay.
What’s the difference between WebRTC in React and React Native?
The signaling and connection logic are the same. React uses the built-in browser APIs, while React Native uses the react-native-webrtc library for native RTCPeerConnection bindings and an RTCView component to render streams instead of a <video> tag.
How many users can a WebRTC React app support?
A peer-to-peer mesh handles roughly four to five participants before browser and bandwidth limits hit. Beyond that, you route media through an SFU for group calls or a broadcast pipeline that delivers HLS for one-to-many audiences.
Which library is best for WebRTC in React?
For simple one-to-one calls, simple-peer or PeerJS cut the boilerplate. For group calls you self-host, mediasoup or LiveKit provide an SFU. For managed scale without running servers, a hosted video conferencing API handles connection and routing.
Does WebRTC work in all browsers?
WebRTC runs in all current versions of Chrome, Firefox, Safari, and Edge. Older browsers and some in-app webviews have gaps, and codec support varies, so test your target browsers and keep TURN available for restrictive networks.
Bringing It Together
WebRTC gives React apps real-time video, audio, and data straight in the browser. The core pattern is consistent: capture media, create a peer connection, signal the offer and answer, trade ICE candidates, and render the remote stream — with every WebRTC object living in a ref and cleaned up in an effect.
Peer-to-peer is the right tool for small, interactive calls. Once you need to reach a large audience, record sessions, or deliver to TVs and native players, the media moves to a streaming pipeline built on HLS and a CDN.
If your React app needs that reach, try LiveAPI free — capture in the browser, stream to any device, and go live in days instead of months.