Video encoding is the magic that happens behind the scenes to shrink massive, raw video files into something small enough to stream and store. Think of it as translating a giant encyclopedia into a pocket-sized, efficient shorthand that any modern device can read without a noticeable drop in quality. It’s the invisible engine powering every single video you watch online.
The Foundation of Digital Video

At its core, understanding “what is video encoding” really means understanding the problem it was created to solve. Raw video footage, the kind that comes straight out of a professional camera, is absolutely enormous. Just one minute of uncompressed 4K video can easily take up over 30 gigabytes of space.
Trying to send a file that big across the internet would be a nightmare for most people. It would mean endless buffering wheels and seriously frustrated viewers. This is exactly where the encoding process comes in, acting as both a digital translator and a hyper-efficient organizer.
Why Are Raw Video Files So Big?
A video isn’t a single picture; it’s a series of still images, called frames, flashing by so quickly they create the illusion of movement. Standard video, for example, usually runs at about 30 frames per second (fps). Each one of those frames is a high-resolution image loaded with color and light data for millions of tiny pixels.
When you multiply all that data across thousands upon thousands of frames, you end up with a gigantic file. Video encoding tackles this size problem by being incredibly clever about reducing redundant information. It analyzes the video frame by frame, finds data the human eye is unlikely to miss, and gets rid of it—all while keeping the visual story intact. This is all managed by a complex set of rules and algorithms.
The ultimate goal of video encoding is to strike the perfect balance between file size, video quality, and compatibility. It’s a constant trade-off, and one that is managed by some pretty sophisticated technology.
The Key Players in Video Encoding
To pull off this balancing act, the encoding process relies on three fundamental components that have to work together perfectly. Getting a handle on what each one does is the first real step toward mastering the whole process. We’ll dive deeper into these later on, but here’s a quick introduction.
To better understand these core concepts, let’s break them down. The table below gives a quick overview of each component, using an analogy to help clarify its role in the video encoding workflow.
Key Video Encoding Terms at a Glance
| Term | Analogy | Primary Function |
|---|---|---|
| Codec | The Language | The specific set of rules (algorithm) used to compress and decompress the video data. Examples include H.264 and AV1. |
| Container | The Shipping Box | The digital wrapper (file format) that bundles the encoded video, audio, and metadata into a single, playable file like an MP4 or MOV. |
| Bitrate | The Data Flow | The amount of data allocated to each second of video, directly impacting both the file size and the final visual quality. |
These three elements—the language, the box, and the flow—are the building blocks of every digital video you’ve ever watched. The way they interact determines how a video looks, how much space it occupies, and whether it plays smoothly on your phone, laptop, or smart TV.
Understanding the Building Blocks: Codecs, Containers, and Bitrate
To really get what’s happening when you encode video, you need to know about its three core components. Think of them like the fundamental ingredients in a recipe—get the combination right, and the final product is perfect. These three pillars—codecs, containers, and bitrate—all work together to shrink massive raw video files into something that’s small, high-quality, and ready to play anywhere.
Each piece of this puzzle has a specific job. One is the language the video speaks, another is the box it’s shipped in, and the last is its data budget. Once you understand how they interact, you gain real control over the final output.
Codecs: The Language of Video Compression
First up, and arguably the most complex, is the codec. The name itself is a mashup of “coder” and “decoder.” A codec is essentially an algorithm—a specific set of rules—that does the heavy lifting of compression. It analyzes every frame, figures out how to remove information you won’t miss, and then packages instructions for your device to rebuild the video during playback.
Let me give you an analogy. Imagine describing a scene where a blue ball rolls across a plain white background. Instead of describing the exact position of the ball and the color of every single pixel in all 30 frames of that one-second clip, you could just say: “A blue ball starts here and moves there over one second; the background is white.”
That’s a simple way of thinking about what a codec does. It generally uses one of two compression strategies to pull this off:
- Lossless Compression: This method shrinks the file size without throwing away any of the original data. It’s like zipping a folder—everything is still there when you unzip it. The downside is that it just doesn’t shrink video files enough to be practical for most uses.
- Lossy Compression: This is what we almost always use for video. It intelligently and permanently removes data that the human eye isn’t very sensitive to. The result is a dramatically smaller file, usually with a loss in quality so slight that you’d never even notice it.
Codecs like H.264 (AVC) and AV1 are just different “dialects” or methods for achieving this compression. Each one strikes a different balance between quality, file size, and compatibility with various devices. To go deeper on how they all stack up, you can learn more about video codecs in our dedicated guide.
Containers: The Shipping Box for Your Media
Once the codec has done its job compressing the video, all that data needs to be packaged up for delivery. That’s where the container comes in. A container is simply the file format—you’ve seen them a million times: .MP4, .MOV, .MKV. It acts like a shipping box, holding all the different parts of your media together in one neat package.
And this box isn’t just for the video. It also holds the audio stream (which has been compressed with its own audio codec, like AAC), plus any subtitles, chapter markers, or thumbnail images.
A common mistake is thinking the container format determines the video’s quality. In reality, the container is just the wrapper. The actual quality comes from the codec and bitrate used inside that wrapper.
The container’s main job is to keep everything synchronized so a video player can read it correctly. An MP4 container, for example, is almost universally supported by web browsers and mobile devices, making it the go-to choice for streaming. An MOV container, which comes from Apple, is a favorite in professional editing suites. Picking the right one just ensures your video actually plays where you want it to.
Bitrate: Your Data Budget for Quality
The last piece of the puzzle is bitrate, and it’s the dial you can turn to directly control the trade-off between quality and file size. Bitrate is the amount of data used to represent one second of video, usually measured in megabits per second (Mbps).
The best way to think of bitrate is as a “data budget.”
- A higher bitrate gives the codec a bigger budget. With more data to work with, it can preserve more fine details, resulting in a cleaner, higher-quality image. The downside? A much larger file. A 4K stream from Netflix, for example, might use a bitrate of 15-20 Mbps.
- A lower bitrate forces the codec to get aggressive with compression. This makes the file much smaller but risks introducing visual glitches like blockiness or blurriness if the budget is too tight.
This budget can be spent in a couple of ways. With Constant Bitrate (CBR), every second of video gets the exact same amount of data, which is predictable but not very efficient. A much smarter approach is Variable Bitrate (VBR), which gives more data to complex, action-packed scenes and less to simple, static ones. This dynamic allocation almost always results in better quality for the same file size, making it the standard for modern streaming.
A Brief History of Video Compression

To really get a feel for modern video encoding, it helps to rewind and look at the original problems that kickstarted the whole field. The codecs we use today are the result of decades of brilliant problem-solving, all driven by one persistent challenge: how do you cram a massive amount of visual information through a very small pipe? This journey didn’t start with the internet; it began with the dawn of television.
Early television broadcasting ran headfirst into a monumental bandwidth problem. Sending a continuous stream of images required an enormous amount of signal space—way more than was practical for getting TV into everyone’s homes. Engineers figured out fast that sending every last pixel of every single frame was a non-starter. They had to get smarter.
The Foundational Breakthroughs
The core ideas behind video compression are much older than most people think. The first concepts for analog video compression were actually floated way back in 1929. A real game-changer arrived in 1952 when Bell Labs introduced differential pulse-code modulation (DPCM). At its core, this was a clever prediction game: it would guess the next pixel’s value based on the previous one, meaning you only had to send the difference. This dramatically cut down the amount of data needed. You can take a deeper dive into these early innovations and their impact on the evolution of video at api.video.
Just a few years later, in 1959, the Japanese broadcaster NHK pioneered interframe video coding. This introduced the world to the idea of “keyframes”—complete, fully detailed frames—and then only sending the changes that occurred between them. This approach, which takes advantage of the fact that not much changes from one frame to the next (a concept called temporal redundancy), is the bedrock of nearly every video codec we use today.
Another important piece of the puzzle fell into place in 1967 with run-length encoding (RLE). This is a simple but powerful trick for compressing data by describing repeating values as a single value plus a count (e.g., “100 blue pixels” instead of “blue, blue, blue…”). For early TV, it was a huge help for reducing the bandwidth of analog signals, and a version of this logic is still used to efficiently handle things like large, solid-colored backgrounds in digital video.
These early techniques weren’t just abstract theories; they were practical solutions to very real limitations. They established the fundamental principles of modern video encoding: find the redundant information and throw it away without the viewer ever noticing.
From Analog Problems to Digital Solutions
These foundational ideas—predicting pixels, tracking changes between frames, and simplifying repetitive data—laid the groundwork for everything that followed. When the world started shifting from analog to digital, the need for even better compression became more urgent, as digital signals carried vastly more information.
The core challenge didn’t change, but the tools certainly did. As computers became more powerful, engineers could build far more complex algorithms on top of those early principles. This evolution led directly to the standardized codecs we know, like MPEG and H.264, which finally made digital video practical for everything from DVDs to live streaming.
Knowing this history makes it clear that video encoding isn’t some new invention of the internet age. It’s a mature engineering discipline built on nearly a century of innovation, all with the same goal: making video smaller, faster, and more accessible for everyone.
How Modern Codecs Power Digital Streaming
The core ideas behind video compression really paved the way for the standardized codecs that make digital video a part of our everyday lives. Think of each new standard as a massive leap forward, figuring out clever new ways to pack more visual quality into a smaller file size. That constant push for efficiency is exactly why you can stream an HD movie on your phone today instead of waiting hours for it to download.
These standards didn’t just appear out of nowhere. They were born from huge collaborative efforts to solve very real, very practical problems. The journey from those old, grainy video clips to the crisp 4K streams we expect now is a story of incredible engineering that completely changed how we watch anything.
The MPEG Era: From CDs to DVDs
The first big wave of standards came from the Moving Picture Experts Group, or MPEG. Their work essentially created a common language that let different devices understand and play compressed video, starting with physical discs.
- MPEG-1: Finalized in the early 1990s, this was the breakthrough that made video on a CD-ROM a reality. At a time when storage and internet speeds were incredibly limited, it was efficient enough to deliver VHS-quality video.
- MPEG-2: This follow-up became the workhorse for digital television broadcasts and, most famously, DVDs. It offered a nice bump in quality and was flexible enough to handle the standard-definition video that defined home entertainment for over a decade.
These early standards proved that digital video wasn’t just a novelty—it was the future, creating a market for everything from video CDs to digital cable.
H.264: The Codec That Kicked Off the Streaming Revolution
The arrival of H.264, also known as Advanced Video Coding (AVC), was a genuine game-changer. When it was standardized in 2003, it represented a huge leap in compression, delivering the same quality as MPEG-2 using about half the data.
That incredible efficiency is what really unlocked the modern streaming era. Platforms like YouTube and Netflix jumped on H.264 because it made streaming high-definition (HD) video over a typical home internet connection not just possible, but practical. It quickly became the most widely supported codec on the planet, running everything from Blu-ray discs and video calls to the vast majority of online video you still see today.
The development of international video coding standards has profoundly shaped the global media landscape. From the 1970s onward, techniques like motion estimation and transform coding led to interoperable formats. The incremental adoption of these standards has been critical to managing the exponential growth of video consumption worldwide. To see how these standards evolved from the early days of CDs to the latest in 4K streaming, you can explore the detailed historical timeline of video coding standards on Vcodex.com.
Pushing the Boundaries: HEVC and the Rise of 4K
As our screens got bigger and sharper, the demand for even better compression grew right along with them. The next major standard, H.265, or High Efficiency Video Coding (HEVC), showed up in 2013 to tackle this challenge. It delivered another 50% improvement in compression over H.264, making it the perfect tool for 4K and Ultra HD content. This is what allows streaming services to send you a stunningly sharp 4K movie without needing a ridiculously fast internet connection.
But there was a catch. HEVC’s adoption has been a bit slower than expected, largely because its licensing fees are more complex and expensive. This created an opening for a new, more open alternative.
AV1: The Royalty-Free Future
In response to the licensing headaches that came with HEVC, a group of tech giants—including Google, Amazon, and Netflix—came together to form the Alliance for Open Media. Their mission was to create a powerful, open-source, and completely royalty-free codec. The result was AV1.
AV1 aims to provide even better compression than HEVC, which makes high-quality video more accessible and affordable for both creators and streaming platforms. While it currently takes a bit more muscle to encode, its adoption is picking up speed because it promises to lower delivery costs and eliminate those pesky licensing issues. It’s a key piece of the puzzle for ensuring smooth playback as our appetite for higher-quality video just keeps growing.
A crucial technology that works hand-in-hand with these advanced codecs is adaptive bitrate streaming, which intelligently adjusts the video quality on the fly to match a viewer’s connection.
A Step-by-Step Look at the Video Encoding Workflow
We’ve covered the building blocks, but how do they all fit together? Let’s trace the actual journey a video file takes, from a raw camera recording to a polished stream that can play on any device, anywhere. It’s a well-defined process, and every step is there for a reason—to guarantee efficiency and a great viewing experience.
The whole thing kicks off with ingestion. This is just a technical term for getting the source video file into the system, whether it’s an upload from a creator’s hard drive or a direct feed from a live camera. Once the system has the file, the real prep work can begin.
Pre-Processing: Cleaning Up the Raw Footage
Before any compression happens, the raw footage usually gets a “pre-processing” treatment. Think of it as a cleanup phase. The goal is to fix any issues and prime the video for the encoder, because a cleaner source file always leads to a better-looking, more efficiently compressed final product.
Some common pre-processing tasks include:
- Deinterlacing: This converts older interlaced video (often seen in traditional broadcasting) into the progressive format that all modern screens use.
- Noise Reduction: This cleans up visual grain and digital artifacts, which is especially helpful for footage shot in low light. A less “noisy” video compresses far more cleanly.
- Color Correction: Here, adjustments are made to brightness, contrast, and color balance to give the video a consistent, professional look.
Once the video is tidied up, it’s ready for the main event.
The Heart of the Process: Encoding and Transcoding
This is where the heavy lifting occurs. The clean video is sent to an encoder, which applies a codec (like H.264 or AV1) to shrink its size. But modern streaming isn’t about creating just one file; it’s about creating many. This is where transcoding comes in.
The system generates what’s called an “encoding ladder”—a whole set of video files at different resolutions and bitrates. For instance, a single 4K source video might be transcoded into:
- 1080p at 5 Mbps
- 720p at 2.5 Mbps
- 480p at 1 Mbps
This collection of files is the secret sauce behind Adaptive Bitrate (ABR) streaming. It gives the video player a menu of options to choose from, allowing it to seamlessly switch between quality levels based on the viewer’s internet speed. The result? A smooth, buffer-free playback experience.
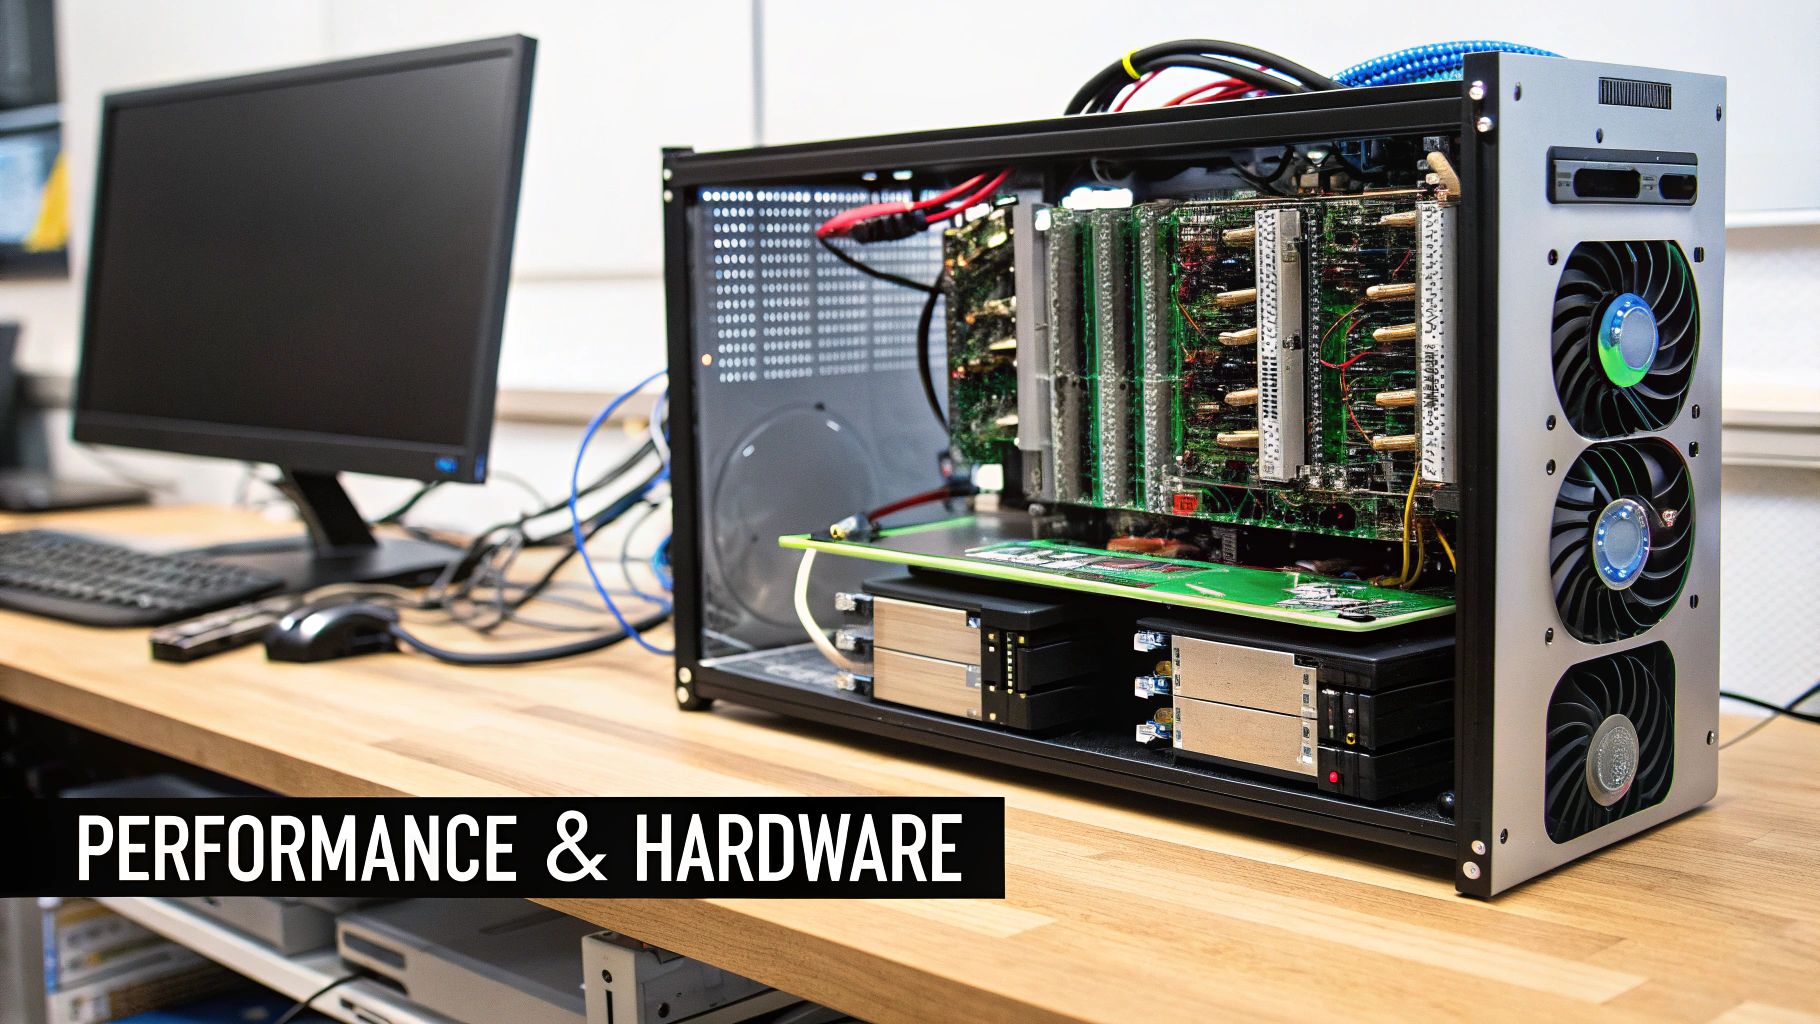
From Dedicated Hardware to the Cloud
Not too long ago, all this intense processing required specialized hardware. Dedicated ASIC encoders were the kings of the broadcast world because they were incredibly fast and power-efficient. The downside was their inflexibility; adding support for a new codec was a slow, expensive process.
Today, things look very different. Encoding now runs on everything from GPUs and CPUs to massive, scalable cloud platforms. This flexibility means new codec improvements can be rolled out quickly, which is essential when video streaming accounts for over 80% of all internet traffic. You can get more background on the evolution of video coding platforms on CableLabs.com.
After the videos are encoded, they are packaged into a container format like MP4, bundling them with the audio tracks and subtitles. The final piece of the puzzle is delivery. These packaged files are sent to a Content Delivery Network (CDN), which copies them to servers around the globe. This ensures that when someone hits play, the video is delivered from a server close by, making playback fast and reliable for everyone.
A Better Way: Using a Video API for Your Workflow
Let’s be honest: managing a full video encoding workflow is a massive headache. It requires a ton of specialized knowledge, constant software updates, and some serious hardware muscle to handle all the processing. For most developers and businesses, this isn’t just a challenge—it’s a major distraction from what they’re actually trying to build.
But there’s a much smarter approach. Instead of getting bogged down building your own video pipeline from the ground up, you can lean on a video API like LiveAPI to handle everything automatically. This lets you pass off all that heavy lifting to a platform that’s been purpose-built for the job.
The image below gives you a glimpse into the manual encoding process—all the steps that a good API just takes care of for you.
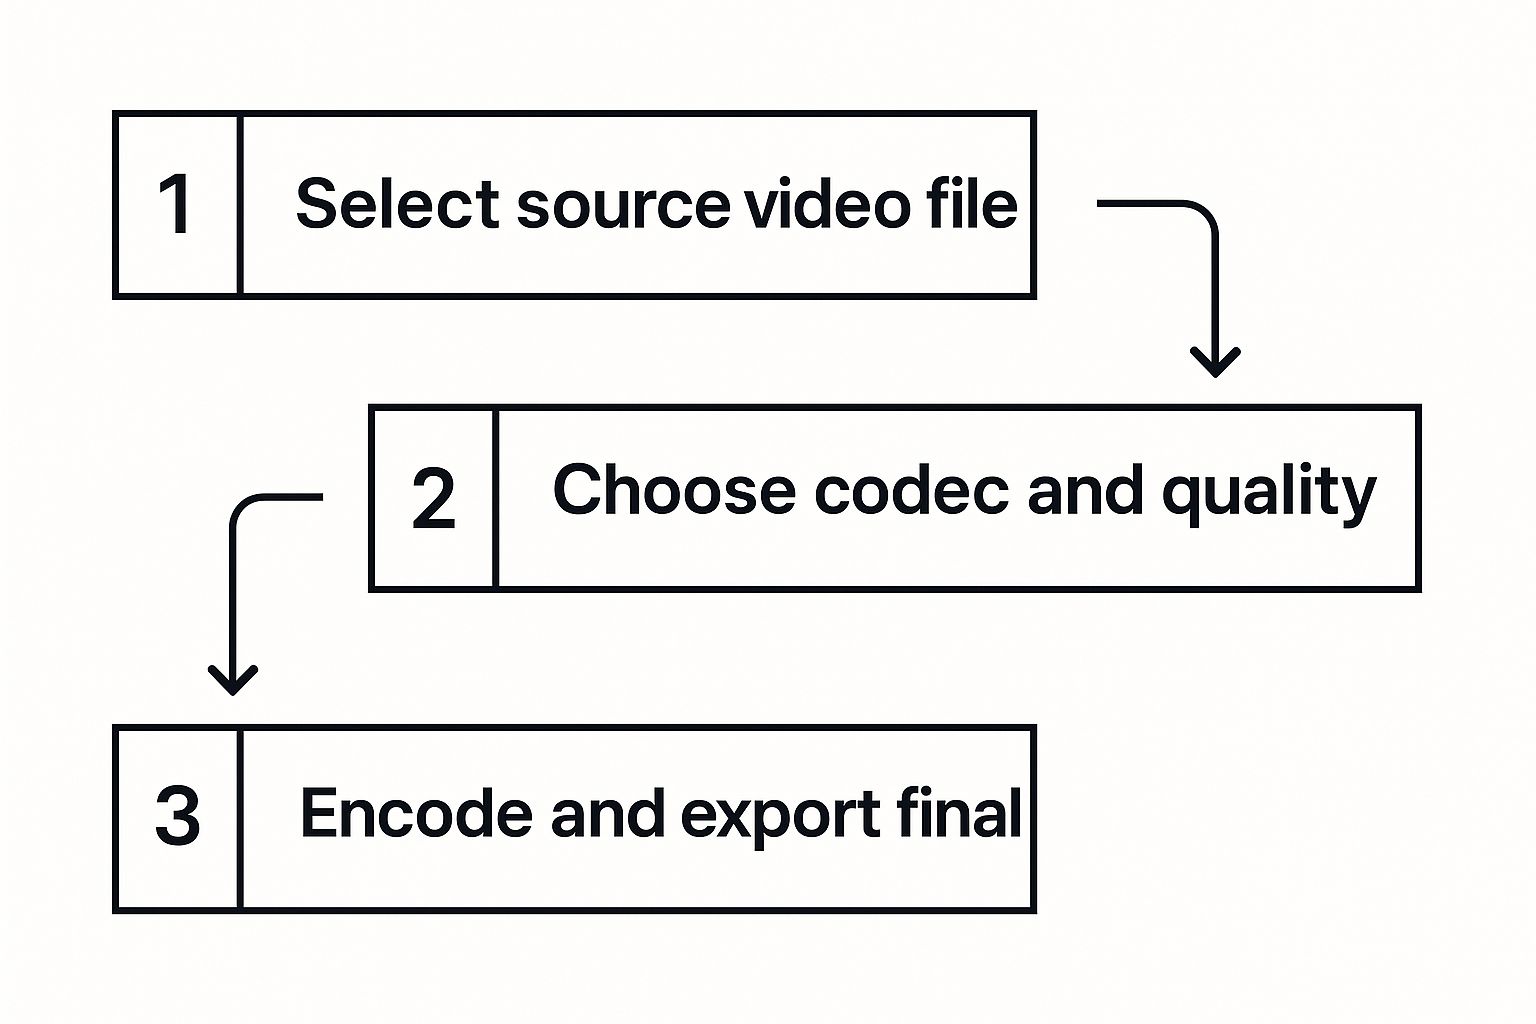
Think of it this way: an engineer would normally have to juggle all these decisions manually. A video API handles it all in the background with just a few lines of code.
Offload the Technical Grunt Work
A video API is basically your own dedicated encoding engine, just running in the cloud. All you have to do is send your source video file, and the API does the rest. For your development team, this is a game-changer.
Suddenly, you don’t need to:
- Hire a team of encoding gurus: No more worrying about keeping up with the newest codecs or compression tricks.
- Manage a server farm: Forget about setting up, scaling, and maintaining servers just for video processing. The API provider handles all the backend infrastructure.
- Stress about software updates: The API provider takes care of updating encoders and adopting new standards like AV1 as they emerge.
This lets your developers get back to building features for your users instead of babysitting a complex video pipeline. The API takes care of all the messy details, ensuring your videos are perfectly optimized for smooth playback on any device, every single time.
When you use a video API, you’re essentially outsourcing your entire encoding infrastructure. Your team gets a simple, powerful tool that delivers broadcast-quality video processing without the operational headaches that come with it.
How a Video API Makes Encoding Simple
Integrating a video API transforms a multi-step, resource-draining process into a single, straightforward function call. From the moment you upload a video, the API kicks off a battle-tested workflow to guarantee top-notch results.
First up is transcoding. The platform takes your source file and converts it into all the different formats and resolutions you need. This step is a notorious resource hog, but with an API, it all happens seamlessly in the background. If you want to dive deeper into the nuts and bolts, check out our guide on what is video transcoding and how it’s different from encoding.
Next, the API builds an adaptive bitrate ladder. This is the magic that ensures viewers with blazing-fast internet get a stunning HD stream, while someone on a shaky mobile connection gets a lower-res version that plays without constant buffering. It’s absolutely critical for a professional viewing experience, and the API creates it automatically.
Finally, all the processed video files are packaged and distributed across a global Content Delivery Network (CDN). This means your audience gets fast, low-latency playback no matter where they are in the world. The entire journey—from raw file to global delivery—is handled for you, saving you countless hours of development and maintenance.
Common Questions About Video Encoding
As you get your hands dirty with video encoding, you’ll find a few questions tend to surface again and again. Let’s tackle the most common ones head-on. This section is designed to be a quick reference, clearing up any confusion and making sure the core concepts really stick.
Think of it as the final piece of the puzzle, giving you the practical insights needed to feel confident about how modern video delivery actually works.
What Is the Main Difference Between H.264 and H.265?
The big difference between H.264 (AVC) and H.265 (HEVC) really boils down to efficiency versus compatibility.
H.264 is the undisputed king of compatibility. It just works—on pretty much any device, browser, or platform you can think of. For years, it’s been the reliable workhorse that powers most of the video you see online.
H.265 is the newer, smarter successor. Its main claim to fame is its incredible efficiency, offering around 50% better compression. In plain English, that means it can deliver the same visual quality as H.264 using only half the data. This is a game-changer for 4K streaming. The trade-off? H.265 requires more horsepower to encode and decode, and its more complicated licensing has slowed down its adoption across the board.
Does Higher Resolution Always Mean Better Quality?
Not at all. It’s a common misconception. Resolution (like 1080p or 4K) is just the number of pixels in the frame, while bitrate is the amount of data dedicated to describing what those pixels should look like. True quality comes from the right balance between the two.
Imagine a 4K video streamed at a painfully low bitrate. It will look like a blocky, pixelated mess because the encoder simply doesn’t have enough data to work with. It’s forced to cut corners, and the image suffers. On the other hand, a 1080p video with a healthy bitrate can look incredibly sharp and detailed.
Think of resolution as the size of your canvas and bitrate as the amount of paint you have. A giant canvas with a tiny tube of paint isn’t going to produce a masterpiece. The best results always come from having enough paint for the canvas you’re working with.
Why Are Multiple Versions of a Video Needed for Streaming?
This is the secret sauce behind Adaptive Bitrate (ABR) streaming. When you encode a single video into a whole ladder of different resolutions and bitrates (say, 480p, 720p, and 1080p), you give the video player options. The player can then intelligently pick the best possible stream for a viewer based on their real-time internet conditions.
This all happens seamlessly in the background. If you’re on a strong Wi-Fi connection, you’ll get a crystal-clear HD stream. But if you walk into a room where the signal drops, the player will instantly switch to a lower-quality version to prevent that dreaded buffering wheel. It’s all about creating a smooth, uninterrupted experience for everyone, no matter how good (or bad) their connection is.
Stop worrying about codecs, bitrates, and infrastructure. LiveAPI automates the entire video encoding and streaming workflow so you can focus on building your application. Get started with LiveAPI today and deliver high-quality video experiences with just a few lines of code.