
When you want to upload a file in JavaScript, the classic approach involves two key pieces: a simple HTML <input type="file"> element and the FormData API. The input element is what your users interact with to select a file. Once they do, you’ll use FormData to package it up neatly, almost like putting it in a digital envelope, before sending it off to a server with the Fetch API or XMLHttpRequest.
Handling Your First JavaScript File Upload

Let’s break down how to get your first file upload working. It all starts with two fundamental browser technologies: the standard HTML file input and the incredibly useful FormData object.
Think of the <input type="file"> element as the front door. It’s the simplest, most direct way to open the native file picker and let someone choose a file from their device.
As soon as a user makes a selection, that file becomes available in your JavaScript through the input element’s .files property. This property holds a FileList object, which behaves a lot like an array of all the chosen files. From there, you can grab the file (or loop through them if you’ve enabled multiple selections) and get it ready for its journey to the server. This is where FormData shines.
The Role of FormData
The FormData object is purpose-built for this exact scenario. It’s designed to assemble key-value pairs that represent form fields, perfectly mimicking a traditional form submission. This makes it the ideal tool for handling file uploads.
All you have to do is create a new instance of FormData and use its .append() method. You’ll provide a key, which is just a name for the field (like “userFile”), and then the file object itself as the value. Just like that, your “digital envelope” is sealed and ready to be attached to a server request.
Setting Up Your Server Endpoint
Of course, client-side code is only half the battle. You need a server endpoint listening for and ready to process this FormData. Whether your backend is running on Node.js, Python, Ruby, or something else, it must be configured to parse multipart/form-data requests.
If you’re just getting your feet wet and need a place to experiment, you might find our guide on how to build a home server helpful for setting up a personal test environment.
Mastering this process is a huge step, as JavaScript is the engine behind an incredible 98.9% of all websites worldwide. That means over 51,000,000 sites rely on it for core features like this, making file upload skills a true cornerstone of modern web development.
Asynchronous Uploads With The Fetch API
Once your file is wrapped up in a FormData object, you need to get it to the server. The last thing you want is for the user’s entire page to freeze and reload. This is where asynchronous requests save the day, and the modern go-to for this is the Fetch API.
Fetch gives you a clean, Promise-based way to handle network requests, making it a cornerstone of any modern upload file in javascript feature. It lets you send data in the background, keeping your application snappy and responsive.
Sending Your First Fetch Request
The process is surprisingly straightforward. You just need to create a POST request, stick your FormData object into the request body, and then handle whatever the server sends back. Because it’s all asynchronous, the user can continue interacting with your site while the file uploads quietly behind the scenes.
Here’s a practical example of how you might wire this up:
async function uploadFile(file) { const formData = new FormData(); formData.append(‘userFile’, file);
try { const response = await fetch(‘/upload-endpoint’, { method: ‘POST’, body: formData, });
if (!response.ok) {
  throw new Error(`Server responded with ${response.status}`);
}

const result = await response.json();
console.log('Upload successful:', result);
// Let the user know everything worked!
} catch (error) { console.error(‘Upload failed:’, error); // And definitely let them know if it didn’t. } }
One critical detail here is what isn’t in the code. You’ll notice we never set the Content-Type header ourselves. This is intentional. When the browser sees a FormData object in the body, it automatically sets the Content-Type to multipart/form-data and, crucially, adds the unique boundary string required to separate the data.
Pro Tip: Never manually set the
Content-Typeheader forFormDatauploads. The browser handles it perfectly. Trying to do it yourself is a classic mistake that often leads to confusing422 Unprocessable Entityerrors from the server because the boundary is missing or incorrect.
Fetch vs XMLHttpRequest: What to Choose
Before Fetch, the only game in town was XMLHttpRequest (XHR). It’s been around forever, and while it’s still perfectly capable (and even necessary for tracking upload progress, which we’ll get to), Fetch is built for the modern web with a much friendlier API.
Let’s break down the key differences.
Fetch vs XMLHttpRequest for File Uploads
| Feature | Fetch API | XMLHttpRequest (XHR) |
|---|---|---|
| API Design | Modern, Promise-based. Easy to read and chain with async/await. |
Older, event-based. Can lead to nested callbacks (“callback hell”). |
| Request Body | Natively handles FormData, Blob, ArrayBuffer, and other modern types. |
Requires more manual setup and handling for different data types. |
| Error Handling | Uses Promises. Network errors trigger .catch(), but HTTP errors (like 404s) don’t. You have to check response.ok. |
Relies on event listeners like onerror and manually checking status codes in onload. |
| Configuration | Uses a clean options object for method, body, headers, etc. |
Configuration is spread across various properties and method calls. |
The takeaway? For most new projects, Fetch is the way to go. Its modern syntax and simple handling of FormData just make life easier. It reduces boilerplate and lets you build clean, efficient file uploaders without the complexity of the older XHR model.
Improving UX With Real-Time Progress Bars

When someone uploads a large file, just showing a static “Uploading…” message is a recipe for anxiety. Is it stuck? Did my connection drop? A real-time progress bar is a simple, yet powerful, way to give users the feedback they need, which can make a huge difference in keeping them on the page.
While the modern fetch API is fantastic for most network requests, it has one glaring omission: there’s no built-in way to track upload progress. This is one of the rare cases where the older XMLHttpRequest (XHR) still reigns supreme. Thankfully, you don’t have to ditch fetch entirely; you can just pull in XHR for this specific task.
Tapping Into XHR for Progress Events
The magic behind this is the XMLHttpRequest.upload.onprogress event. This event listener fires repeatedly as the browser sends the file to the server, giving you a live stream of data.
Inside the event handler, you get an event object with two incredibly useful properties:
event.loaded: The number of bytes sent so far.event.total: The total file size in bytes.
From here, the math is simple: (event.loaded / event.total) * 100. You can take that percentage and use it to update the width or style of a progress bar element in your HTML. It’s a direct and satisfying way to show the user exactly what’s happening.
When you upload file in javascript, giving users real-time feedback isn’t just a nice-to-have; it’s a critical part of a modern, responsive interface. It manages expectations and keeps users engaged, preventing them from navigating away or assuming something is broken.
How to Actually Implement It
The setup involves creating a new XMLHttpRequest object, attaching a listener to its upload.progress event, and then sending the FormData. Inside your event listener function is where you’ll do the percentage calculation and update your UI.
This approach gives you the best of both worlds. You can stick with the clean, promise-based fetch for all your other API calls and just reach for the battle-tested reliability of XHR when you need that crucial progress feedback.
Given that 63% of developers worldwide use JavaScript for their web projects, innovations like these are constantly evolving. In fact, studies show that simply adding a real-time progress indicator can improve upload completion rates by as much as 35%. It’s a small coding effort that pays huge dividends in user satisfaction. You can dive deeper into these JavaScript usage statistics to see just how prevalent it is.
Creating a Modern Drag-and-Drop Uploader
Let’s be honest, the standard file input button gets the job done, but it feels a bit clunky and old-school. If you want to give your app a more polished, professional feel, a drag-and-drop zone is the way to go. It’s an intuitive experience that users have come to expect, and it makes uploading files feel much smoother.
The whole thing is built by listening for a few key browser events on an HTML element you designate as your “drop zone”—usually just a simple div.
The Core Drag-and-Drop Events You Need to Know
To get this working, you really only need to master three primary JavaScript events. Getting these right is the secret to a seamless drag-and-drop interaction.
dragover: This event fires constantly as a file is dragged over your drop zone. The most important thing here is to prevent the browser’s default behavior, which is to try and open the file.dragleave: Fired the moment a dragged file leaves the drop zone. It’s the perfect trigger to remove any visual feedback, like resetting a highlighted border.drop: This is the main event. It fires when the user lets go of the file over your drop zone. Just like withdragover, you’ll prevent the default browser action. Then, you can grab the files and kick off your upload logic.
By hooking into these events, you can provide great visual feedback. A common trick is to add a CSS class like drop-active when the dragover event fires and then remove it on dragleave. This tells the user exactly where they can drop their files.
How to Access the Dropped Files
When a file is finally dropped, you won’t find it directly on the event object. Instead, the files live inside the event.dataTransfer.files property.
This property holds a FileList object, which is identical to what you get from a standard <input type="file"> element. This is a huge win! It means you can reuse the exact same functions you already wrote to handle FormData and fetch. You just pass the FileList from event.dataTransfer.files into your existing upload handler.
Pro Tip: A classic mistake is forgetting to call
event.preventDefault()on both thedragoveranddropevents. If you skip this, the browser will take over and try to open the file itself, completely bypassing your JavaScript and breaking the user experience.
Here’s a quick look at how you’d set up the event listeners.
const dropZone = document.getElementById(‘drop-zone’);
// This is crucial to allow a drop. dropZone.addEventListener(‘dragover’, (event) => { event.preventDefault(); dropZone.classList.add(‘drag-over’); });
// Clean up the UI when the file is no longer hovering. dropZone.addEventListener(‘dragleave’, () => { dropZone.classList.remove(‘drag-over’); });
// Handle the actual file drop. dropZone.addEventListener(‘drop’, (event) => { event.preventDefault(); dropZone.classList.remove(‘drag-over’);
const files = event.dataTransfer.files; if (files.length > 0) { // ‘files’ is a FileList, just like from an input. // Pass it to your existing upload function! handleFileUpload(files); } });
Adding a drag-and-drop feature is one of those high-impact, low-effort upgrades. It significantly improves how users upload file in javascript, giving your application a much more engaging and modern feel without requiring a full rewrite of your core upload logic.
Managing Large Files With Chunked Uploads
We’ve all been there. You’re uploading a huge 2GB video file, the progress bar is at 99%, and then… your Wi-Fi flickers. With a standard upload, that’s it. Game over. You have to start again from zero. It’s an incredibly frustrating experience, but thankfully, one you can completely avoid with a smarter strategy: chunked uploading.
The whole idea behind this approach is resilience. Instead of trying to push one giant file across the network in a single, fragile request, you use JavaScript to slice it into smaller, more manageable pieces—or chunks—and send them one by one. If a single chunk fails to upload, you only have to retry that small piece, not the entire file.
Slicing Files on the Client Side
The magic on the front end happens with the File.slice() method. It behaves a lot like the slice method you’d use on an array, letting you grab a specific portion of a file by defining a start and end byte.
This allows you to loop through the original file, carving it up into a series of Blob objects. For instance, you might decide to break up a large video into 10MB chunks. Your code would first calculate how many chunks are needed and then iteratively call file.slice() to generate each piece before sending it off to the server.
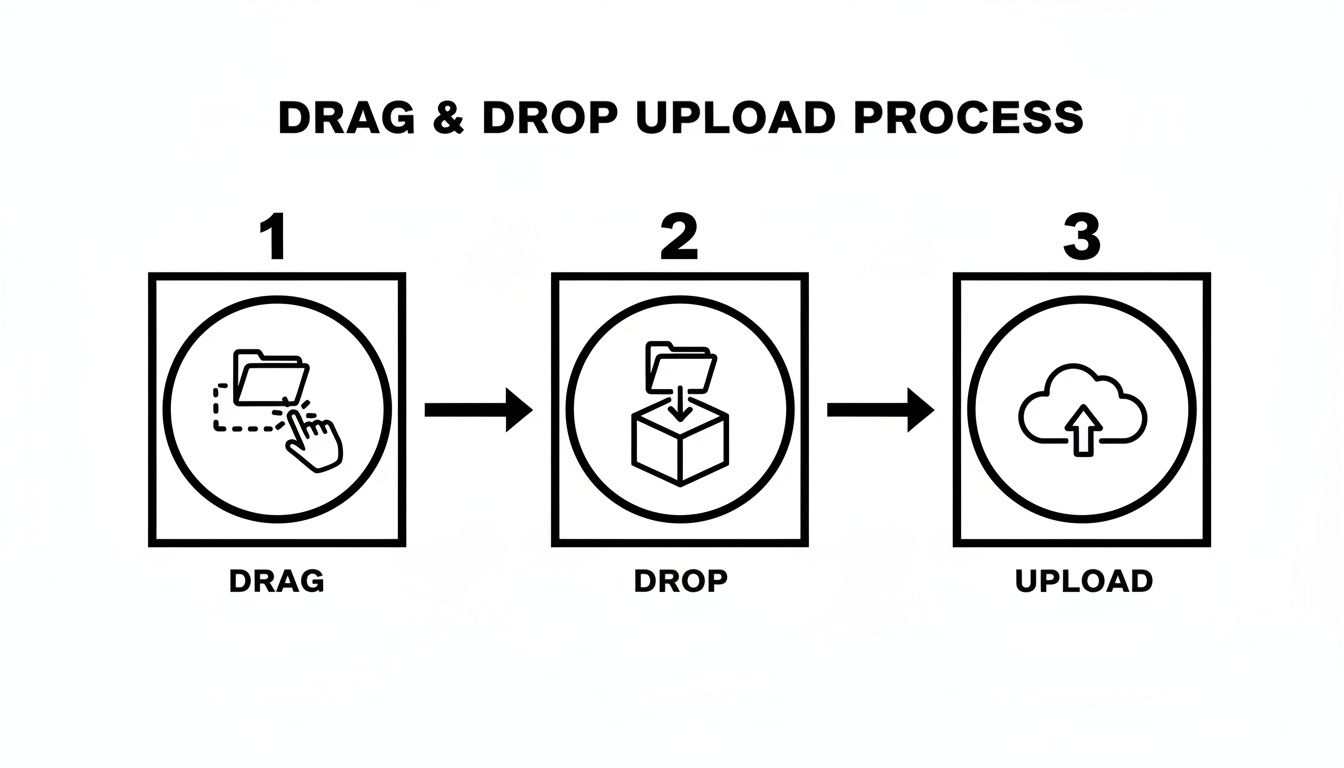
While the diagram shows a simple drag-and-drop flow, the background process for chunking follows a similar principle: break a big task into smaller, sequential steps to ensure it completes successfully.
Assembling Chunks on the Server
Of course, once you start sending these little pieces, your server needs to know what to do with them. This is where things get a bit more complex on the backend compared to a simple, single-file upload.
A server built for chunked uploads needs to handle a few key things:
- Identify each chunk: Every request needs to include metadata, like a unique ID for the original file and the current chunk’s index or byte offset.
- Store chunks temporarily: As each piece arrives, the server stashes it in a temporary directory, waiting for its siblings.
- Reassemble the original file: After the final chunk for a specific file ID is received, the server stitches them all together in the correct order to recreate the original file.
This back-and-forth between the client and server is what makes resumable uploads a reality. If the connection drops, the client can simply ask the server, “Hey, what was the last chunk you got?” and pick up right where it left off.
When you upload file in javascript, especially for large media like video, chunking is non-negotiable for a reliable application. It transforms a fragile, all-or-nothing process into a fault-tolerant system that can withstand poor network conditions.
This method even opens the door for advanced features like parallel uploads, where you send multiple chunks at the same time to speed things up. Just be careful with this, as it requires careful resource management on your server to avoid getting overwhelmed.
For video specifically, you can get even better results by optimizing the file before you start chunking. Check out our guide on the best video file compression techniques to learn how to shrink file sizes without sacrificing quality. It’s an advanced topic, but mastering chunking is what separates a good application from a great one.
JavaScript File Uploads: Your Questions Answered
When you start letting users upload files in JavaScript, a few common questions always seem to surface. Let’s walk through some of the most frequent ones I’ve encountered and clear things up with practical, no-nonsense answers.
How Do I Limit What Files Users Can Upload?
Client-side validation is your best friend here. It’s the quickest way to improve the user experience by giving immediate feedback. As soon as a user selects a file, you can check its properties before it ever leaves their browser.
You can inspect the file.type property to check for specific MIME types, like 'image/jpeg' or 'video/mp4'. At the same time, you can check the file.size property, which gives you the size in bytes. A simple if (file.size > 10 * 1024 * 1024) check is all it takes to see if a file is over your 10MB limit.
Crucial Tip: Client-side validation is great for UX, but it’s not security. A savvy user can easily bypass it. You absolutely must re-validate everything—file type, size, and content—on your server. This is non-negotiable for security.
When Should I Bother with a Pre-Signed URL?
Pre-signed URLs are fantastic when you want users to upload directly to a cloud storage provider like Amazon S3 or Google Cloud Storage. Think of it as a temporary, single-use key to a specific location in your bucket.
Here’s how it works: your server doesn’t touch the file data itself. Instead, it generates a secure, time-limited URL and gives it to the client. The browser then uses that URL to upload the file directly to cloud storage. This approach dramatically reduces the load and bandwidth costs on your own application servers, which is a massive win if you’re dealing with lots of large files.
Can a User Upload a Whole Folder at Once?
Yep, this is totally possible, and it’s surprisingly simple. Just add the webkitdirectory attribute to your HTML file input tag, like this: <input type="file" webkitdirectory>.
This small change alters the browser’s file picker, prompting the user to select an entire folder. Once they do, the input’s .files property becomes a FileList containing every single file from that folder and all its subfolders. From there, you just iterate over the list and handle each file upload. Browser support is pretty good for this, but it’s worth remembering it’s not 100% universal just yet.
This is especially common when dealing with batches of video files. Once those files arrive, they usually kick off a whole backend workflow. Understanding what video transcoding is is a great next step, as it explains how those raw uploads are converted into formats suitable for streaming across different devices.
Ready to build powerful video applications without the infrastructure headache? LiveAPI provides a robust, developer-friendly platform for live and on-demand video streaming. Start building today at https://liveapi.com.