A professional live stream set up is about more than just a camera and an internet connection. It’s a complete system designed to capture, process, and deliver video and audio smoothly to your audience, wherever they are. Think of it as a coordinated pipeline of hardware, software, and network infrastructure, all working together to create a stable, high-quality broadcast.
Mapping Your Live Streaming Architecture
Before you even think about plugging in a camera or writing a line of code, you need a blueprint. Sketching out your streaming architecture—the entire journey your video will take from source to screen—is the most critical first step. This foundational plan helps you make smart decisions that align with your goals, whether you’re building a simple developer demo or a global, scalable streaming service.
It all starts with capture. This is your source material, which could be anything from a professional 4K camera rig to a simple webcam or even a screen recording. From there, that raw video and audio data has to be prepped for its trip across the internet.
This diagram breaks down the core stages of that journey.

As you can see, each component is a critical link in the chain. A weak link in capture, encoding, or delivery can compromise the entire viewer experience.
The Core Components of Your Streaming Pipeline
Getting familiar with each piece of this architecture will help you spot potential bottlenecks and find areas to optimize. Let’s break down the main components you’ll be working with.
- Capture Devices: This is your input. It can be anything from high-end cameras and professional microphones to the humble webcam on your laptop. Just remember, the quality of your capture device sets the absolute ceiling for your stream’s final look and sound.
- Encoders (Hardware or Software): An encoder is what takes your raw camera feed and compresses it into a digital format that’s light enough to travel over the internet. This is a big decision. You can go with dedicated hardware encoders for rock-solid reliability or use flexible software like OBS Studio for more customization.
- Transport Protocol: Once encoded, the data needs a way to get from your encoder to a media server. The undisputed king for this “first-mile” delivery is RTMP (Real-Time Messaging Protocol). We’ve actually got a detailed guide if you want to dive deeper into setting up a live RTMP stream for your own projects.
Planning this architecture carefully has never been more important. The live streaming market is exploding, valued at $1.76 billion and on track to hit $4.81 billion. This massive growth is driven by the fact that 90% of consumers now watch video on mobile devices, making features like adaptive bitrate streaming and low-latency delivery non-negotiable.
From Ingest to Playback
So, what happens after your encoder sends the stream out via RTMP? It arrives at a media server. This server is the central hub that ingests the video, processes it, and gets it ready for mass distribution. For developers, this is often where a service like LiveAPI steps in, handling all the complex server management behind the scenes.
You’ll eventually face the classic “build vs. buy” dilemma: create your own media server infrastructure or use a managed API? Building gives you total control, but it demands serious expertise in server management, transcoding, and scaling. Buying, on the other hand, lets you ship faster by offloading all that operational heavy lifting.
Finally, the video is pushed to a Content Delivery Network (CDN). A CDN is a global network of servers that caches your stream in locations physically closer to your viewers. This simple trick dramatically cuts down latency and buffering, ensuring a smooth playback experience whether your audience is next door or across the planet. The stream is then delivered to the end-user’s player, ready to be watched on a website or inside a mobile app.
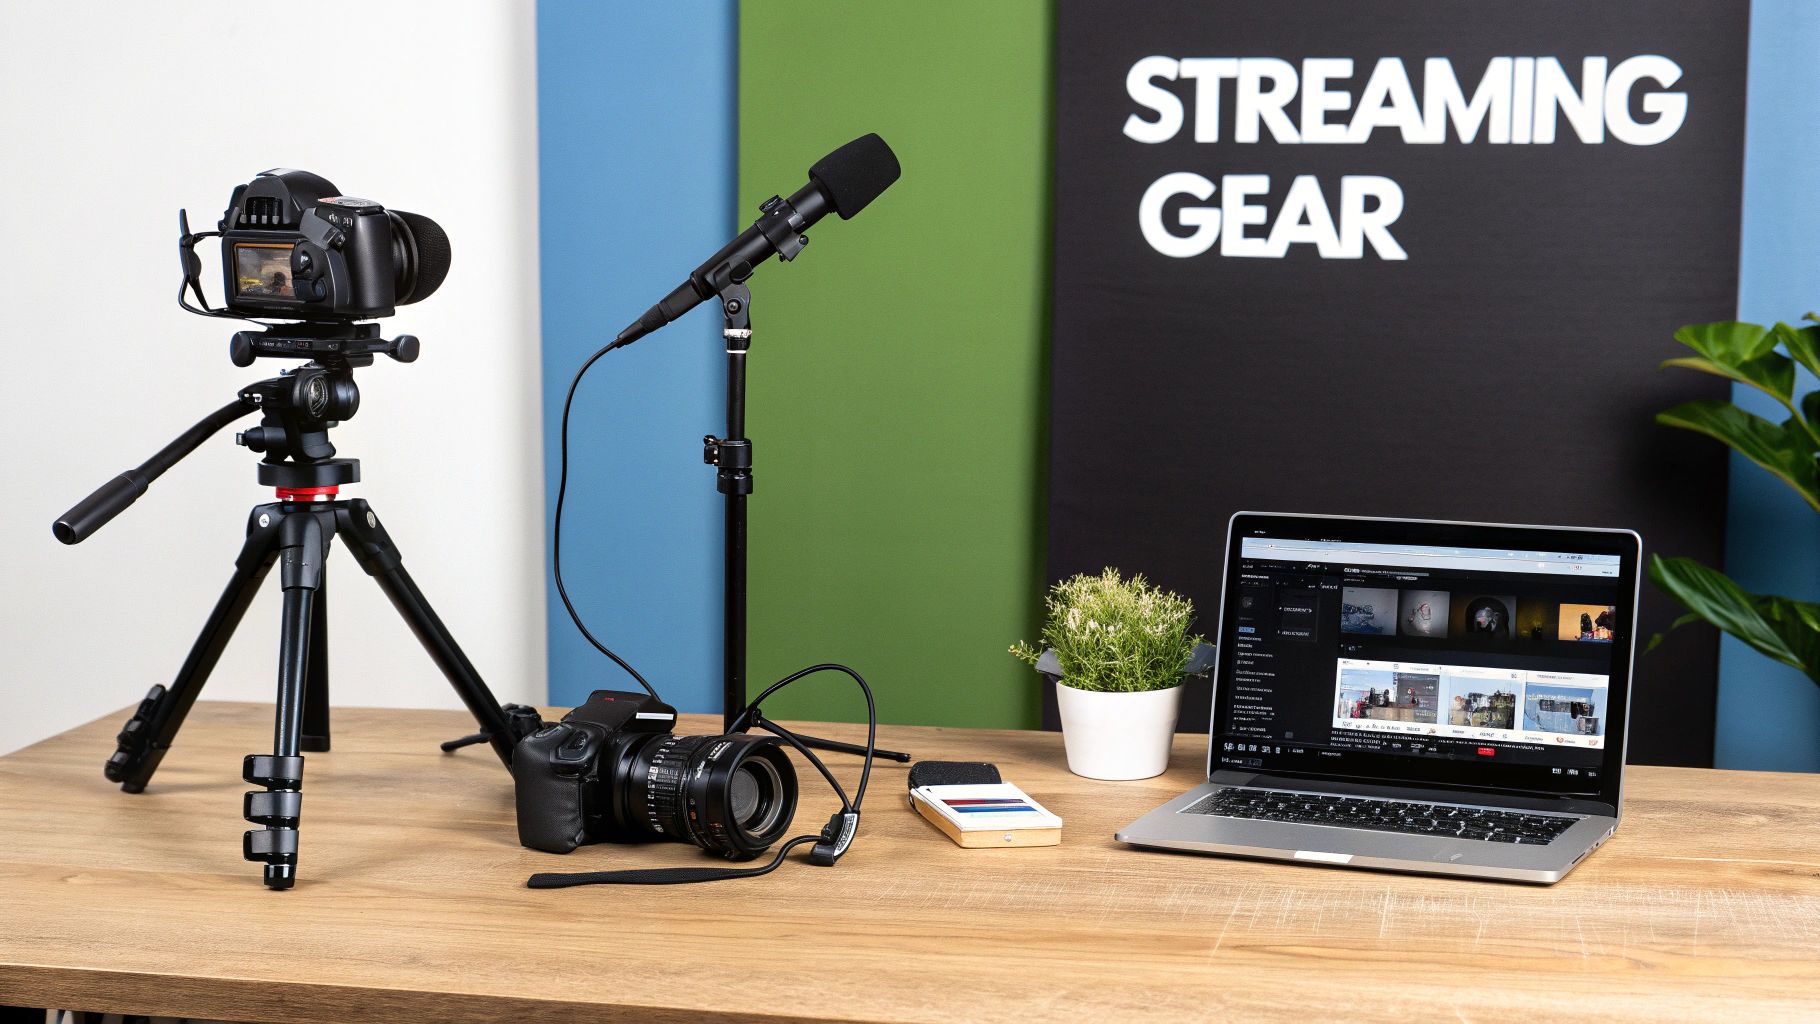
Choosing and Configuring Your Streaming Gear
Okay, with the architecture planned out, it’s time to get our hands on the actual gear. The quality of your hardware has a direct line to the quality of your final stream, but that doesn’t mean you need to break the bank. The “best” equipment for a live stream set up is completely relative to what you’re trying to accomplish—a quick developer walkthrough has very different needs than a high-stakes corporate event.
Think of your camera and microphone as the eyes and ears of your stream. While a fancy DSLR or mirrorless camera paired with a dedicated condenser mic will obviously deliver incredible quality, today’s webcams and USB mics are surprisingly good. For most business and developer streams, a solid 1080p webcam and a clear USB mic are more than enough to get started.
The real engine of your entire setup, though, is the encoder. This is the critical piece that takes your raw audio and video and compresses it into a format that can be sent over the internet. This is where you have your first big decision: do you go with a dedicated piece of hardware or a flexible software application?
Hardware Vs Software Encoders
A hardware encoder is a purpose-built box, like the ones from Teradek, designed to do one thing and do it exceptionally well: encode video with rock-solid reliability. You’ll see these in professional broadcast environments because they don’t have to share computer resources, making them incredibly stable. They’re the right call for mission-critical streams where failure just isn’t an option.
A software encoder, on the other hand, is an app that runs on your computer. We’re talking about tools like the incredibly popular OBS Studio or the powerful command-line utility FFmpeg. These are loved for their flexibility, low cost (often free), and deep customization options. For most developers and businesses, a software encoder hits that perfect sweet spot between power and control.
Hardware Vs Software Encoders: A Quick Comparison
Deciding between a dedicated box and a software application really comes down to your priorities—reliability versus flexibility and budget. Here’s a quick rundown to help you figure out which path makes the most sense for you.
| Feature | Hardware Encoder | Software Encoder |
|---|---|---|
| Reliability | Extremely high; dedicated processing. | Good; relies on PC performance. |
| Cost | Higher initial investment. | Low to free. |
| Flexibility | Limited to its designed function. | Highly customizable with plugins/scenes. |
| Portability | Varies; some are small, some are rack-mounted. | Runs on any capable laptop or desktop. |
| Use Case | Professional broadcast, live events. | Developer streams, webinars, gaming. |
For developers building applications that tap into services like LiveAPI, software encoders are almost always the way to go. They provide the granular control you need to fine-tune every little setting and integrate smoothly into an API-driven workflow.
Essential OBS Studio Configuration
OBS Studio is the undisputed champion in the world of free software encoders, and for good reason. It’s powerful, reliable, and has a massive community. Let’s walk through the absolute essential settings you need to configure for a stable, high-quality stream. You’ll find everything we need under Settings > Output and Settings > Video.
First things first, go into the Output tab and set your Output Mode to “Advanced.” This unlocks all the pro-level options we need to tweak.
- Encoder Selection: You’ll probably see options like x264 (which uses your CPU) and NVENC (which uses your NVIDIA GPU). If you have a modern NVIDIA graphics card, choose NVENC. This offloads the heavy lifting from your CPU, freeing up resources for whatever else you’re running. If you want to dive deeper into more efficient compression, our guide on the HEVC video format is a great place to start.
- Rate Control: Set this to CBR (Constant Bitrate). This is non-negotiable for live streaming. CBR sends data at a steady, predictable pace, which is the key to preventing that dreaded buffering wheel for your viewers.
- Bitrate: This is your main quality lever. It dictates how much data you’re sending per second. For a 1080p stream at 30fps, a good starting point is 4,500 Kbps. If you’re streaming at 720p 30fps, you can probably drop that to 2,500 Kbps.
- Keyframe Interval: Set this to 2 seconds. Most streaming platforms, including LiveAPI, require this. It ensures that a full video frame is sent every two seconds, which allows people to join your stream and get a clear picture almost instantly.
Pro Tip: Before you ever hit that “Start Streaming” button, run an internet speed test. Your target bitrate should never be more than 75% of your available upload speed. Pushing your bandwidth to the absolute limit is a rookie mistake and the number one cause of dropped frames.
Finally, pop over to the Video tab to dial in your resolution and framerate.
- Base (Canvas) Resolution: This should match the native resolution of your monitor, like 1920×1080.
- Output (Scaled) Resolution: This is the resolution your audience will actually see. You can keep it at 1920×1080 or downscale to 1280×720 to conserve bandwidth without a huge quality hit.
- Common FPS Values: For most business content, presentations, or talk shows, 30 fps is perfect. If you’re streaming fast-moving content like sports or video games, bumping this to 60 will deliver a much smoother experience, but just remember you’ll need to increase your bitrate to match.
By carefully choosing your gear and dialing in these core settings, you’re building a solid foundation. This is what ensures your live stream set up sends a clean, stable signal to your streaming backend, ready to be delivered to your audience around the world.
Delivering a Smooth Stream Across the Globe
You can have the most expensive camera and a perfectly tuned encoder, but none of it matters if the stream is a buffering nightmare for your audience. The final, and arguably most critical, piece of your live stream set up is getting that video delivered reliably to viewers everywhere, with minimal delay.
This all comes down to two things: solid network planning and smart use of content delivery infrastructure. Your network’s upload speed, in particular, is the ultimate gatekeeper of quality. It’s the one number that dictates the maximum bitrate you can push without dropping frames. It’s a classic rookie mistake to obsess over download speeds when, for streaming, upload is king.
Calculating Your Required Upload Bandwidth
Before you even think about hitting that “Go Live” button, you have to know what your network can actually handle. I always tell people to follow a simple rule of thumb: your stable upload speed should be at least 1.5 to 2 times your target streaming bitrate. That extra headroom is your safety net, absorbing the natural dips and spikes of internet traffic to keep your stream stable.
Here are a few practical starting points I use for different resolutions:
- 720p at 30fps: You’ll want a bitrate between 2,500–4,000 Kbps. This means you need a dedicated upload speed of at least 5–8 Mbps.
- 1080p at 30fps: For solid HD, aim for a 4,000–6,000 Kbps bitrate. Your connection will need to consistently provide 8–12 Mbps of upload bandwidth.
- 4K at 30fps: This is where things get serious. For crisp UHD, you’re looking at a 13,000–20,000 Kbps bitrate, which demands a beefy 25–40 Mbps upload speed.
A quick but crucial tip: Always use a wired ethernet connection for your main streaming machine. Wi-Fi is convenient, but it’s prone to interference and latency spikes. A physical cable provides a much more stable, reliable path to the internet, drastically cutting the risk of dropped frames.
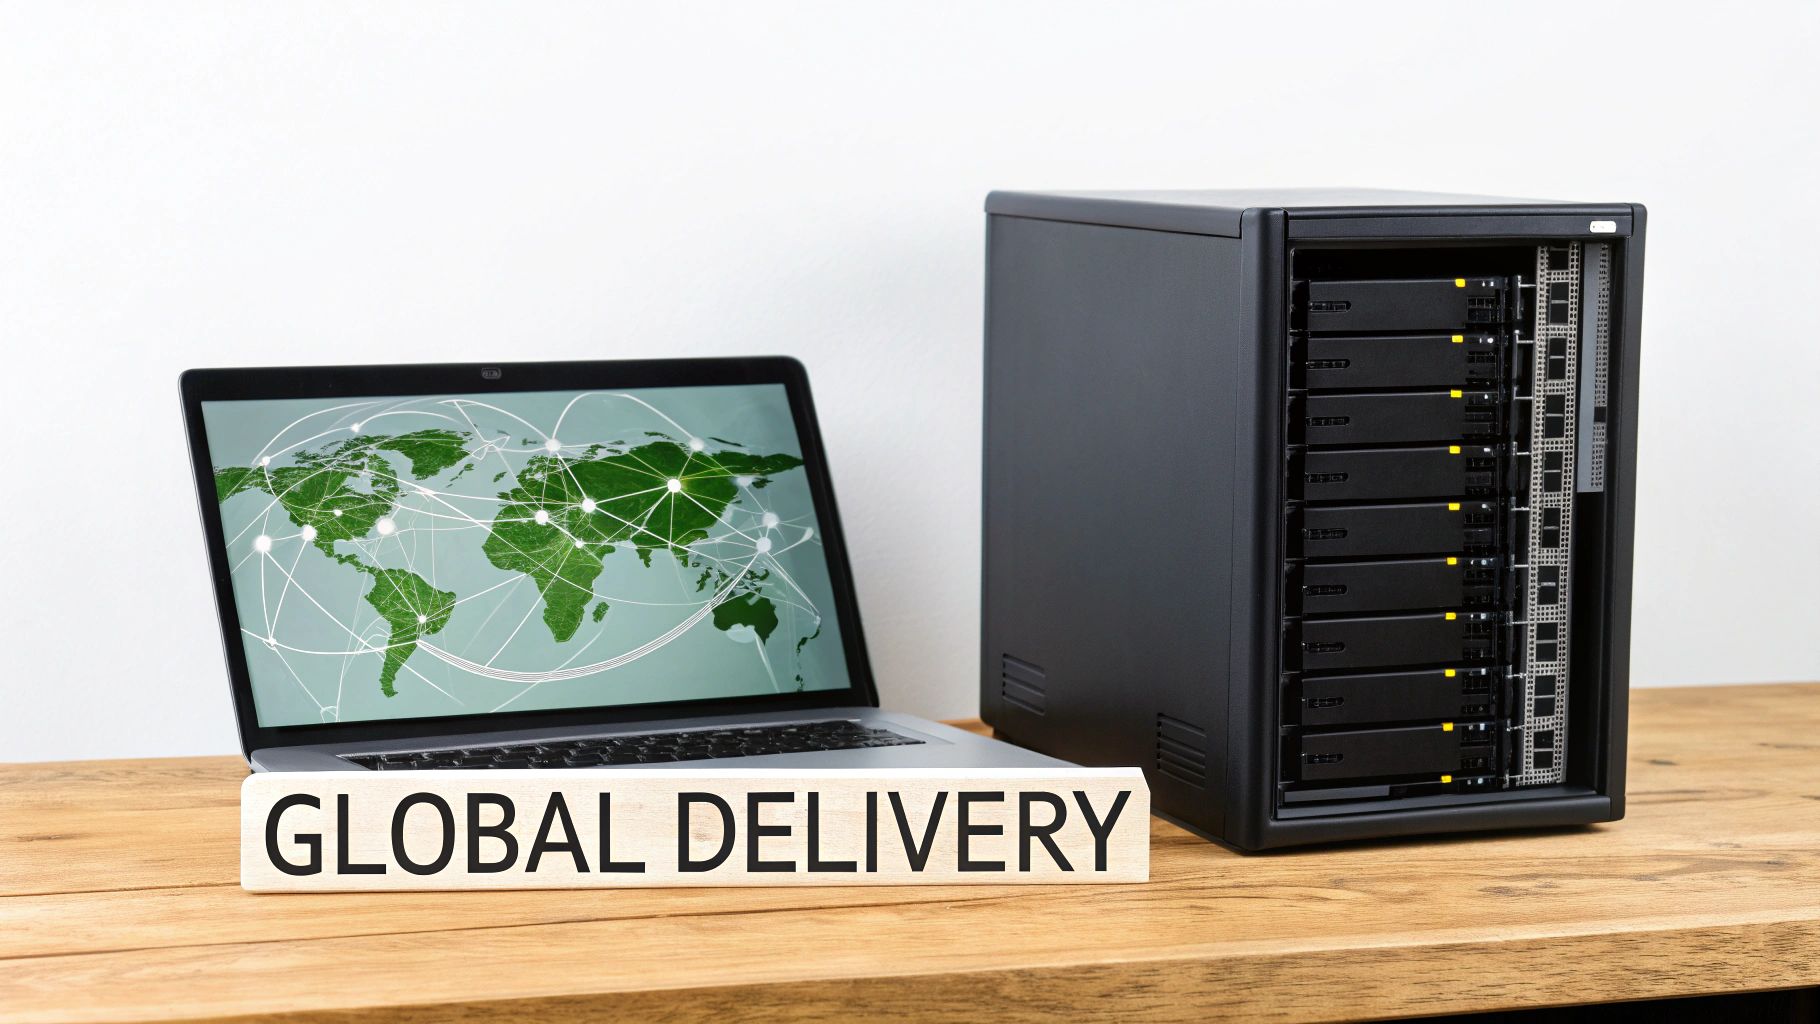
The Critical Role of a Content Delivery Network
Even with a fiber connection, your internet speed alone won’t solve the problem of a global audience. Trying to send a stream directly from your office in New York to a viewer in Tokyo is a recipe for lag. This is precisely where a Content Delivery Network (CDN) becomes a non-negotiable part of your setup.
Think of a CDN as a distributed network of servers strategically placed all over the world. Your stream goes to the nearest CDN server (the “ingest point”), which then instantly replicates it across the globe. Viewers automatically connect to the server closest to them, which slashes the physical distance the data has to travel.
This architecture is the secret sauce behind every major streaming platform. To really get a feel for how this works, we’ve broken down how a CDN for live streaming creates the backbone for a global broadcast. Big names like Cloudflare and Akamai are the go-to providers for anyone serious about streaming.
Choosing the Right Low-Latency Protocol
The protocol you use to deliver your stream has a massive impact on the viewer experience. While RTMP is still the industry standard for ingest (sending the stream from your encoder to the server), it’s not great for large-scale playback because of its higher latency.
For playback, modern protocols have completely changed the game:
- Low-Latency HLS (LL-HLS): This is an evolution of Apple’s widely used HLS protocol. It works by breaking the video into much smaller chunks, letting players start the stream far more quickly. The result is near-real-time latency without sacrificing the scalability that made HLS so popular.
- WebRTC (Web Real-Time Communication): When you need ultra-low latency—think sub-second delays—WebRTC is the gold standard. It’s perfect for anything interactive, like live auctions or video conferencing. The trade-off is that scaling WebRTC to massive audiences can be more complex and costly than LL-HLS.
The demand for this kind of instant delivery is exploding. With streaming platforms hitting a mind-boggling 29.45 billion hours watched in a single quarter and gaming streams expected to reach 1.4 billion viewers, a lag-free experience is no longer a nice-to-have; it’s an absolute must. You can see just how massive the audience is in the full global livestreaming landscape report on streamscharts.com.
By getting these three pieces right—robust bandwidth, a powerful CDN, and the right delivery protocol—you can ensure your stream arrives exactly as you intended: clear, stable, and in real time.
Integrating a Streaming API for Backend Automation
Manually configuring a stream in a dashboard is fine for a one-off broadcast, but it simply doesn’t scale. If you’re building a live streaming feature into your application, you need to be able to spin up, manage, and tear down streams programmatically. This is where a powerful streaming API, like LiveAPI, becomes the engine of your entire operation.
An API-first approach lets you automate the whole workflow, from creating unique stream keys for each user to recording sessions and notifying your app when a broadcast goes live. It abstracts away all the gnarly backend complexities—server provisioning, transcoding, global delivery—so you can focus on building a great user experience.
The live streaming economy is exploding, projected to hit $725.5 billion thanks to better connectivity and smarter tech. For developers building in this space, using an API that handles the heavy lifting is a massive competitive advantage. You can find more detail on these market trends and projections on custommarketinsights.com.
Authenticating and Creating Your First Stream
Your first step with any API is always authentication. This usually means grabbing your private API key and including it in your requests to prove who you are. Once you’re authenticated, you can get down to business.
Let’s look at a real-world example using Node.js to create a new live stream endpoint. This script connects to the API, tells it to provision a new stream, and then prints out the credentials you’ll need to go live.
// Example using a hypothetical LiveAPI Node.js SDK const LiveAPI = require(‘liveapi-sdk’); const liveAPI = new LiveAPI(‘YOUR_PRIVATE_API_KEY’);
async function createNewStream() { try { const stream = await liveAPI.streams.create({ name: ‘My App’s First Live Stream’, record: true // Automatically record the stream });
console.log('Stream created successfully!');
console.log(`RTMP Ingest URL: rtmp://live.liveapi.com/live`);
console.log(`Stream Key: ${stream.streamKey}`);
} catch (error) { console.error(‘Error creating stream:’, error); } }
createNewStream(); When you run this, the API returns the two most important pieces of the puzzle: the RTMP ingest URL and a unique stream key. These are what you’ll plug into your encoder to connect your camera feed to the cloud backend.
Connecting Your Encoder to the API Endpoint
With your new credentials in hand, it’s time to fire up your encoder. The goal is to point your software (like OBS Studio) to the specific endpoint you just created through the API.
It’s a pretty straightforward process:
- Open OBS Studio and head to Settings > Stream.
- Choose “Custom…” from the Service dropdown menu.
- Paste the RTMP Ingest URL (e.g.,
rtmp://live.liveapi.com/live) into the Server field. - Drop the unique Stream Key from your script’s output into the Stream Key field.
- Hit Apply, then OK.
That’s it. Now, the “Start Streaming” button in OBS is directly tied to the endpoint you provisioned with code. This opens up a world of possibilities for automating your platform, like generating a fresh stream key for every new user or every scheduled event.
Key Takeaway: By using an API, the stream key is no longer just a static password. It becomes a dynamic, secure token. You can build logic to create temporary keys for one-time events or provision permanent keys for individual user accounts, giving you precise control over who can stream and when.
Using Webhooks for Real-Time Event Notifications
A static application is a boring application. To make your platform feel alive and responsive, you need to know what’s happening with your streams in real-time. Constantly polling the API for status updates is inefficient and slow.
This is exactly what webhooks were made for.
Instead of asking the API “Is the stream live yet?”, you tell the API to send your application a notification the instant an event happens. For example, you could get a ping the moment a stream starts, allowing you to automatically update a user’s profile with a “LIVE” badge.
Setting up a webhook is as simple as giving the API a URL endpoint on your server. When an event like stream.started occurs, the API will send a POST request with a JSON payload to your URL, giving you all the details you need to react.
To build a truly responsive streaming application, you’ll want to subscribe to a few essential events.
Essential LiveAPI Webhook Events
Here’s a quick rundown of key webhook events you can subscribe to and how you might use them to create a slick, professional user experience.
| Webhook Event | Description | Use Case Example |
|---|---|---|
stream.started |
Triggered the moment a live stream begins. | Update the UI to show a “LIVE” badge and notify followers. |
stream.ended |
Fired when the live stream stops receiving data. | Change the status back to “Offline” and display post-stream info. |
recording.ready |
Sent when a recorded stream is processed and available. | Automatically add the VOD to a user’s library and send an email link. |
stream.idle |
Indicates the stream is provisioned but not yet receiving video. | Display a “Waiting for stream…” message in your player. |
This kind of event-driven architecture is the secret to building a professional and seamless live stream set up. It’s what separates a basic proof-of-concept from a polished, production-ready application that users will love.
Fine-Tuning Your Stream for Flawless Performance
So you’ve hit “Go Live.” That’s the starting gun, not the finish line. A truly professional live stream set up demands constant attention to make sure every single viewer gets a flawless experience, no matter what device or network they’re on. This is where you graduate from a basic broadcast to a robust, scalable delivery system using some smart tech.
Let’s face it: you have zero control over your audience’s internet connection. Someone on a shaky 4G signal can’t possibly handle the same crisp 1080p feed as a viewer on a rock-solid fiber line. If you just send out one high-bitrate stream, you’re practically asking for buffering complaints and frustrated viewers.
Luckily, Adaptive Bitrate Streaming was invented to solve this exact problem.
Deliver a Perfect Picture with Adaptive Bitrate Streaming
Adaptive Bitrate Streaming (ABR) is a brilliant technique that takes your single high-quality stream and automatically transcodes it into multiple lower-quality versions, or “renditions,” in real time. When a viewer hits play, their video player quickly assesses their available bandwidth and device capabilities, then pulls down the best-quality rendition they can handle without interruption.
This isn’t a one-and-done check. The player is constantly monitoring the connection. If a viewer moves from a room with great Wi-Fi to a dead spot, the player will seamlessly switch to a lower-bitrate stream to avoid that dreaded buffering wheel. The priority is always a smooth, continuous experience, even if that means temporarily dropping the resolution.
Trying to build this logic from scratch would be an absolute nightmare for any developer. You’d be juggling transcoding profiles and complex server-side logic. This is exactly why a service like LiveAPI is so crucial—it handles all the heavy lifting for you, automatically creating renditions for different qualities:
- 1080p (Full HD): For your viewers on fast, stable connections.
- 720p (HD): The sweet spot for most users, balancing quality and bandwidth.
- 480p (Standard Definition): A must-have for slower mobile or rural connections.
- 360p (Low Resolution): The fallback that keeps the stream alive in the worst network conditions.
The real magic of ABR is that the viewer never even knows it’s happening. They don’t have to mess with quality settings in a dropdown menu; they just get the best possible picture their connection can support from moment to moment. This kind of automated optimization is a non-negotiable for any serious streaming platform.
Maximize Your Reach with Multistreaming
Making great content is only half the job—you have to get it in front of people. Multistreaming is your secret weapon for this. It’s the simple practice of sending your single live feed to multiple platforms at the same time, like YouTube, Twitch, and Facebook Live. This approach blows up your reach without requiring any extra work or upload bandwidth on your end.
Instead of trying to push three separate streams from your encoder (which would bring most internet connections to their knees), you send one high-quality stream to a cloud service. That service then duplicates and forwards your stream to all the destinations you’ve configured. It’s a dead-simple way to meet your audience where they already are and boost engagement across all your communities.
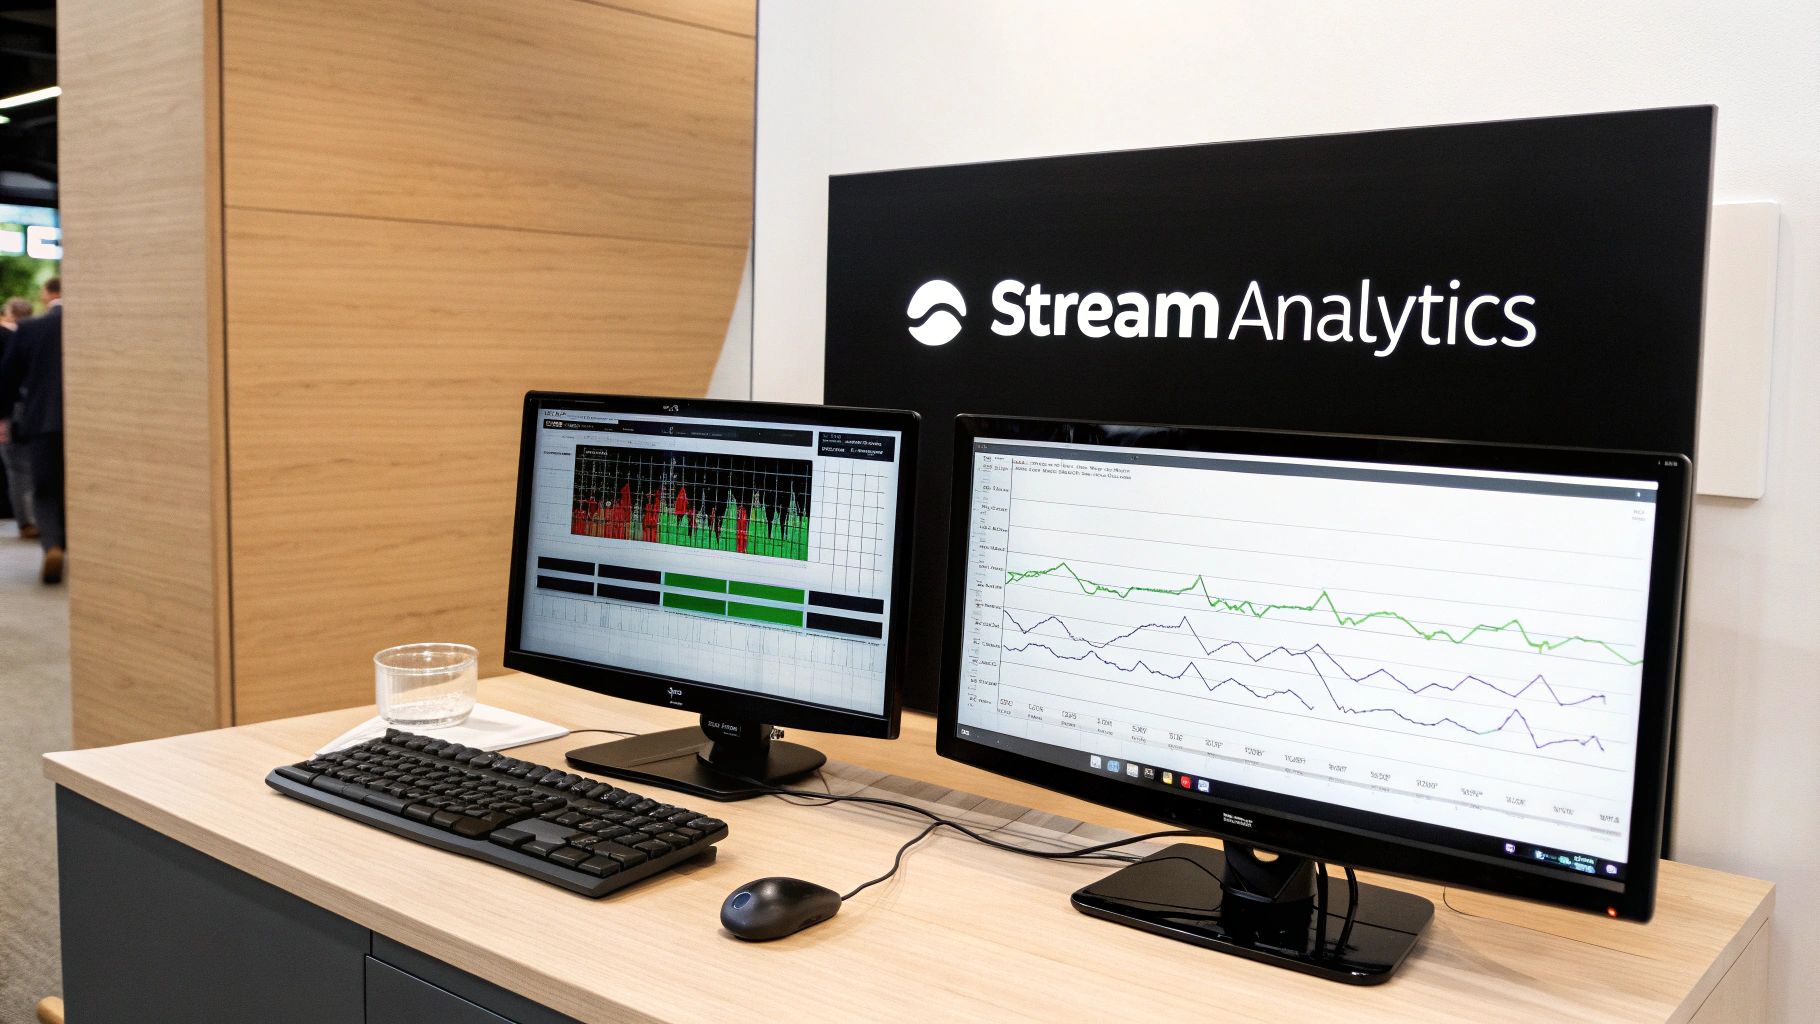
Using Analytics to Drive Real Improvement
You can’t fix what you can’t see. Once you’re live, a solid analytics dashboard becomes your mission control. It gives you a real-time view of your stream’s health and your audience’s behavior, letting you spot problems before they blow up and giving you the insights to make your next broadcast even better.
Here are the vital signs you should be tracking:
- Concurrent Viewers: How many people are watching right now? Watching for spikes and dips can tell you which parts of your content are resonating most.
- Buffering Ratio: What percentage of your audience is experiencing buffering? If this number climbs, it’s a huge red flag for ingest or CDN problems.
- Geographic Distribution: Knowing where your viewers are helps you fine-tune your CDN strategy and even tailor your content.
- Playback Errors: These can help you debug user-reported issues by pointing to problems with specific devices, browsers, or network types.
By plugging into an analytics API, you can pull this data into your own custom dashboards or integrate it with other business intelligence tools. This data-driven approach moves you from guessing to knowing, allowing you to constantly refine your live stream set up for peak performance.
Common Questions About Your Live Stream Set Up
Even with the best planning, building out a live streaming workflow always comes with a few head-scratching moments. It’s just part of the process. You’re bound to run into hiccups that aren’t spelled out in the docs. So, let’s go over some of the most common questions I hear from developers and businesses to get you unstuck and back on track.
A classic point of confusion is the difference between ingest and playback protocols. Why do you send your stream to a server using RTMP, but viewers watch it with HLS or WebRTC? Think of it like logistics: RTMP is the freight truck that reliably hauls your product from the factory (your encoder) to the distribution center (the media server). Once there, it’s unpacked and sent out for last-mile delivery using smaller, faster vehicles (HLS or WebRTC) optimized for getting to individual homes. Each protocol is just doing the job it’s best at.
Solving Ingest and Connection Issues
That gut-sinking “failed to connect to server” error in your encoder is a rite of passage for new streamers. Nine times out of ten, it’s a simple typo in the server URL or stream key. These strings are long and messy, making it incredibly easy to miss a character or have an extra space sneak in during a copy-paste.
Before you start tearing your hair out, always double-check your credentials.
- Scrutinize the Typos: Slowly and carefully compare the server URL and stream key in your encoder with what your API or dashboard provided.
- Check for Firewall Blocks: Corporate or school networks are notorious for this. Make sure your firewall isn’t blocking outgoing traffic on the standard RTMP port, which is 1935.
- Try a Closer Ingest Point: If your provider offers regional ingest servers, pick one that’s geographically close to you. Sometimes a shorter path is a more stable one.
Another frequent question revolves around the keyframe interval. Most platforms, including LiveAPI, strongly recommend setting this to 2 seconds. A keyframe is essentially a full, complete video frame that doesn’t rely on previous frames. By forcing one every two seconds, you guarantee that a new viewer joining your stream can get a complete picture and start watching almost instantly.
A mismatched keyframe interval is one of those sneaky issues that causes weird instability. Your stream might connect just fine, but viewers experience glitching, artifacting, or sync problems. Lock it in at 2 seconds—it’s a best practice you really shouldn’t skip.
Optimizing for Different Scenarios
“What’s the best bitrate?” The honest answer? It depends. There’s no magic number. While a higher bitrate looks better, it also requires more bandwidth from both you and your audience. You’re always playing a balancing game.
For a relatively static webinar with a talking head, you can get away with a much lower bitrate because very little is changing on screen. But if you’re streaming fast-paced sports or video games, you’ll need to crank that bitrate up to keep the action from turning into a pixelated mess.
Finally, people often wonder if they truly need a separate, dedicated machine just for streaming. For a very simple stream, probably not. But for any professional or business-critical broadcast, I highly recommend it. Isolating the encoding process on its own computer prevents your main machine from getting bogged down, which is a common cause of dropped frames and stuttering. It simply makes for a far more stable and reliable broadcast.
Ready to build a robust, scalable streaming feature without managing complex infrastructure? LiveAPI provides the powerful APIs and global delivery network you need to launch quickly. Start building with LiveAPI today.