When you need to merge video files, reaching for FFmpeg is like a mechanic grabbing a precision socket wrench instead of an adjustable one. It’s a command-line tool that gives you incredible speed and control, sidestepping the bloat of traditional video editors.
For developers, content creators, or anyone needing efficiency, FFmpeg is the gold standard for combining clips without unnecessary steps or quality loss. Let’s walk through why it’s the right tool for the job.
Why Use FFmpeg for Merging Videos?
Before we get into the nuts and bolts of the commands, it’s important to grasp what makes FFmpeg so different. Your average video editing software is built for creative projects, but it’s often overkill for a simple task like joining a few clips. Those graphical editors add extra layers, hog system resources, and almost always re-encode your video, which can easily degrade its quality.
FFmpeg is more of a surgical tool. It works directly with your files, letting you script and automate jobs with blistering speed. Imagine you need to stitch together a hundred short security camera clips or compile daily vlogs into a single weekly video. FFmpeg can handle that with one command, saving you hours of tedious clicking and dragging.
The Advantage of Command-Line Control
The real magic of using FFmpeg to join videos comes down to its direct handling of codecs and containers. These are the core components of any digital video file.
- Codec (coder-decoder): This is the technology that compresses and decompresses the video data itself, like H.264 or HEVC.
- Container (format): This is the wrapper that holds everything together—the video, audio, subtitles, and metadata. Think MP4, MOV, or MKV.
Most GUI editors hide these details and make decisions for you. FFmpeg, on the other hand, puts you in the driver’s seat. You can tell it to perform a lossless merge by just copying the video and audio streams into a new container, a lightning-fast process known as “remuxing.” This is the secret to preserving 100% of the original quality, and it’s a feature most consumer editors just don’t offer. Grasping these fundamentals is essential for more complex work; our guide to video transcoding covers these concepts in more detail.
FFmpeg truly shines in automated, repeatable workflows. Once you nail down the right command, you can reuse it on massive batches of files without any further intervention, guaranteeing consistent, perfect results every single time.
This kind of efficiency is non-negotiable in a professional setting. The demand for video processing is exploding—the video encoders market was valued at $2.3 billion in 2022 and is expected to reach $3.3 billion by 2027. This rapid growth underscores the need for robust tools like FFmpeg that can manage video tasks reliably and at scale.
Lossless Joining with the Concat Demuxer
When you’re dealing with video files that are already a perfect match—same codecs, resolution, frame rate, and all that technical stuff—the concat demuxer is your best friend. It’s the fastest way to join clips because it avoids re-encoding them entirely. Think of it like taking pages from several documents and simply binding them into a new book. You aren’t rewriting anything, just rearranging.
The whole process hinges on creating a simple text file that acts as a playlist for FFmpeg. This little file tells the program exactly which clips to grab and in what order to stitch them together.
Creating Your File List
First things first, you’ll need to create that playlist. Just open a plain text editor and create a new file in the same folder as your videos. You can call it mylist.txt or whatever makes sense to you.
Inside, you’ll list each video clip you want to combine, one per line, starting with the word file.
For example, if you’re joining clip1.mp4, clip2.mp4, and clip3.mp4, your text file would look exactly like this:
file ‘clip1.mp4’ file ‘clip2.mp4’ file ‘clip3.mp4’
Pay close attention to the order here. FFmpeg is very literal and will join the videos precisely as they appear in this list. This text file is the blueprint for your final video.
Running the Concat Demuxer Command
Once your list is ready, you’re set to run the command that tells ffmpeg to join your videos without touching the quality. The command itself is actually pretty simple once you know what each part does.
Fire up your terminal or command prompt and type this in:
ffmpeg -f concat -safe 0 -i mylist.txt -c copy output.mp4
Let’s quickly break that down:
-f concat: This flag tells FFmpeg specifically to use the concat demuxer for the job.-safe 0: A small but important security flag. It lets you use file paths in your list without FFmpeg complaining. It’s pretty much essential.-i mylist.txt: This points to your text file as the input source.-c copy: Here’s the magic. This flag instructs FFmpeg to copy the video and audio streams directly—a process often called “remuxing”—instead of re-encoding them.
Because it skips the heavy lifting of re-encoding, this method is lightning-fast. For compatible files, you can see processing times drop by as much as 90% compared to a full re-encode. It’s a massive time-saver.
How to Make Sure Your Files are Compatible
The concat demuxer’s speed is incredible, but it only works if your files are true technical twins. So, how can you be sure? This is where ffprobe, a tool that comes with FFmpeg, becomes invaluable.
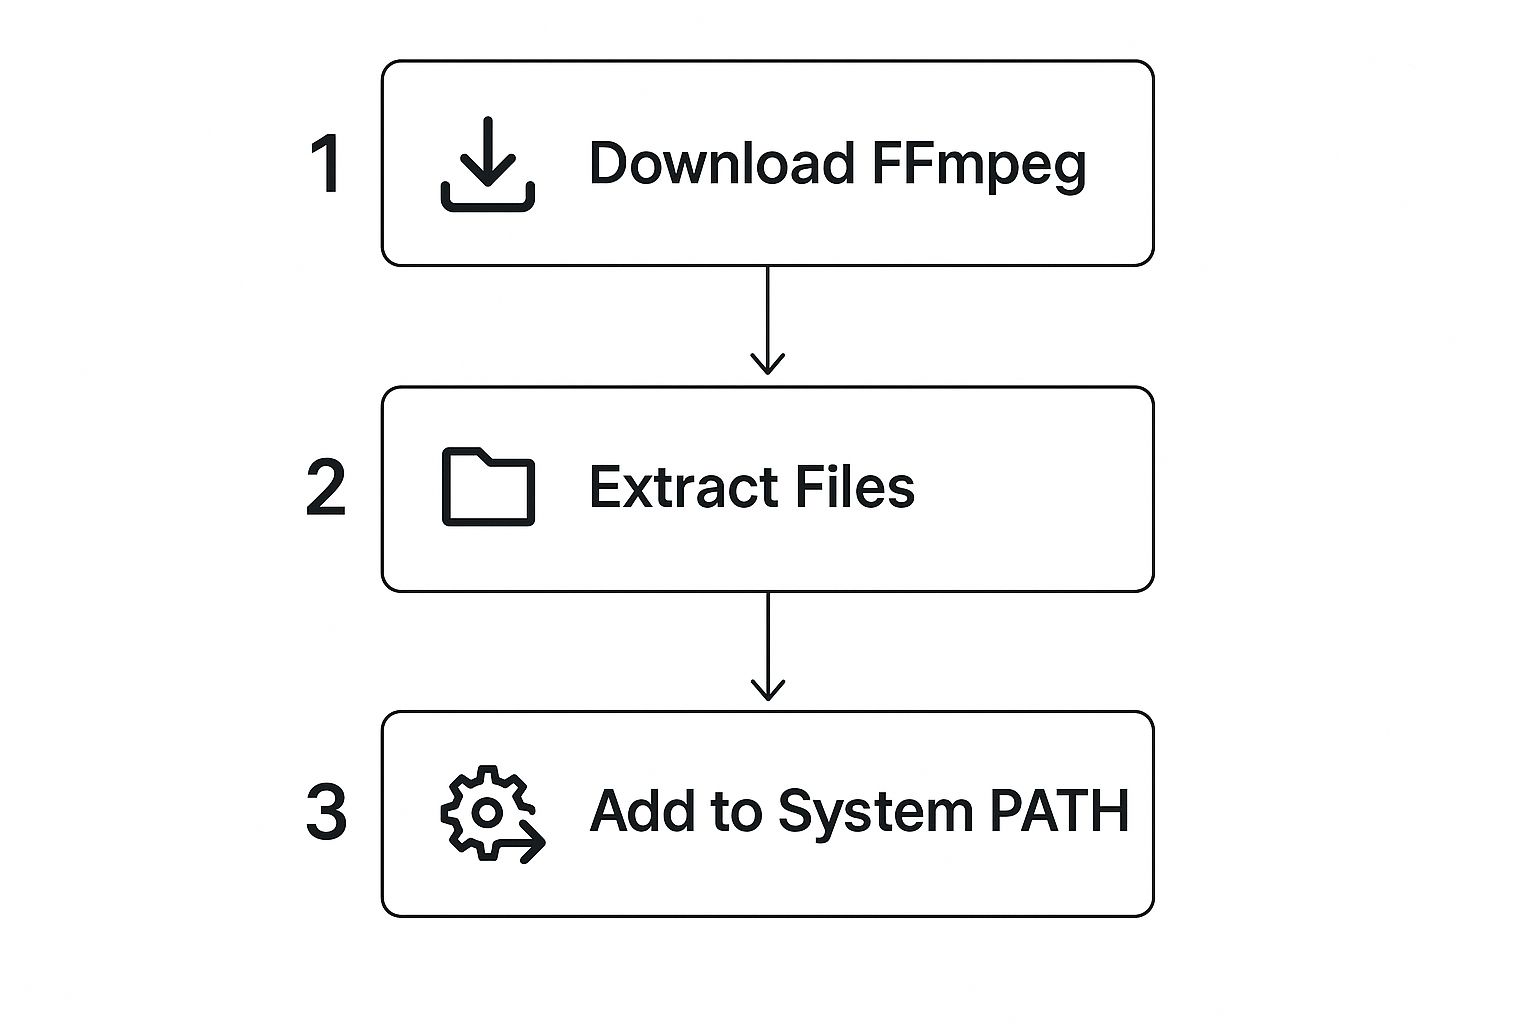
This diagram gives a quick overview of how to get FFmpeg and its tools set up and ready to go on your machine.
Once it’s installed, ffprobe will be available right from your command line, making it easy to check on your files.
To inspect a video’s properties, run this command for each of your clips:
ffprobe -v error -show_streams clip1.mp4
You’ll get a bunch of information back. You need to look through the output and make sure a few key properties match perfectly across every single file:
codec_name: Must be identical (e.g.,h264for all clips). If you want to learn more, our guide on the H.264 file type is a great resource.widthandheight: The resolution has to be the same (e.g.,1920and1080).r_frame_rate: The frame rate (e.g.,30/1) needs to be consistent.
If all these values line up, you’re good to go. The concat demuxer will work its magic, and you’ll have a perfectly merged video in a fraction of the time.
When You Need to Merge Different Kinds of Video Files

The lossless concat demuxer is a speed demon, but it plays by a very strict set of rules. It demands that all your video files be practically identical. But what happens in the real world? You’ve got an MP4 from your phone, a MOV file from a DSLR, and maybe a WEBM you pulled from the internet.
This is exactly the kind of messy, real-world scenario where the concat filter becomes your best friend.
Unlike its rigid counterpart, the concat filter is built for flexibility. It doesn’t just glue files together; it actually re-encodes everything into a single, cohesive stream with perfectly matched properties. This approach is what allows you to ffmpeg join videos of virtually any format, resolution, or frame rate. It’s the powerhouse method for complex projects.
The Concat Filter Command in Action
At first glance, the command for the concat filter looks a bit more complex, but that complexity gives you total control. Each part of the command has a specific job to do.
Let’s say we need to join input1.mp4 and input2.mov. Here’s the command you would use:
ffmpeg -i input1.mp4 -i input2.mov -filter_complex "[0:v][0:a][1:v][1:a]concat=n=2:v=1:a=1[v][a]" -map "[v]" -map "[a]" output.mp4
This command tells FFmpeg to re-process both the video and audio from each source file. This ensures they can be flawlessly combined into a brand new, unified file.
My Takeaway: The concat filter is your go-to problem-solver for mismatched files. It re-encodes everything to create a common standard, ensuring compatibility no matter what you throw at it. The trade-off is that it takes more processing time, but it’s by far the most reliable way to join videos from different sources.
Decoding the Filtergraph Syntax
All the magic happens inside the -filter_complex argument. Think of it as a small script that tells FFmpeg exactly how to juggle all the different video and audio streams.
Let’s break down that long string piece by piece.
[0:v][0:a]: This part targets the video (v) and audio (a) streams from the very first input file (which FFmpeg labels as0).[1:v][1:a]: Following the same logic, this selects the video and audio from the second input file (labeled as1).concat=n=2:v=1:a=1: This is the actual concat filter.n=2tells the filter we are combining 2 different segments.v=1specifies that we want one video stream in our final output.a=1specifies that we also want one audio stream in the output.
[v][a]: These are just temporary labels we’re giving to the newly created, stitched-together video and audio streams.-map "[v]" -map "[a]": Finally, this tells FFmpeg to take our labeled[v]and[a]streams and use them to build the finaloutput.mp4file.
This structured approach is what makes the filter so powerful. It lets you cherry-pick which streams to combine and in what order, making it an indispensable tool for any serious video work.
Controlling the Quality of Your Final Video
Because the concat filter re-encodes your video from scratch, you have a crucial opportunity—and responsibility—to set the output quality. If you don’t, FFmpeg will use its default settings, which might not be what you want.
You have two main ways to control quality:
- Constant Rate Factor (
-crf): This is the method I recommend for most situations. It focuses on maintaining a consistent visual quality throughout the video. A lower-crfvalue means higher quality and a larger file size. For the common H.264 codec,23is a great starting point, while something like18is considered nearly lossless. - Video Bitrate (
-b:v): Use this when you have a specific file size target. For example,-b:v 2Mwill set the average bitrate to 2 Megabits per second, which can be useful for streaming or platform upload limits.
Adding the -crf flag to your command is easy. Just slot it in before the output filename:
... -map "[a]" -crf 22 output.mp4
Getting a handle on how encoding works is key to getting great results. If you want to go deeper, our guide on what a video codec is is a great place to start. Mastering these quality flags is what separates a good-looking merged video from a great one.
A Simpler Method Using the Concat Protocol
While the concat demuxer and filter cover most of your bases, FFmpeg has another trick up its sleeve for certain jobs. If you’re working with specific raw stream formats—most often MPEG Transport Streams (.ts files)—you can use the even more direct concat protocol. This handy method lets you skip the text file entirely and just list your inputs right in the command line.
This approach is a lifesaver for quick jobs where making a separate file list feels like a chore. Say you’ve downloaded a video that came in two .ts parts and you just want to stitch them together without any fuss. The concat protocol is perfect for that.
When to Use the Concat Protocol
The sweet spot for this protocol is with file types that can be joined at the bitstream level, no complex container logic needed. MPEG Transport Streams are the classic example; they’re designed for broadcasting and can be snapped together seamlessly.
The command itself is refreshingly simple. You just list the files you want to join, separated by a pipe (|), all inside a single quoted input string.
Here’s what it looks like in practice: ffmpeg -i "concat:input1.ts|input2.ts" -c copy output.ts
See how clean that is? The concat: prefix tells FFmpeg which tool to grab from its toolbox, and -c copy keeps the process lightning-fast and lossless, just like the demuxer method.
The concat protocol is FFmpeg at its most efficient, but only for the right file type. It’s a one-liner that does the same job as the demuxer, just without the external list. This makes it my go-to for simple, on-the-fly merges of streamable formats like
.ts.
Understanding Its Limitations
So, if it’s that easy, why not use it for everything? Well, the concat protocol’s simplicity is also its biggest weakness. It just isn’t built to handle complex container formats like MP4 or MOV.
Those formats are packed with intricate metadata, timing information, and header data that you can’t just smash together. If you try to use the protocol on MP4 files, you’ll almost certainly end up with a corrupted mess or an outright error because FFmpeg won’t know how to parse the jumbled container structure.
For those much more common formats, you have to stick with the other methods. Use the concat demuxer for identical files or the concat filter when your clips have different properties.
Think of it this way: the protocol is for joining raw, “unwrapped” streams, while the demuxer and filter are for managing the sophisticated containers that hold modern video files together.
Troubleshooting Common FFmpeg Joining Errors
When you’re trying to ffmpeg join videos, even a perfectly crafted command can blow up in your face. It’s just a matter of time before you run into a cryptic error message that grinds your entire workflow to a halt. Don’t worry—most of these issues are common, and the solutions are usually straightforward once you know what to look for.
One of the most frequent errors you’ll see, especially when using the concat demuxer, is the dreaded Non-monotonous DTS in output stream. It sounds pretty technical, but it usually just means the timestamps in your video files aren’t lining up correctly. This is often a quirk from how they were originally encoded.
The command line spits out this error and dies, leaving you with a partial or corrupted file. It’s a frustrating roadblock, for sure, but the fix is often surprisingly simple.
Fixing Timestamp and Sync Issues
The fastest way to get past the non-monotonous DTS error is to remux your input files before trying to join them. Remuxing is just a fancy way of saying you’re copying the existing video and audio streams into a new, clean container. This process effectively resets the problematic timestamps without re-encoding anything, so you lose zero quality.
Just run this simple command on each video file that’s causing trouble:
ffmpeg -i your_problem_clip.mp4 -c copy clean_clip.mp4
Swap out your_problem_clip.mp4 with the original file and give the new one a name like clean_clip.mp4. Do this for all the clips you want to join, then point your mylist.txt to these new “clean” versions. In my experience, this one extra step fixes the DTS issue over 90% of the time.
Another classic headache is the audio drifting out of sync. This often happens if you’re joining clips that have slightly different audio sample rates or formats. The concat filter is your best friend here, since it re-encodes both audio and video, forcing everything onto a unified timeline.
When a complex FFmpeg command fails, simplify. My go-to strategy is to break the process down into smaller, verifiable steps. Creating clean intermediate files before the final merge is a powerful debugging technique that helps isolate the source of the problem.
Addressing Stream and Resolution Mismatches
What about when your final video is missing an audio track or comes out at a completely unexpected resolution? These problems almost always trace back to how the streams are mapped or selected during the joining process.
Here are a couple of common scenarios:
- Missing Audio: This can happen if one of your source clips doesn’t have an audio stream. When you’re using the concat filter, FFmpeg can get confused about how to handle the empty track. You need to make sure your filtergraph explicitly tells it what to do with every stream you want in the final output.
- Resolution Changes: If you use the concat filter to join clips with different resolutions, FFmpeg defaults to the resolution of the very first input file. If you need a specific output size, like 1080p, you have to add a
scalefilter to your-filter_complexchain to resize the streams before they get concatenated.
For example, to make sure all your video streams are 1080p, you’d add scale=1920:1080 to each video stream selector in your filtergraph.
By tackling these issues one by one, you can turn those frustrating error messages into minor speed bumps.
Frequently Asked Questions About Joining Videos in FFmpeg
Even with the right commands in hand, real-world projects often throw curveballs that go beyond simple video merging. This section tackles some of those common sticking points I see developers and editors run into.
Getting a handle on these edge cases is what really elevates your FFmpeg skills. Once you’re comfortable with these solutions, your video workflow becomes much more resilient.
Can I Join Hundreds of Video Files at Once?
You sure can. In fact, this is exactly where the concat demuxer method shines. Trying to manually list out hundreds of filenames in a single command is a recipe for disaster—it’s just not practical.
The demuxer gets around this by reading the file list from a simple text file. You can easily write a quick script to generate mylist.txt with the paths to thousands of clips, all in the right order. It’s by far the most efficient way to tackle joining videos at scale.
How Can I Join Videos if One Has No Audio?
FFmpeg can often figure this out on its own, but my advice is to always be explicit with your commands, especially when using the concat filter. If you’re combining a clip that has both video and audio with a video-only clip, the filter can sometimes get tripped up.
The fix is to map the streams yourself within the filter_complex command. This tells FFmpeg exactly what to pull from each input. You can instruct it to take the video from both sources but only grab the audio stream from the clip that actually has it. The result is a clean output without any errors.
The key to solving complex FFmpeg puzzles is often to break the problem down into smaller, verifiable steps. Instead of one massive command, try creating intermediate files. This helps isolate issues and ensures each part of the process works perfectly before the final merge.
Is It Possible to Add Transitions Between Videos?
Yes, but it’s a bit more involved than a straightforward concatenation. The methods we’ve discussed—demuxer, filter, and protocol—are all designed for creating hard cuts. One video ends, and the next one immediately starts.
To create effects like a crossfade, you’ll need to build a more advanced filtergraph. FFmpeg has some incredibly powerful filters for this, with xfade being the go-to for generating smooth transitions. This process always requires re-encoding the video, because FFmpeg has to create brand-new frames to blend the clips together.
Interestingly, the rise of browser-based tools has made video editing much more accessible. Innovations using FFmpeg compiled to WebAssembly now allow for video processing right in a web browser. These tools can handle conversions and concatenations for files up to 2 GB with no installation required, offering a private and surprisingly powerful alternative. You can even explore how developers are building these frontend video editors in more detail.
At LiveAPI, we simplify the complexities of video streaming and hosting for developers. Our robust APIs for encoding, streaming, and delivery let you focus on your application while we handle the video infrastructure. Integrate high-quality video into your platform today at https://liveapi.com.