Let’s get straight to the point and answer the big question: What is WebM?
At its core, WebM is a media file format designed from the ground up for the web. Think of it as a special kind of digital package, created by Google specifically for sending high-quality video across the internet without the baggage of licensing fees. It’s an open-source, royalty-free format, which was a huge deal when it first appeared.
Decoding the WebM Format
WebM stands for Web Media, and its name tells you everything you need to know about its purpose. When it launched back in 2010, the web was a different place. Most video relied on proprietary plugins like Adobe Flash. Google’s goal with WebM was to create a high-quality, free alternative that could play natively in any modern browser, a perfect fit for the new HTML5 standard.
To really understand WebM, it helps to use an analogy. Imagine you’re mailing a gift. The box itself is the container, but the real value is what’s inside—the gift and all the packing material that keeps it safe. A .webm file works exactly the same way. The file is the container, which is built on the very flexible Matroska (.mkv) format. Tucked inside that container are a few separate, but perfectly synchronized, streams of data:
- Video Streams: The actual moving pictures, compressed by a video codec.
- Audio Streams: The sound that goes with the video, compressed by an audio codec.
- Metadata: Extra info like captions, subtitles, or chapter markers.
This separation of the container (the box) from the codecs (the contents) is how nearly all digital video works. The container’s job is to hold everything together so the audio and video play in sync. The codecs do the heavy lifting, shrinking massive amounts of raw video and audio data into files small enough to stream over an internet connection.
The Key Components Inside WebM
The real magic of WebM is in the codecs it uses. These are the algorithms that compress the video and audio, constantly balancing visual quality with file size. The WebM specification is very particular about which codecs it supports, choosing only those optimized for web performance.
Here’s a quick breakdown of what you’ll find inside a WebM file.
WebM Format at a Glance
| Component | Description | Examples |
|---|---|---|
| Container | The file wrapper that holds the video, audio, and metadata together. | Based on the Matroska (.mkv) container format. |
| Video Codecs | Algorithms that compress and decompress the visual data. | VP8, VP9, and the newer, highly efficient AV1. |
| Audio Codecs | Algorithms that compress and decompress the sound data. | Vorbis and the more versatile Opus. |
This table shows how WebM has evolved over time, starting with solid codecs and adopting even better ones as technology improved.
WebM was engineered from the ground up to solve a critical web problem: delivering high-quality video efficiently without the burden of licensing fees. This royalty-free model accelerated its adoption by major platforms like YouTube and browser developers.
When WebM first started, it paired the VP8 video codec with the Vorbis audio codec. As the web demanded higher quality and smaller files, the format evolved. The introduction of the VP9 codec was a game-changer, offering much better compression than VP8. More recently, WebM has embraced AV1, a next-generation video codec that pushes efficiency to incredible new levels. On the audio side, it also added support for the excellent Opus codec.
This constant evolution is why WebM remains a fantastic choice for delivering crisp, fast-loading video online, whether you’re streaming a simple clip or a stunning 4K feature.
Understanding the Building Blocks of WebM
To really get what WebM is, you have to look under the hood. Think of the .webm file as a digital shipping container. It’s a standardized box, but the magic is what’s packed inside. The container’s job is to hold everything together and make sure it all works in sync.
The WebM container is built on the very flexible and powerful Matroska (.mkv) format. Its main role is to bundle the video and audio streams into one neat package. This ensures that when you see lips move on screen, you hear the corresponding audio at the exact same time—no weird delays, just a smooth viewing experience.
This diagram shows how the WebM container neatly organizes its video and audio components.
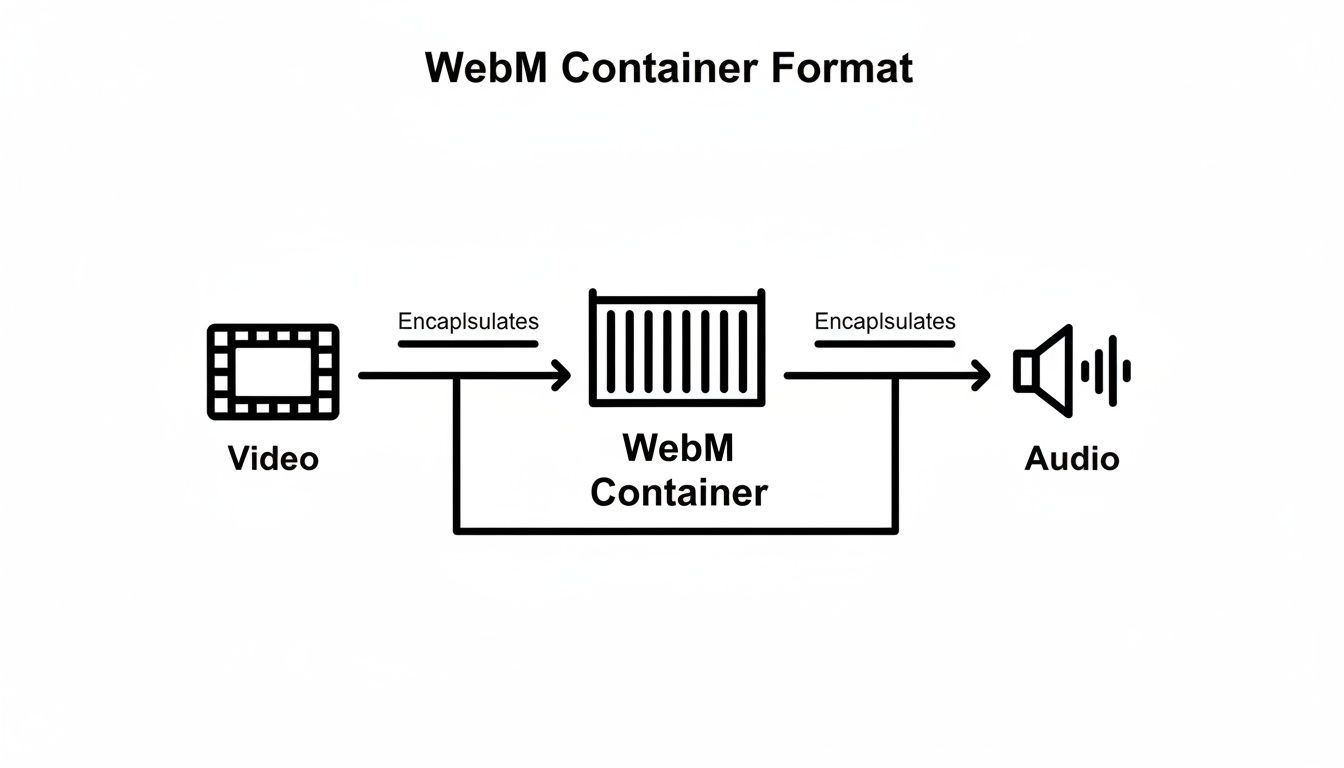
As you can see, the container is the foundation. It allows different video and audio technologies to be combined into a single, cohesive file.
The Original Engine: VP8
When Google first introduced WebM back at its I/O conference on May 19-20, 2010, the goal was clear: create a high-quality, open-source video format for the web. This was a direct challenge to the proprietary formats that ruled the internet at the time.
The initial formula was simple: take the Matroska container, pair it with the VP8 video codec (which Google had just acquired), and add the Vorbis audio codec. This combination was a huge push for native HTML5 video, finally giving developers a way to embed video without relying on plugins like Flash.
VP8 was the original workhorse for WebM. It delivered compression quality on par with the then-dominant H.264 codec, but with a massive advantage: it was completely royalty-free. This was a big deal, making it an easy choice for browser makers and web developers looking to avoid hefty licensing fees.
The Leap Forward: VP9
As internet speeds got faster and our screens got sharper, video compression had to keep up. Enter VP9, the successor to VP8 and a major upgrade for the WebM format.
VP9 was a genuine game-changer, offering up to 50% better compression than VP8. This huge leap in efficiency is what allowed platforms like YouTube to start streaming 4K video to millions of people without bringing the internet to a screeching halt.
This jump from VP8 to VP9 meant a few key things:
- Higher Quality Video: Viewers could watch much sharper, clearer video without using more data.
- Faster Loading Times: With smaller file sizes, videos started playing almost instantly. Less buffering, more watching.
- Bandwidth Savings: Streaming services could slash their data delivery costs, a massive operational win.
VP9 quickly became the go-to codec for high-resolution web video and is still heavily used by major streaming platforms today.
The Next Generation: AV1
The push for more efficient compression never ends. The latest and most advanced video codec you’ll find inside a WebM container is AV1 (AOMedia Video 1). It was developed by the Alliance for Open Media—a powerhouse consortium that includes Google, Apple, Microsoft, and Mozilla—and it truly represents the future of online video.
AV1 delivers another massive efficiency boost, providing up to 30% better compression than the already impressive VP9. If VP9 made 4K streaming practical, AV1 is paving the way for the next wave of content: 8K video, HDR, and other immersive experiences.
These powerful compression engines—VP8, VP9, and AV1—are known as video codecs. Getting a handle on how they work is fundamental to understanding video formats. To dive deeper, check out our comprehensive guide on what video codecs are. By pairing these cutting-edge codecs with its reliable container, WebM provides a versatile and future-proof solution for modern video.
Choosing Between WebM and MP4 for Your Project
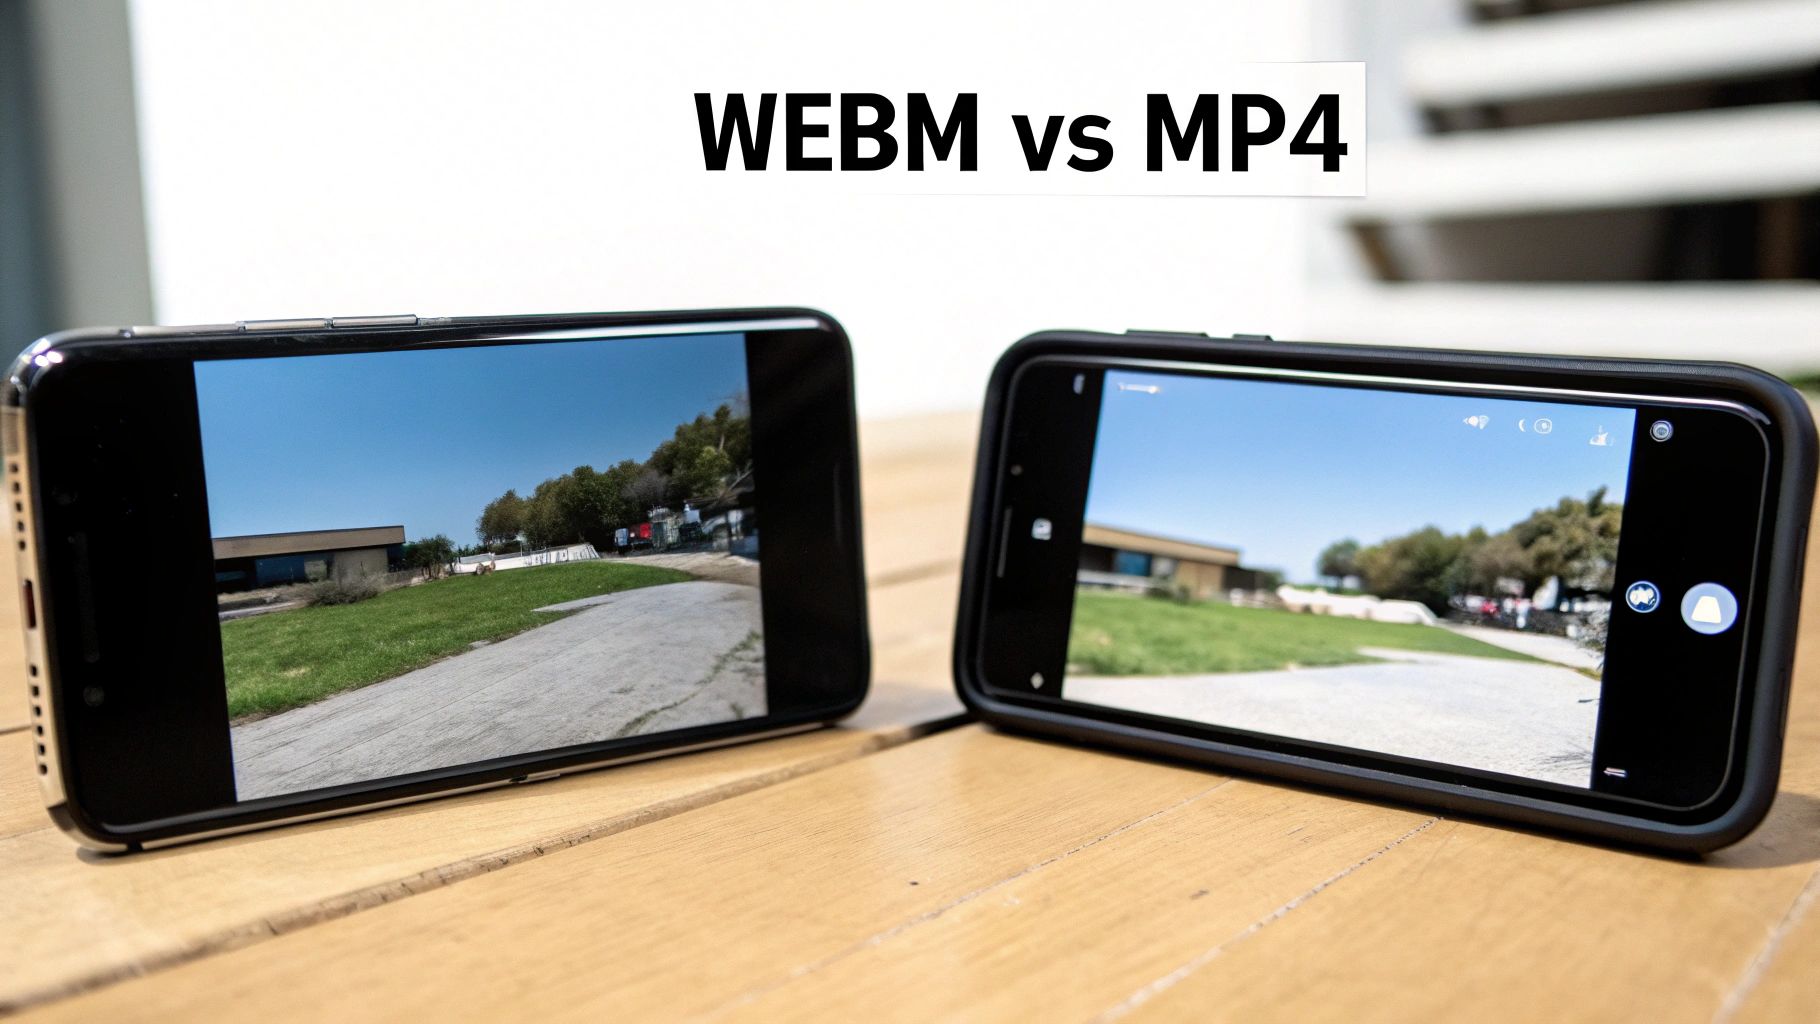
When it comes to web video, the conversation almost always lands on two heavyweights: WebM and MP4. The real challenge isn’t picking a single “winner,” but understanding the trade-offs and deciding which format makes the most sense for your project. Think of it as a classic clash between modern efficiency and universal compatibility.
Getting this choice right means you’re thinking about file size, playback support, and even potential costs. Let’s break down where each format shines so you can make a call based on performance and, most importantly, your users’ experience.
Compression Efficiency and Quality
Here’s where WebM really flexes its muscles. Thanks to its modern codecs like VP9 or AV1, WebM can deliver video that looks just as good as an MP4, but in a much smaller package. And we’re not talking about a tiny difference—it’s common to see files that are 25-50% smaller.
That efficiency has some serious real-world benefits:
- Faster Page Loads: Smaller videos mean your pages load faster. That’s a huge win for keeping users engaged and for your SEO rankings.
- Reduced Bandwidth Costs: If you’re hosting your own videos, smaller files mean lower CDN and hosting bills. It adds up quickly.
- Smoother Streaming: For anyone on a shaky internet connection, a smaller file is the difference between a video that plays perfectly and one that buffers every few seconds.
Now, that’s not to say MP4 is a slouch. Using the H.264 codec, it still provides excellent quality and solid compression. We cover its strengths in our deep dive into the H.264 file type. But when you’re trying to squeeze every last drop of quality out of each byte, WebM usually comes out ahead.
WebM vs. MP4 A Head-to-Head Comparison
To see the differences at a glance, here’s a quick comparison of the two formats.
| Feature | WebM (VP9/AV1) | MP4 (H.264/HEVC) |
|---|---|---|
| Primary Use Case | Web-optimized streaming, online video platforms | Universal playback, broadcast, file sharing, editing |
| Compression | Superior efficiency; smaller files at same quality | Very good efficiency, but often larger than WebM |
| Browser Support | Excellent on all modern browsers (including Safari) | Near-universal, works on virtually everything |
| Hardware Support | Good, but less common on older devices | Ubiquitous; hardware decoding is on almost every device |
| Licensing | Completely open-source and royalty-free | Codecs like H.264/HEVC are subject to patent licensing |
| Container | Based on a subset of Matroska (MKV) | MPEG-4 Part 14 |
Ultimately, WebM is the lean, modern choice built for the web, while MP4 is the reliable, do-anything format that’s guaranteed to work everywhere.
Browser Compatibility and Device Support
This is where MP4 has long been the undisputed champion. For years, an MP4 file using the H.264 codec was the gold standard—it just worked. Everywhere. Every browser, every phone, every operating system. It’s the safe bet.
WebM, on the other hand, had a tougher road. For the longest time, the big holdout was Apple’s Safari browser, which kept WebM from being a truly universal format. But the game has changed.
As of Safari 14.1, WebM playback with the VP9 codec is now supported on macOS Big Sur and newer, as well as iOS 15. This was a massive step, closing the compatibility gap and making WebM a practical choice for almost any audience.
While WebM support is now fantastic across modern browsers, you still have to think about older hardware. Some older devices don’t have dedicated hardware to decode VP9 or AV1, which means the CPU has to do all the work. This can sometimes lead to higher battery drain on mobile devices. In contrast, H.264 hardware decoding is everywhere.
The Best Approach? Use Both.
In the end, you don’t actually have to pick just one. The modern best practice for web video is to provide both formats and let the browser decide. Using the HTML5 <video> tag, you can get the best of both worlds: top-tier performance for users with modern browsers and rock-solid compatibility for everyone else.
Here’s how you do it:
- Encode Your Video Twice: Create a WebM version (with VP9 or AV1) and an MP4 version (with H.264).
- Use Multiple
<source>Tags: Inside your<video>element, list the WebM source first, then the MP4 source. - Let the Browser Choose: The browser reads the sources in order. If it understands WebM, it will grab that smaller, more efficient file and play it. If not, it simply skips it and moves on to the MP4 file, which it definitely supports.
This fallback strategy ensures you’re delivering the fastest experience possible to most of your users without leaving anyone behind with a broken video player. It’s a simple, elegant solution to optimize for performance without sacrificing reach.
How to Create and Implement WebM Files
Alright, enough with the theory. Let’s get our hands dirty and actually make some WebM files. The good news is, it’s a lot more straightforward than you might imagine. You don’t need expensive software; in fact, the most powerful tool for the job is completely free.
We’re talking about FFmpeg, the legendary open-source utility that’s like a Swiss Army knife for video. It’s a command-line tool, which might sound intimidating, but it gives you incredible control over every detail of the encoding process. Once you learn a few basic commands, you’ll be converting videos with ease.
Let’s walk through the most common scenarios you’ll encounter.
Converting MP4 to a VP9 WebM
This is the bread and butter of WebM encoding. You have a standard MP4 file, and you want to convert it to a high-quality, web-friendly WebM using the VP9 codec. VP9 hits that sweet spot between great compression and visual quality, making it a go-to choice for most web videos.
Here’s the command you’ll use in your terminal:
ffmpeg -i input.mp4 -c:v libvpx-vp9 -crf 30 -b:v 0 -c:a libopus output.webm
Let’s quickly demystify that command:
-i input.mp4: This just points to your source file.-c:v libvpx-vp9: Here, you’re telling FFmpeg to use the VP9 video codec.-crf 30: This is the most important part—the Constant Rate Factor. It controls the quality. A lower number means higher quality (and a bigger file), while a higher number means more compression. For VP9, a range of 20–40 is a great starting point.-b:v 0: This tells FFmpeg to base the quality on the CRF value you just set, not a fixed bitrate.-c:a libopus: This sets the audio codec to Opus, the modern and highly efficient standard for WebM.
Run that command, and you’ll get a high-quality WebM file ready for the web. Feel free to play around with the CRF value to find the perfect balance for your needs.
Encoding with the AV1 Codec for Maximum Efficiency
What if your top priority is the smallest possible file size without sacrificing too much quality? That’s where AV1 shines. It delivers truly impressive compression, but be warned: the trade-off is that encoding takes significantly longer and requires more processing power.
The FFmpeg command looks very similar:
ffmpeg -i input.mp4 -c:v libsvtav1 -crf 35 -c:a libopus output.webm
The main difference is -c:v libsvtav1, which selects the powerful SVT-AV1 encoder. The recommended CRF range for AV1 is also a bit different, usually somewhere between 25–45. AV1 is perfect for videos that get a ton of traffic, because the upfront encoding time pays off big time in saved bandwidth down the road.
Pro Tip: Encoding is all about trade-offs. Use VP9 for everyday conversions where speed matters. Reserve AV1 for your most popular videos where every kilobyte saved makes a real difference to performance and hosting costs.
Implementing Your WebM Video with an MP4 Fallback
Creating the file is only half the battle; you also have to put it on your website correctly. The gold standard is to provide both a WebM version and an MP4 version. This ensures your video plays for everyone, no matter what browser they’re using.
Thankfully, the HTML5 <video> tag makes this incredibly simple.