Think of it this way: a raw video file is like a massive, unedited manuscript. It contains every single word, every crossed-out sentence, every note in the margins. It’s pure, but it’s also huge and unwieldy. Video encoding is the masterful editor that trims the fat, corrects the errors, and turns that manuscript into a polished, portable paperback.
The goal is to shrink the file down to a manageable size for streaming or storage, all while keeping the story—the visual quality—intact.
How Digital Video Actually Works
Ever wonder how a 4K movie file, which could be hundreds of gigabytes, can stream instantly to your phone without a hitch? That seemingly magical experience is powered by video encoding. It’s the unsung hero behind your Netflix binge, your Zoom calls, and every TikTok video you scroll through.
At its heart, encoding is a very clever form of compression. It analyzes every frame of a video to find and eliminate redundant information, making the file not just smaller, but smarter.
From Raw Footage to a Streamable File
An uncompressed, raw video file is an absolute data monster. It meticulously stores the color and brightness information for every single pixel in every single frame. This creates file sizes so large they’re completely impractical to send over the internet.
Encoding is the solution. It looks for shortcuts and efficiencies to drastically reduce the file size.
The core challenge of encoding is a constant balancing act: how small can we make the file without the viewer noticing a drop in quality?
For example, imagine a scene where a person is talking against a static background. Instead of re-recording that same background 30 times every second, the encoder just stores it once. Then, it only focuses on recording the parts of the image that actually change, like the person’s mouth moving. This process is governed by a set of rules and algorithms called a video codec.
We dive much deeper into the different types in our guide explaining what video codecs are and how they function.
A Brief History
While it feels like a modern marvel, the ideas behind video compression have been around for a while. A major breakthrough came way back in 1952, when researchers at Bell Labs developed a technique to predict future values in a signal based on past ones. This allowed them to reconstruct images using far less data, laying the conceptual groundwork for the encoding we use today.
Ultimately, getting a handle on video encoding is crucial to understanding how our modern digital world functions. Without this brilliant process, the seamless streaming experiences we now take for granted simply wouldn’t be possible.
How Video Encoding Actually Works
So, how do we take a massive, raw video file and shrink it down into something you can easily stream? It’s a pretty clever process, really, a mix of smart science and a touch of artistry, all aimed at one thing: efficiency.
Think of it like an animator drawing a cartoon. Instead of redrawing the entire scene for every single frame, they’d draw the background just once. Then, for the following frames, they only need to draw the parts that actually move—a character walking, a car driving by, you get the idea.
That’s the fundamental principle behind modern video compression. Encoders are designed to be lazy in the best possible way. They hunt for shortcuts, analyzing the video frame-by-frame to ditch any information our eyes won’t miss anyway.
This infographic breaks it down visually, showing how that huge raw file gets compressed into a much more manageable size.
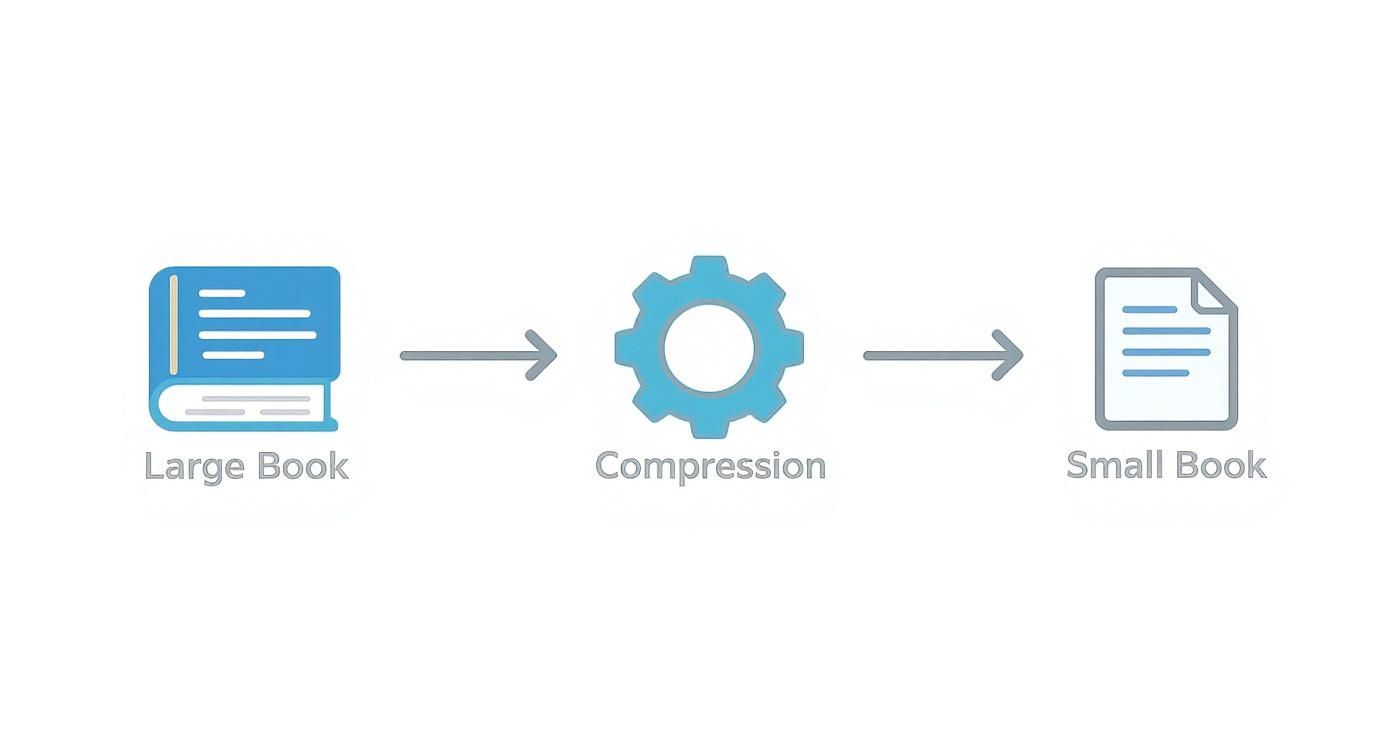
As you can see, the encoding engine takes that large source file and intelligently shrinks it. This makes it practical to store and stream without sacrificing the story it’s telling.
The Two Key Compression Techniques
Video encoding pulls off this incredible shrinking act using two main techniques that work hand-in-hand. Each one is designed to tackle a different kind of repetitive data.
- Intra-frame Compression: This method works inside a single frame. It’s a lot like how a JPEG image is compressed. The encoder looks for spatial redundancy—large areas of the same color or similar textures—and simplifies that information to reduce the frame’s individual size.
- Inter-frame Compression: This is where the real magic happens and where the biggest file size reductions come from. Instead of treating every frame as a new image, it looks for temporal redundancy across a sequence of frames. It saves one full-quality frame (called an I-frame) and then only records the differences in the frames that follow (P-frames and B-frames).
This is exactly why a static shot of a talking head against a plain background compresses far more efficiently than a chaotic action scene. Less movement means less new data to record.
The encoder isn’t just making the file smaller; it’s making it smarter. By predicting motion and eliminating repetitive data, it reconstructs the viewing experience using a fraction of the original information.
The Balancing Act of Bitrate and Resolution
When you’re encoding video, you’re constantly playing a game of give-and-take between file size and visual quality. The two most important dials you can turn are bitrate and resolution.
- Resolution: This is simply the number of pixels in the image, like 1920×1080 for 1080p HD. More pixels mean more detail, but they also demand more data.
- Bitrate: This is the amount of data used to create one second of video, measured in megabits per second (Mbps). A higher bitrate can capture more detail and produce higher quality, but it also creates a larger file.
Finding the sweet spot is key. If you set a low bitrate for a 4K video, you’ll end up with a blurry, blocky mess. On the other hand, using a super high bitrate for a 720p stream just wastes bandwidth without making the picture look any better. For a deeper dive into the tools that handle this process, check out our guide on what a video encoder is and how it all fits together. Getting these settings right gives you direct control over how your audience sees your content.
Choosing Your Tools Codecs And Containers

Picking the right codec and container isn’t just a technicality—it’s the foundation of a smooth viewing experience. Think of it as both the language your video speaks and the box it ships in.
A codec acts like a savvy editor, trimming raw footage down to size without losing critical detail. The container is the sturdy crate that bundles video, audio, subtitles, and metadata into one neat file.
“If your decoder can’t open the box, even the best codec won’t help,” says a seasoned streaming engineer.
- Codec balances quality and file size by compressing and decompressing video streams.
- Container groups all media elements so players know where to find each piece.
- Compatibility guarantees playback across devices, browsers, and platforms.
Choosing the right pair ensures viewers see crisp video without needless buffering.
Key Video Codecs And Use Cases
Before diving in, consider what matters most for your project: broad support, top-notch compression, or royalty-free options. The table below lays out how popular codecs compare.
Common Video Codecs and Their Best Use Cases
| Codec | Compression Efficiency | Compatibility | Ideal For |
|---|---|---|---|
| H.264/AVC | Good | Very Broad | Live streaming, general web |
| H.265/HEVC | 50% better than H.264 | Growing | 4K broadcasts, archiving |
| AV1 | Excellent | Limited but expanding | Modern browser streaming |
This snapshot highlights why H.264 remains the go-to for wide device coverage, while HEVC excels at high-resolution delivery. If you need a royalty-free route, AV1 is rapidly gaining support.
H.264, introduced in 2003, slashed bandwidth demands without degrading quality. A decade later, H.265 arrived around 2013, boosting compression by about 50% over its predecessor Learn more about codec efficiency on 100ms.
Selecting Container Formats
Containers each bring unique strengths. Here’s a quick overview:
- MP4: Universally supported across web and mobile players.
- MKV: Handles multiple audio tracks, subtitles, and chapter markers.
- MOV: Preferred by professional editing tools but less common elsewhere.
- WebM: Designed for HTML5 playback without extra plugins.
Tips for picking a format:
- Choose MP4 for the widest compatibility.
- Opt for MKV when you need advanced features like chapters.
- Select WebM if you’re targeting modern browsers exclusively.
Tips For Integrating With LiveAPI
LiveAPI ships with smart defaults, but a few tweaks can make a world of difference:
- Set the preset field to H.264 for broad reach or HEVC for high-res needs.
- Fine-tune the bitrate to hit your target balance of quality and bandwidth.
- Specify your container (for example, mp4 or mkv) in the API call to match your devices.
For custom pipelines, define codec profiles, bitrates, and containers via JSON:
{ “codec”: “h264”, “container”: “mp4”, “bitrate”: “5Mbps” }
This approach minimizes errors and speeds up deployment.
By experimenting with these guidelines and LiveAPI’s presets, you’ll arrive at the most efficient setup for your content.
For a deeper look at H.264 containers and file types, check out our guide on H.264 File Types and Container Options.
Why Video Standards Are Essential
Video standards quietly power everything we watch online. Picture a world where every camera, phone, and streaming service uses its own secret code. A clip shot on one device might be gibberish on another—total chaos.
These standards act like a universal interpreter. They spell out exactly how to compress, package, and decode video so that footage from Tokyo can play just as smoothly on a Parisian smartphone.
Creating A Common Language For Video
Global organizations write these rulebooks and keep them up to date. Their mission is simple: build one reliable method for everyone—from hardware makers to app developers—to encode video.
Key institutions like the International Organization for Standardization (ISO) and the International Telecommunication Union (ITU) publish the specs we all use. Think of MPEG-1, MPEG-2, and MPEG-4—their blueprints shaped modern media. Dive into the historical timeline of these standards at Vcodex.
This collaboration ensures true interoperability. In practice, it means you can upload a clip to YouTube and trust that viewers worldwide will hit play without hiccups.
Without these shared standards, large-scale streaming platforms like Netflix or Hulu simply could not operate. They rely on this universal framework to deliver content consistently to countless different devices, from smart TVs to tablets.
The Impact Of Standardization
Standardization unlocks huge benefits for creators, platforms, and audiences alike. It turns a fragmented ecosystem into a stable foundation where innovation thrives.
Here’s what these guidelines deliver:
- Global Compatibility: A standard codec such as H.264 plays on billions of devices, no matter the brand or OS.
- Massive Scale: Services encode their entire library once, then distribute it everywhere with confidence.
- Predictable Quality: Clear performance targets let developers hit the right quality metrics every time.
Ultimately, video standards keep the industry humming. They let camera manufacturers, software teams, and streaming platforms all speak the same language—so the video you craft is exactly what your viewers see.
Encoding for Live Streaming and Video APIs
When the action is happening live, you don’t get a second chance. The principles of video encoding shift from a background task to a high-stakes, real-time operation. Every single millisecond counts, and this makes efficient, low-latency encoding the bedrock of a good viewer experience.
In a live stream, you’re not just compressing a finished file. You’re managing a continuous flow of data that has to reach thousands, maybe even millions, of people at the same moment. This is where modern video APIs, such as LiveAPI, step in to automate the entire complex workflow.
Instead of wrestling with manual encoder configurations, a developer can just push a raw video feed to the API. From there, the service instantly kicks off the encoding and distribution process, turning one single stream into a broadcast ready for a global audience.
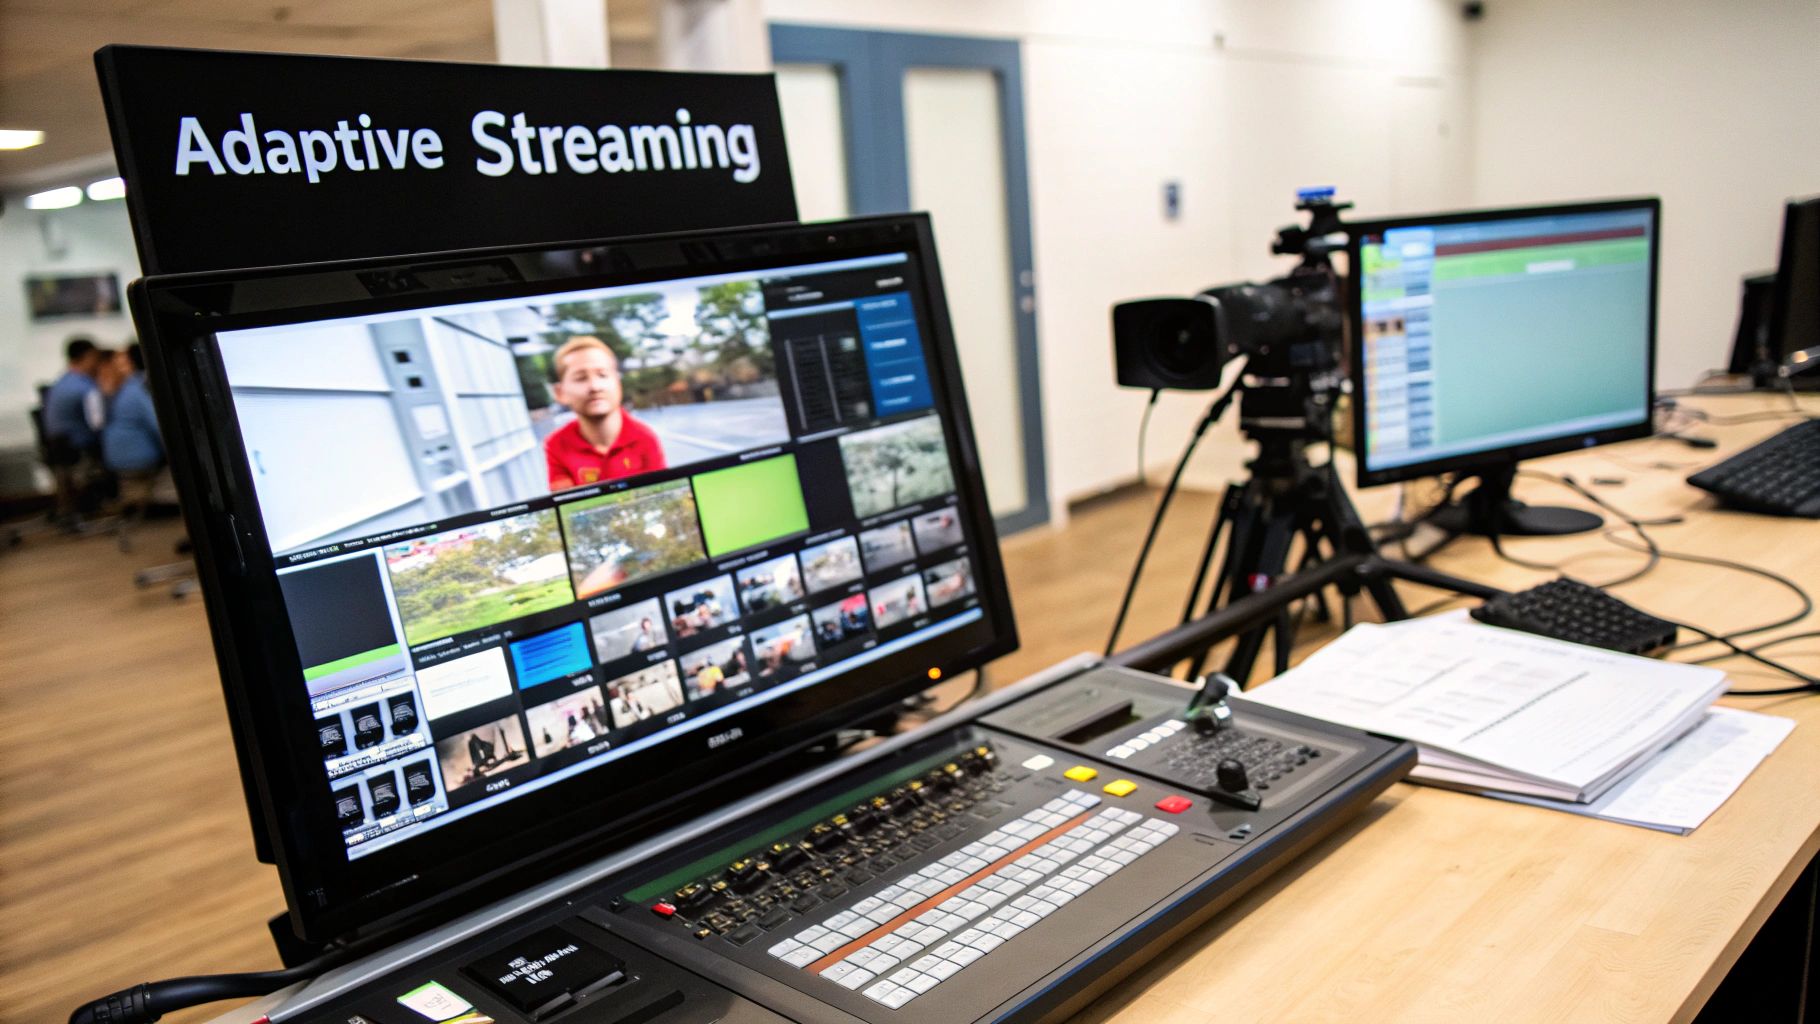
The Power of Adaptive Bitrate Streaming
The biggest headache in live streaming is that you have zero control over your audience’s internet connection. Someone might be watching on a blazing-fast fiber connection, while another is on a spotty 4G network in a crowded area. The solution to this problem is a clever technique called adaptive bitrate streaming (ABS).
Here’s how it works: a video API takes your single, high-quality source stream and simultaneously transcodes it. This means it creates multiple different versions, or “renditions,” each with its own resolution and bitrate.
Think of a video API as a real-time distribution hub. It creates a full menu of stream qualities—from pristine 4K down to a reliable 480p—to make sure every viewer gets the best possible version their connection can handle without that dreaded buffering wheel.
For a typical live event, the API might generate these different qualities on the fly:
- 1080p at 6 Mbps for viewers with fast, stable connections.
- 720p at 3 Mbps for a great HD experience on most home networks.
- 480p at 1.5 Mbps for people on slower mobile connections.
- 360p at 800 kbps to ensure the stream holds up, even on the weakest networks.
The magic happens on the viewer’s end. Their video player is smart enough to switch between these streams as their network conditions fluctuate, creating a smooth, uninterrupted experience.
How Video APIs Streamline the Workflow
Trying to build a live encoding pipeline from scratch is a massive undertaking. You’d have to manage fleets of servers, configure complicated encoding software, and build a system that won’t buckle under a sudden surge of viewers.
Video APIs handle all of that heavy lifting for you. They provide the global infrastructure and the built-in intelligence to run this process without a hitch. A service like LiveAPI is already connected to powerful Content Delivery Networks (CDNs) that push the encoded video segments to servers around the world, which keeps latency low for everyone, everywhere.
This frees up developers to focus on what they do best: building great features for their application, not becoming video infrastructure engineers. The API takes care of the encoding, transcoding, and delivery, making world-class live streaming achievable for any project, big or small. By automating the entire process of what is encoding video in real-time, these platforms are the engines behind the live events, online classes, and interactive experiences that are so central to how we communicate today.
Common Questions About Video Encoding
As you dive deeper into the world of video encoding, a few questions tend to surface time and time again. Let’s tackle some of the most common ones I hear, clearing up the confusion so you can solve real-world problems.
Think of this as a quick-reference guide for those nagging questions that pop up right when you’re in the middle of a project.
What Is The Difference Between Encoding and Transcoding?
It’s easy to get these two mixed up, and many people use them interchangeably. But they’re actually two distinct, crucial steps in getting a video from the camera to the viewer. Knowing the difference is fundamental to managing any video workflow.
Encoding is that very first compression. It’s the process of taking a massive, raw video file—straight from a camera or an editing suite—and converting it into a manageable, compressed digital format like H.264 for the first time. Think of it like taking a huge, unedited manuscript and printing the first edition of the book.
Transcoding, on the other hand, is what happens after that initial encoding. It’s when you take an already compressed video and convert it again, maybe to a different format, a lower resolution, or a different bitrate. For instance, you might take a high-quality 4K master file and transcode it into 1080p, 720p, and 480p versions for streaming. This is essential for things like adaptive bitrate streaming, where you need multiple quality levels to suit different internet speeds.
Encoding is the first squeeze: taking a raw source and compressing it. Transcoding is a re-squeeze: converting an already compressed file into other compressed versions for different devices and bandwidths.
Does Higher Bitrate Always Mean Better Quality?
There’s a definite link between bitrate and video quality, but it’s not as simple as “higher is always better.” A higher bitrate usually results in a better-looking video, but only to a point. After that, you start hitting diminishing returns.
Here’s an analogy: think about filling a glass with water. Once it’s full, pouring more water in doesn’t make the water in the glass any better—it just spills over and wastes water. It’s the same with video. Once you’ve allocated enough data (bitrate) to accurately represent all the detail in the video for a given resolution, adding more data just bloats the file size without any noticeable improvement for the viewer.
A 1080p video might look fantastic at 8 Mbps. Pushing it up to 20 Mbps might not make a lick of difference to the human eye, but it will make the file much, much larger. The real art is finding that “sweet spot” where you get brilliant quality without wasting bandwidth.
Why Do Videos Look Blurry on Social Media?
We’ve all been there. You upload a pristine, sharp-looking video to a social media platform, and when you watch it back, it’s a blurry, blocky mess. What gives? The culprit is re-encoding.
Every major social media platform re-encodes every single video you upload. They have their own internal specs, optimized for their specific delivery network and storage needs—which usually means aggressive compression. When your video hits their servers, it gets automatically transcoded to fit their mold. This second pass of compression almost always results in a loss of quality.
The best way to fight this is to give their system a great source file to start with. By uploading a video that’s as close as possible to the platform’s recommended specifications (resolution, frame rate, bitrate), you minimize the amount of destructive work their encoder has to do. Your video will still get re-compressed, but it will come out looking much cleaner on the other side.
Ready to stop worrying about complex encoding workflows? LiveAPI automates the entire process, from real-time transcoding to global delivery, so you can focus on building great applications. Learn more and get started with LiveAPI.


![Best Live Streaming APIs: The Developer’s Guide to Choosing the Right Video Streaming Infrastructure [2026]](https://liveapi.com/blog/wp-content/uploads/2026/01/Video-API.jpg)