So, you’re ready to start a live stream. It really boils down to three things: picking your platform, getting your gear in order, and setting up your broadcasting software. It sounds technical, I know, but once you get the hang of how these pieces fit together to bring your content to life, it’s actually pretty straightforward.
Why Live Streaming Is Such a Big Deal Now
Live streaming isn’t just for gamers anymore. It’s exploded into a seriously powerful tool for creators, brands, and pretty much anyone looking to connect with an audience in a real, meaningful way. What makes it different from a pre-recorded video is that rawness—it’s unscripted, happening right now, and that creates an undeniable sense of community and immediacy.
This whole trend is part of a bigger shift in how we all consume content. People are tired of overly polished videos; they’re hungry for authentic, interactive stuff. They want to jump into a live chat, ask questions, and feel like they’re actually part of the broadcast, not just watching it. It turns a passive experience into an active, shared event.
The Power of Connecting in Real-Time
When it comes down to it, the real magic of live streaming is how it humanizes you or your brand. Hitting that “go live” button is like opening your door and inviting your audience in for a genuine, shared moment. That kind of transparency builds a level of trust and loyalty that a perfectly edited video just can’t replicate.
Think about the difference between watching a recorded conference talk versus being in a live Q&A with the speaker. One is a presentation; the other is a conversation. That’s the impact.
Live content creates a feedback loop that is immediate and powerful. You get instant reactions, questions, and engagement that can shape your content strategy on the fly, making your audience feel like true collaborators.
The numbers back this up, too. The live video streaming market is on track to grow at a compound annual growth rate of 21.3% through 2028. That’s not a small jump; it’s a clear sign of just how popular this medium has become.
Unlocking Brand-New Opportunities
For anyone creating content or running a business, figuring out how to start live streaming is about more than just broadcasting. It’s about opening up a whole new set of possibilities.
We’ve seen countless creators and businesses leverage live streams to achieve fantastic results. To give you a clearer picture, here’s a breakdown of the core benefits.
Key Benefits of Launching Your Live Stream
| Benefit | Impact on Your Brand or Channel |
|---|---|
| Audience Building | Tap into a whole new group of viewers who are actively searching for real-time, interactive content. |
| Community Engagement | Build a fiercely loyal following by chatting directly with viewers and making them part of the show. |
| Direct Monetization | Open up immediate revenue streams through features like subscriptions, viewer tips, and live shopping. |
| Brand Authenticity | Show off the real, unedited personality behind your brand, which builds incredible trust with customers. |
In short, live streaming gives you a direct line to your audience, turning people who just follow you into a genuinely invested community.
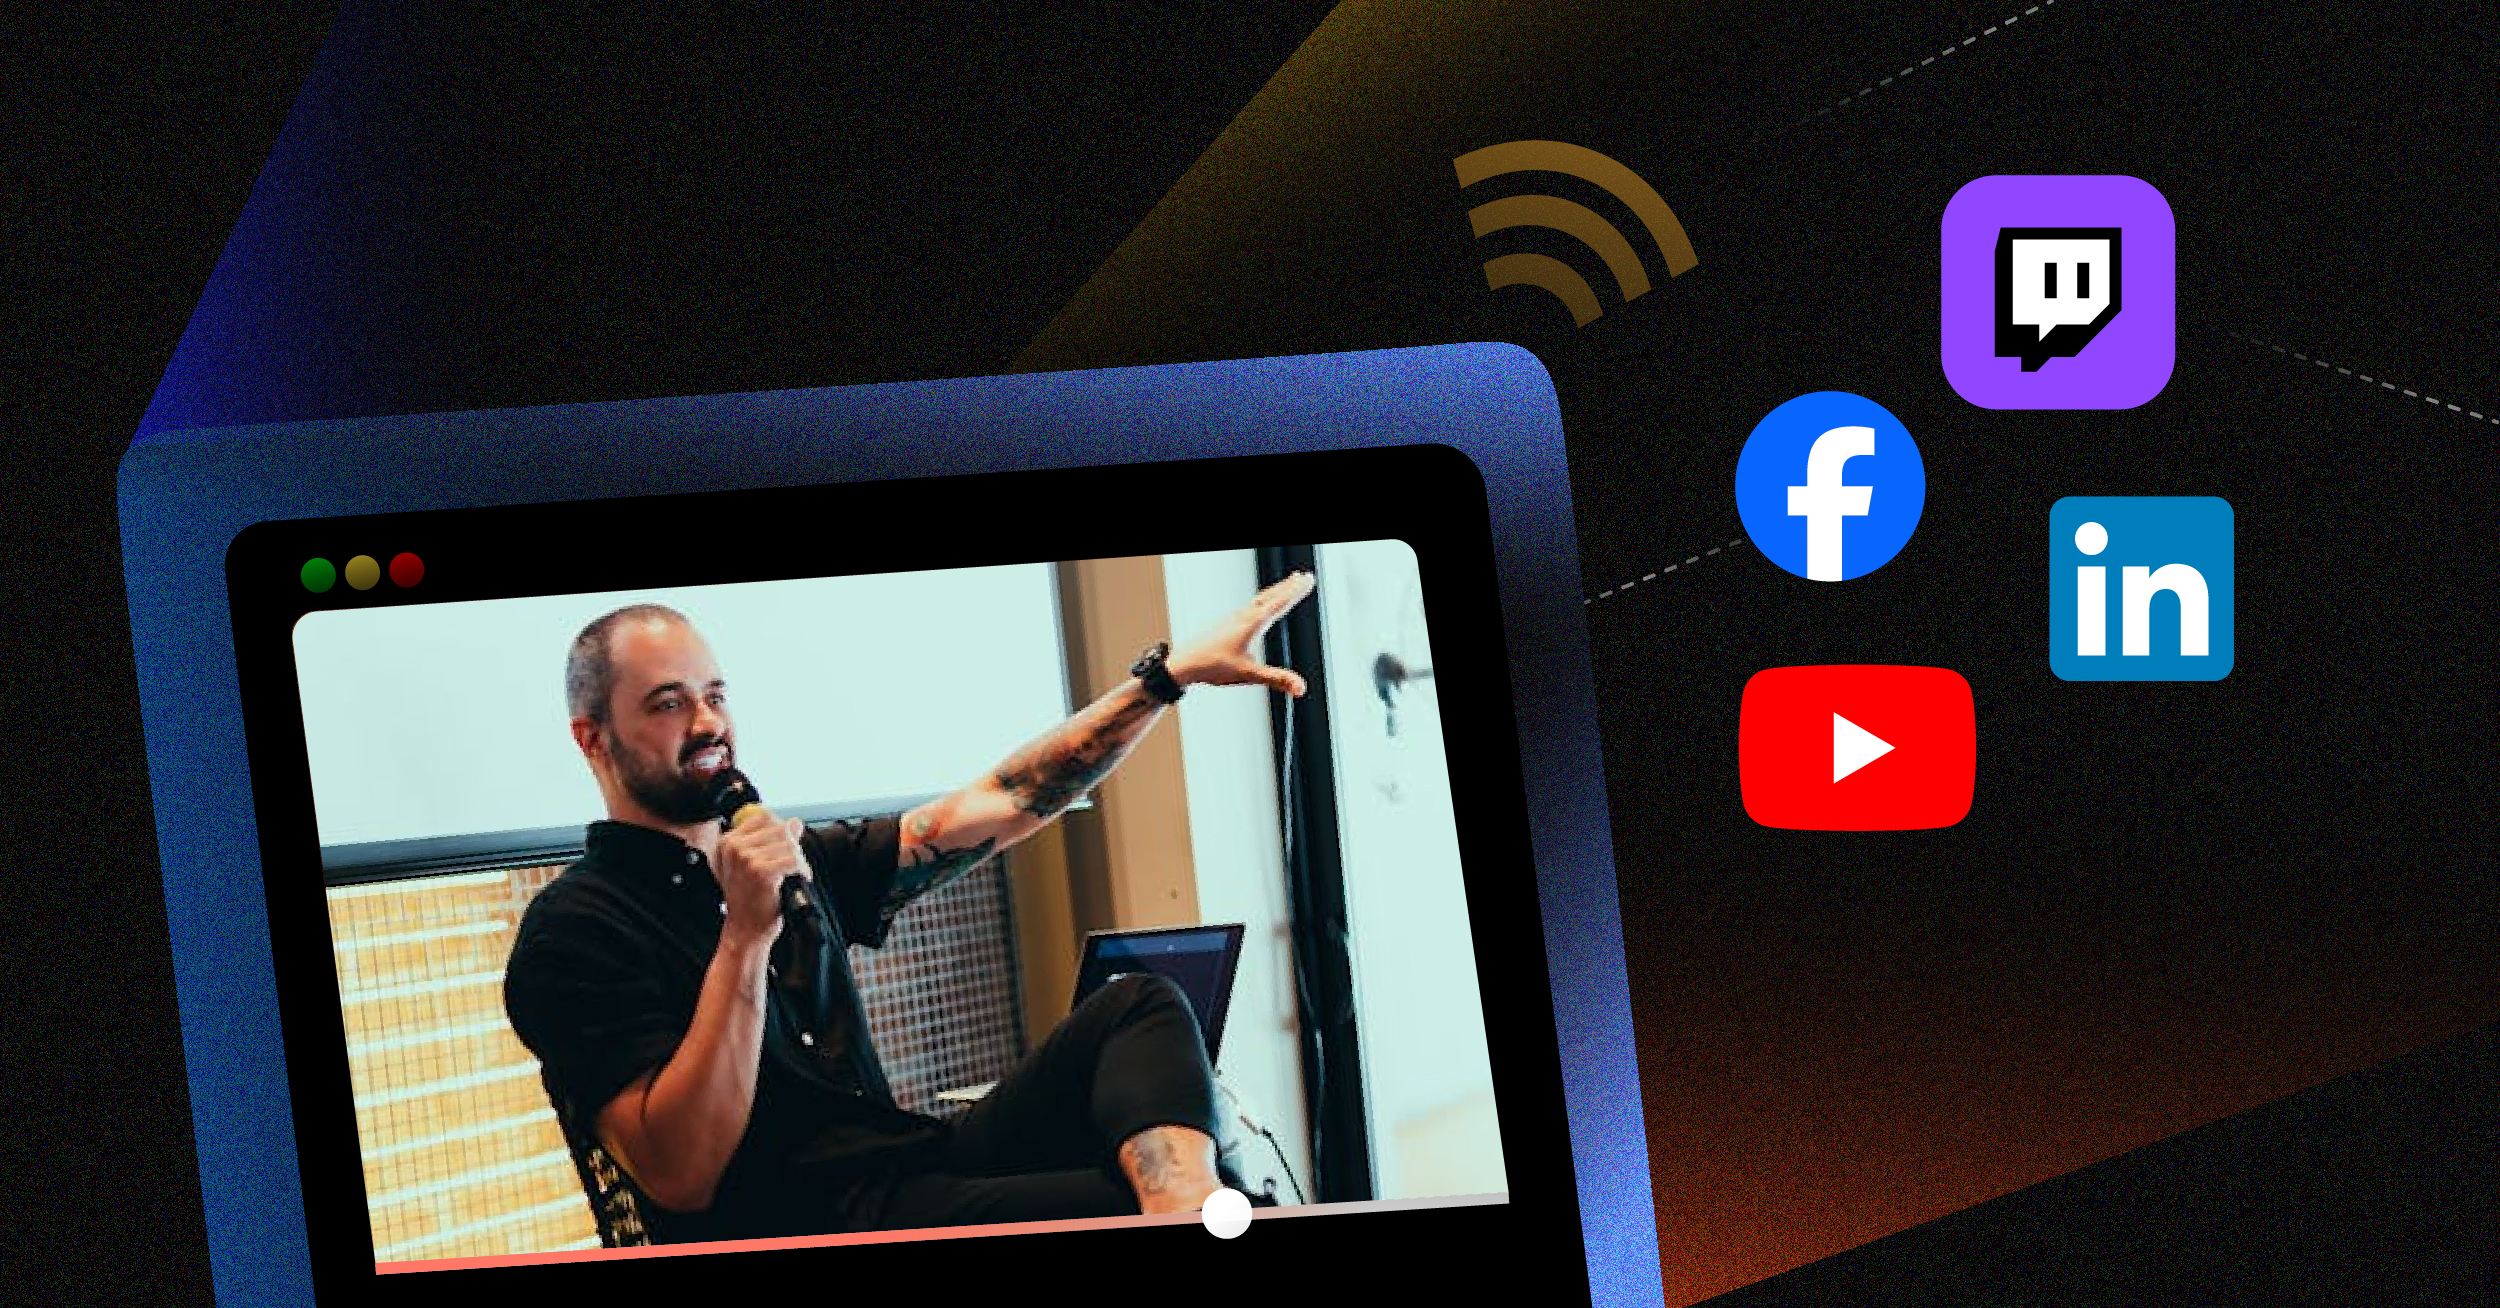
Of course, the technology behind the scenes is what makes it all possible. A solid understanding of how a CDN for video streaming works is crucial to ensure your broadcast can reach people all over the world without frustrating lag or buffering.
Where Should Your Stream Live?
Figuring out where your content will live is a crucial first step. It’s tempting to jump on the biggest platform, but a strategic choice based on your goals and audience will serve you much better in the long run. The right “home” should feel like a natural extension of your brand and put you in front of the right people from the get-go.
The culture of a platform matters immensely. A gamer, for instance, is going to feel right at home on Twitch, a world built on interactive features like custom emotes and channel points. On the other hand, a DIY crafter might find a massive, built-in audience on TikTok, whose discovery algorithm is second to none for surfacing short, engaging content to new viewers.
Matching the Platform to Your Purpose
What are you actually trying to accomplish with your stream? Are you building a close-knit community, trying to get in front of as many eyes as possible, or looking to drive sales for your business? Each platform is built to deliver different results.
- Building a Community: If your goal is to turn viewers into loyal fans, YouTube Live and Twitch are fantastic choices. They offer tools like subscriber-only chats, channel memberships, and live Q&As that foster deep engagement.
- Maximizing Your Reach: For viral discovery, it’s hard to beat TikTok Live and Instagram Live. Their algorithms are designed to push your stream to thousands of new people who aren’t already following you.
- Controlling Your Brand: Sometimes, the best place for your stream is your own turf. You can embed a live stream on your website to keep complete control over branding, monetization, and the viewer experience, free from any platform’s rules or limitations.
Recent data shows just how diverse the streaming world has become. While YouTube Live dominates in total watch hours with its wide array of non-gaming content, TikTok Live has exploded to become the second most-watched platform, grabbing about 27% of all watch hours in early 2025. Of course, Twitch is still the undisputed king for gaming and esports. For a deeper dive, you can check out the latest global live streaming trends to see where audiences are flocking.
Choosing a platform is like picking a venue for an event. You wouldn’t book a massive stadium for a small, intimate workshop. You need to pick the space that matches the vibe and scale of the experience you’re trying to create.
Go Where Your Audience Lives
Finally, and this might be the most important part, think about where your target audience already hangs out online. Are you trying to reach a younger demographic? TikTok is probably a safe bet. Is your content geared toward a professional audience? Streaming on LinkedIn Live or your own company website could be far more effective.
Don’t just follow the latest trend. Do your homework. Look at each platform’s demographics, monetization options, and content culture. Making a smart choice here ensures all your hard work actually reaches the people who will appreciate it most.
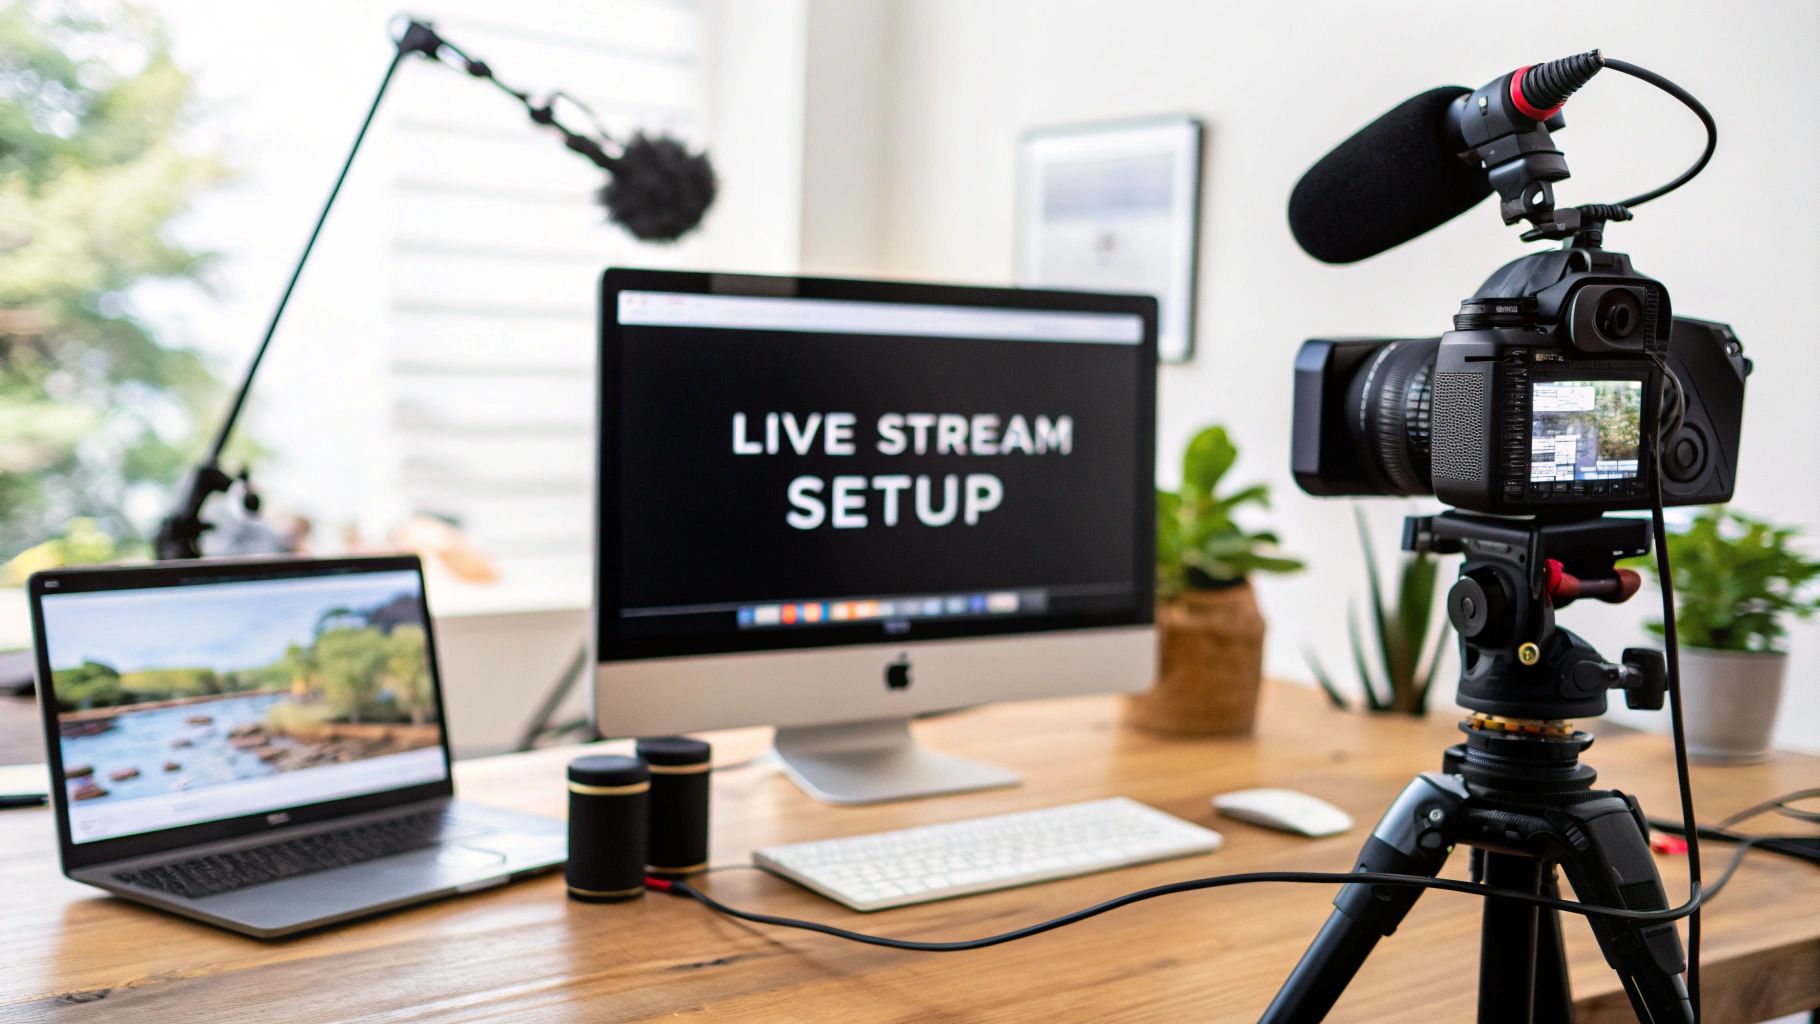
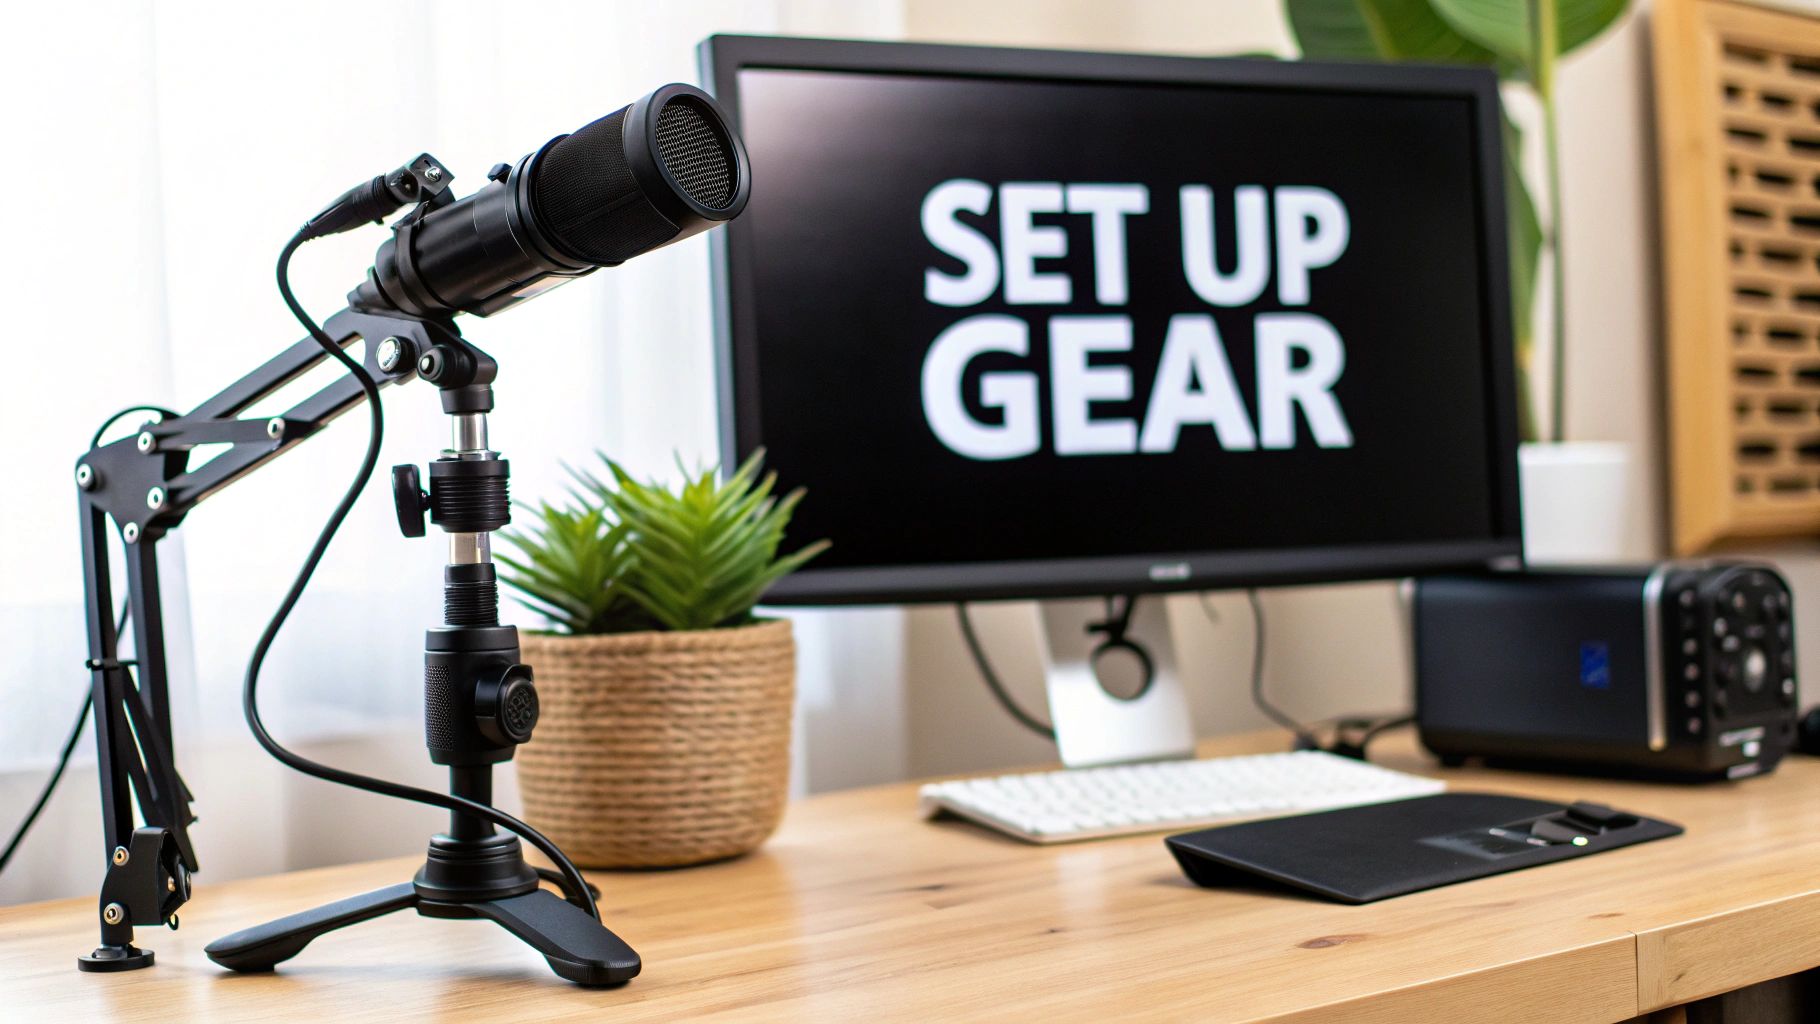
Getting Your First Streaming Rig Together
You don’t need a Hollywood-sized budget to start live streaming. In my experience, a professional-looking broadcast is surprisingly within reach—it all boils down to putting your money into the gear that actually improves your quality.
Let’s walk through the core components you’ll need. I’ll give you some practical recommendations that fit any budget, whether you’re just starting out or ready to upgrade.
The whole point is to invest where it counts for your content. A podcaster, for instance, should pour their budget into crystal-clear audio above all else. A console gamer, on the other hand, needs a bulletproof video capture solution. We’ll skip the confusing jargon and focus on what delivers real-world results.
Once you have your gear, you can start thinking about the visual design of your stream itself. This graphic is a great starting point for how to lay everything out.
A clean, professional layout can make even a basic setup look incredibly polished and keep your audience hooked.
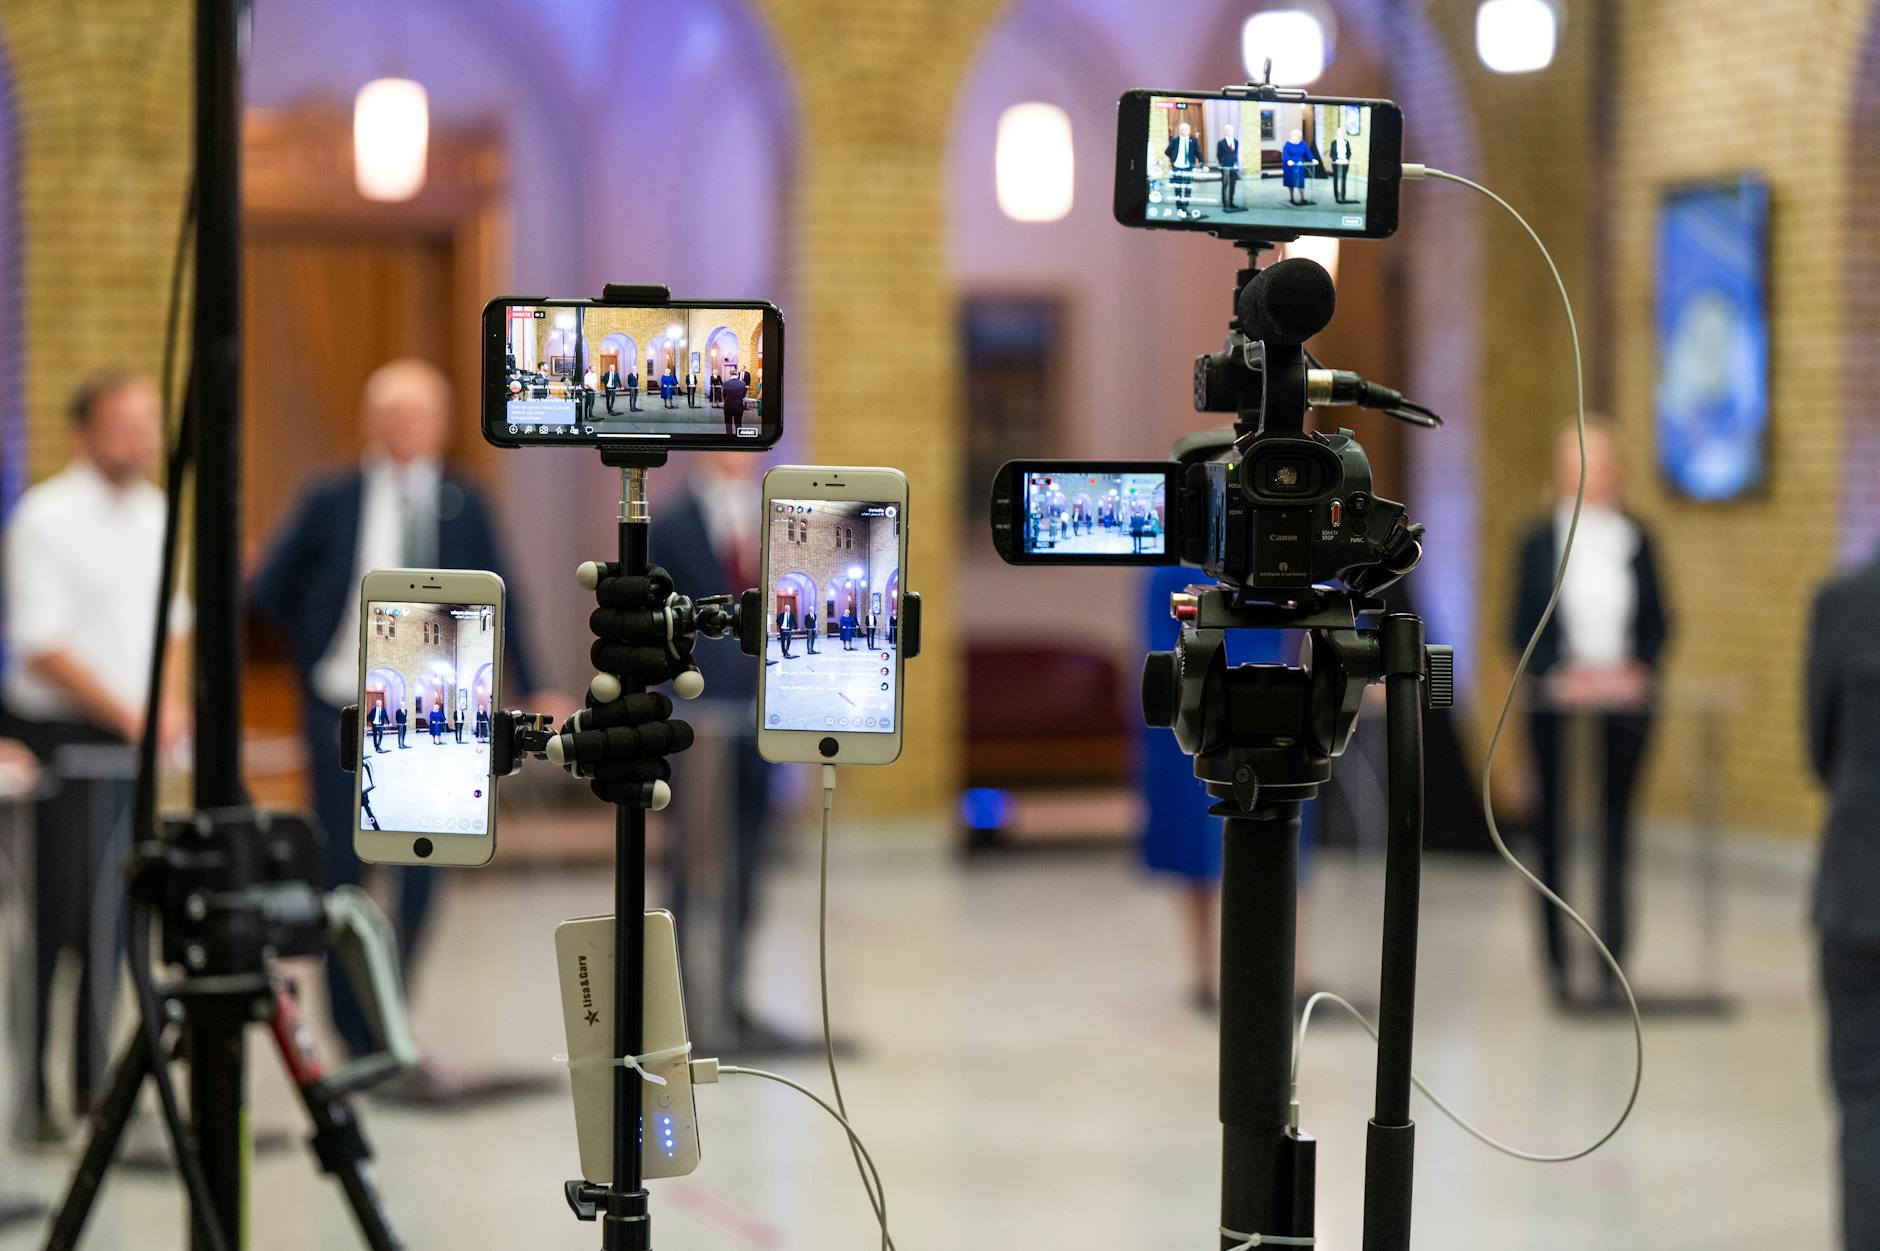
Your Camera: The Window to Your Stream
Your video quality is the first impression you make, which makes your camera a make-or-break piece of your setup. Sure, a built-in laptop webcam can get you off the ground, but upgrading is one of the fastest ways to elevate how your stream looks and feels.
- High-Quality Webcams: A modern 1080p webcam is the ideal starting point. It’s a simple plug-and-play solution that gives you a massive quality bump over any integrated camera without costing a fortune.
- DSLR or Mirrorless Cameras: If you’re aiming for that truly cinematic look with a soft, blurred background (what we call ‘bokeh’), a DSLR or mirrorless camera is your next logical step. You’ll need a capture card to get the video signal into your computer, but the visual payoff is absolutely huge.
Whatever camera you pick, the way your video is compressed and sent out is just as important as the lens itself. To get a better handle on this, it’s worth taking a few minutes to learn about what a video codec is and how it affects your final stream quality.
Audio You Can Actually Hear
Here’s a hard truth I’ve learned over the years: poor audio is far more jarring than poor video. Viewers will often stick around for a slightly grainy image, but they’ll click away in seconds if they can’t hear you clearly. This puts your microphone on the same level of importance as your camera.
Investing in a dedicated microphone is the single most impactful upgrade you can make to your streaming setup. Clear, crisp audio makes you sound more professional and keeps your audience tuned in.
For most people starting out, a good USB microphone hits the sweet spot between quality and convenience. They plug right into your computer and are incredibly easy to get working.
When you’re ready to step up your game, an XLR microphone paired with an audio interface will give you superior sound quality and way more control. There’s a reason it’s the standard for professional podcasts and music recording.
Lighting Makes All the Difference
You could have the most expensive camera money can buy, but without good lighting, your video will still look flat, grainy, and unprofessional. You don’t need to go all out with a complex three-point lighting setup right away.
A simple ring light or a couple of small LED panels can completely transform your image quality. The key is to light your face evenly and get rid of any harsh shadows. Just position your main light source in front of you and a little above eye level—this alone will create a flattering, clear picture that separates amateur streams from polished broadcasts.
To give you a clearer picture of how this all comes together, I’ve put together a quick guide on what gear to look for at different budget levels.
Streaming Gear Comparison by Budget
| Equipment Type | Budget-Friendly Option | Mid-Range Recommendation | Professional Choice |
|---|---|---|---|
| Camera | 1080p Webcam (e.g., Logitech C920) | Mirrorless Camera (e.g., Sony a6000) + Capture Card | Pro DSLR/Cinema Camera (e.g., Canon EOS R6) |
| Microphone | USB Mic (e.g., Blue Yeti) | USB Mic (e.g., Rode NT-USB+) | XLR Mic (e.g., Shure SM7B) + Audio Interface |
| Lighting | Ring Light or Single LED Panel | Two-Point LED Panel Kit | Three-Point Lighting Kit (Key, Fill, Back) |
| Audio Interface | N/A (USB Mic) | Focusrite Scarlett Solo | GoXLR or Rodecaster Pro II |
This table should help you prioritize your purchases based on where you’re at in your streaming journey. Start where you’re comfortable and remember that you can always upgrade individual pieces as you grow.
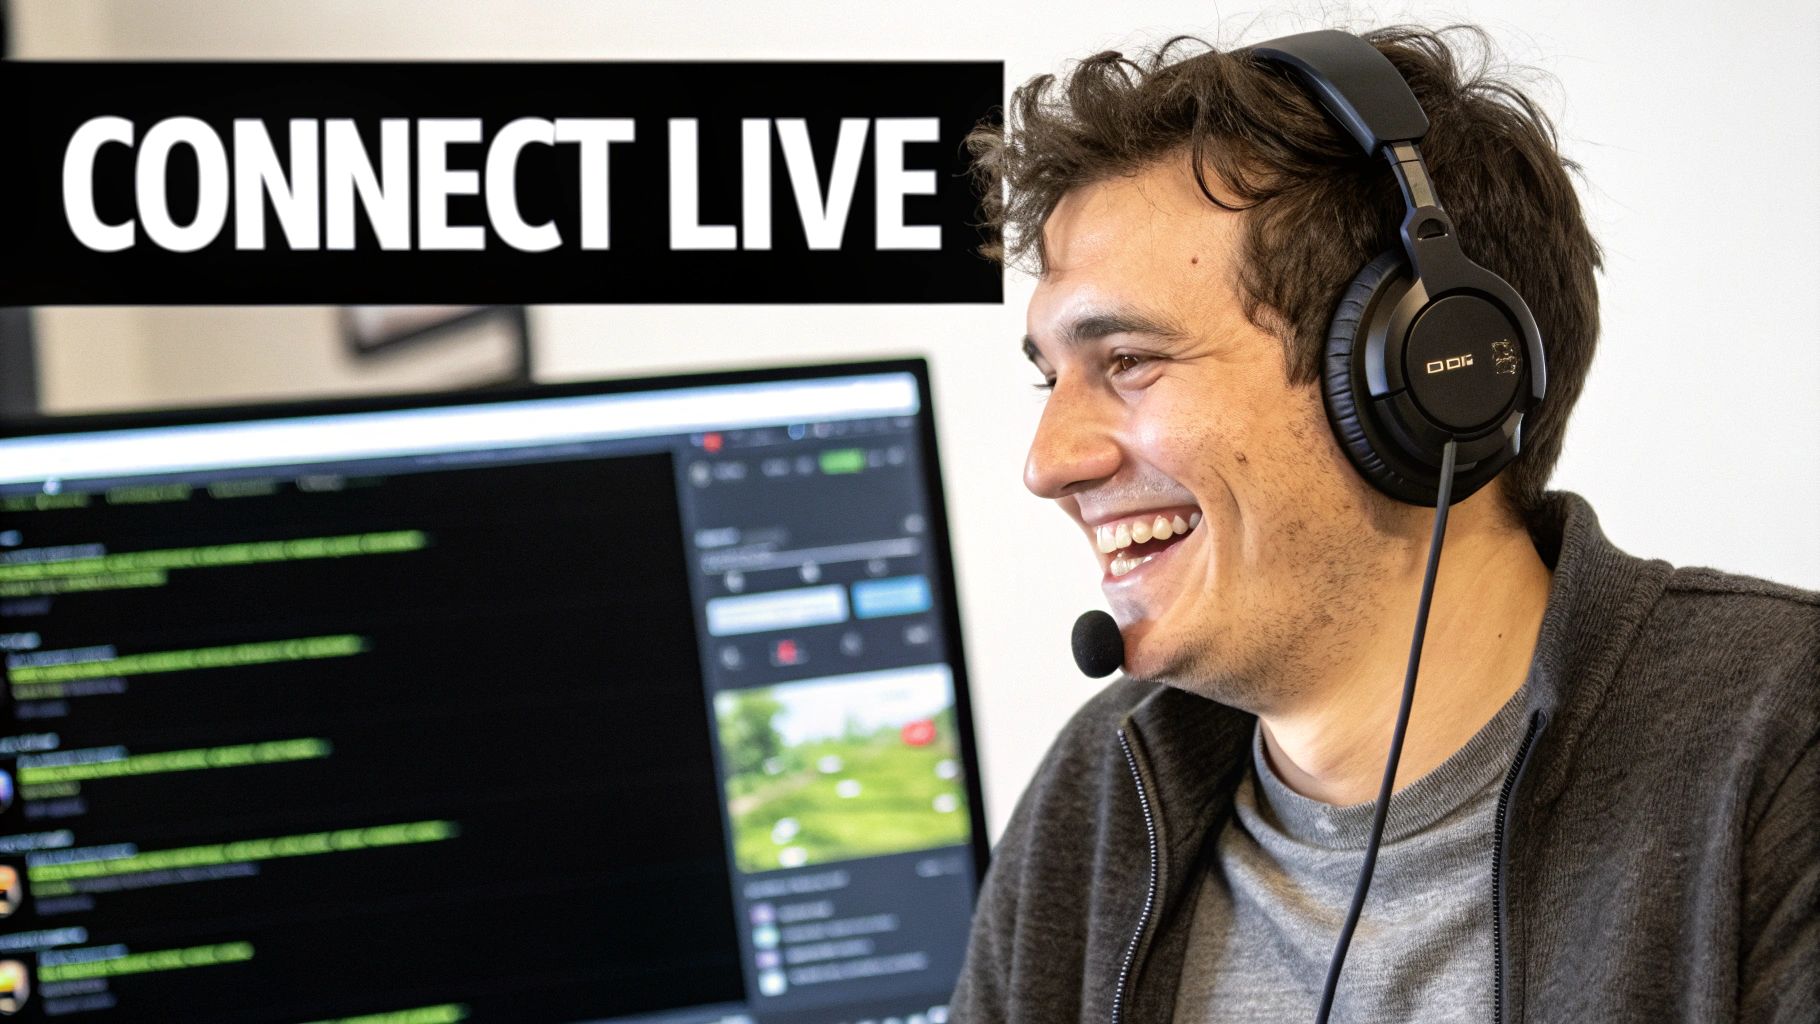
Taking Control with Custom Live Streams Using LiveAPI
While platforms like Twitch and YouTube are fantastic for getting started, there’s a point where you simply need more control. When you want to own the brand experience, dictate your monetization strategy, and bake live video right into your own app or website, it’s time to build a custom solution. This is where a service like LiveAPI becomes your best friend, providing the rock-solid backend infrastructure so you can focus on building something amazing.
Making the leap from a third-party platform to your own is a huge step. It’s about more than just broadcasting; it’s about architecting a unique, branded video experience from the ground up. Let’s walk through the actual, practical steps of getting a custom stream up and running with LiveAPI.
Getting Your Development Environment Ready
Before you write a single line of code, the first thing you need to do is get your credentials sorted. Think of it like a key to a house—your API key is what grants your application access to LiveAPI’s services. You’ll generate this key right from your LiveAPI dashboard. A word of advice: treat this key like a password and store it securely.
Essentially, your app will be making requests, and the API key is how LiveAPI confirms those requests are actually coming from you.
With your key in hand, it’s time to set up your project. Whether you’re a Python fan using the requests library or you prefer Node.js with axios, you’ll need a basic HTTP client to talk to the LiveAPI endpoints.
This is the kind of clean, intuitive dashboard you’ll be working with to manage your streams and API keys.
Everything you need is easy to find, from grabbing a new key to checking on the health of your active streams.
Creating and Managing Your First Stream
Let’s ground this in a real-world scenario. Imagine you’re building an online course platform and want to automate a weekly live Q&A session. Firing up a stream manually every single week is a pain. With the API, you can write a script that programmatically creates a new stream instance just minutes before the event is scheduled to begin.
To pull this off, you’ll send a POST request to the /streams endpoint. In the body of that request, you’ll define exactly what you want the stream to be.
name: Give it a clear, descriptive name. Something like “Weekly Physics Q&A – Week 5” is perfect.profiles: This is an array where you specify the output resolutions and bitrates. You’ll want to include a few options, like 720p and 1080p. This enables Adaptive Bitrate Streaming (ABR), which is crucial for giving every viewer a smooth experience, no matter their connection speed.multistream: If you also want to broadcast to other platforms simultaneously, you can define your targets here—like a backup stream to YouTube or Facebook Live.
Once your request goes through successfully, the API will send back a JSON object packed with all the details of your new stream. This response is pure gold.
Pay close attention to two specific values in the API response: the
streamKeyand thertmpUrl. These two pieces of information are your golden ticket. Together, they form the unique RTMP ingest URL you’ll need for your broadcasting software.
Connecting Your Encoder and Going Live
You have your RTMP URL and stream key. Now for the final piece of the puzzle: connecting your encoder. If you’re using a popular tool like OBS Studio, this is straightforward. Just head over to the “Stream” settings, choose “Custom” from the service dropdown, and then paste your rtmpUrl into the “Server” field and the streamKey into the “Stream Key” field.
The moment you hit “Start Streaming” in OBS, your video feed is sent directly to the LiveAPI ingest server you just configured. From there, LiveAPI does all the heavy lifting for you:
- Transcoding: It takes your single, high-quality stream and re-encodes it on the fly into the multiple profiles (1080p, 720p, 480p, etc.) you defined when you created the stream.
- Distribution: It then pushes all of those transcoded versions out through a global CDN, ensuring your viewers get a low-latency, high-quality stream no matter where they are.
This programmatic approach is about so much more than just saving time. It opens the door to powerful automation. You could build an internal dashboard where a non-technical team member schedules an event, and your backend code handles everything else—creating the stream, generating the RTMP credentials, and even embedding the player on the right webpage. That’s where you start to see the true power of using an API in your streaming workflow.
Dialing In Your Broadcast Settings
A stable, high-quality stream is what really separates the pros from the amateurs, and it all boils down to your broadcast settings. Nailing these ensures your viewers get a smooth, buffer-free experience—which, let’s be honest, is non-negotiable if you want them to stick around.
Let’s walk through the core settings you’ll find in your encoding software. We’ll use the super popular (and free) OBS Studio as our example.
Think of your internet’s upload speed as a highway. The settings you choose for your stream—like bitrate, resolution, and framerate—are the cars you’re trying to send down that highway. If you cram too many cars (a high-bitrate stream) onto a small, one-lane road (slow upload speed), you get a massive traffic jam. In streaming, that means buffering and dropped frames for your viewers.
Finding Your Sweet Spot
First things first: run an internet speed test. The number you care about is your upload speed, not the download.
Here’s a rule of thumb I always follow: your total bitrate should never exceed 75% of your stable upload speed. That extra 25% gives you a much-needed cushion for the inevitable network fluctuations that happen to everyone.
With that number in hand, you can start tweaking the three pillars of stream quality:
- Bitrate: This is simply the amount of data you’re sending every second, measured in kilobits per second (kbps). A higher bitrate means better quality, but it also demands more from your internet connection. For a crisp 1080p stream at 60 frames per second, a bitrate somewhere between 4,500 and 6,000 kbps is a solid starting point.
- Resolution: This is the size of your video canvas, like 1920×1080 for 1080p. While 1080p is the gold standard, don’t be afraid to drop to 720p (1280×720). If your internet is struggling, a stable 720p stream looks infinitely better than a choppy 1080p one, and most viewers won’t even notice the difference on mobile.
- Framerate: This is the number of images displayed per second (fps). For most content, 30 fps is perfectly fine and less demanding. But if you’re streaming fast-paced gaming, 60 fps is the way to go for that buttery-smooth look. Just remember, it requires a higher bitrate to keep things looking sharp.
In OBS Studio, you’ll find these crucial options under the “Output” and “Video” tabs in the settings menu.
This screenshot gives you a look at the clean, modular interface of OBS Studio. It’s where you’ll arrange your sources, scenes, and audio to build your professional broadcast layout.
Practical Settings for Different Scenarios
Your ideal settings aren’t one-size-fits-all; they completely depend on what you’re streaming. A static “just chatting” stream is way less demanding on your system than a chaotic, high-motion action game.
Your goal isn’t to crank every setting to the max. It’s to find that perfect balance between visual quality and stream stability for your specific internet connection and content. A stable 720p stream will always beat a buffering 1080p one.
To get you started, here’s a quick reference I use:
| Stream Type | Resolution | Framerate | Recommended Bitrate (kbps) |
|---|---|---|---|
| Just Chatting / Talk Show | 1080p | 30 fps | 3,000 – 4,000 |
| Standard Gameplay | 1080p | 60 fps | 4,500 – 6,000 |
| Fast-Paced FPS Games | 1080p | 60 fps | 6,000 – 8,000 |
| Limited Internet (5 Mbps Up) | 720p | 30 fps | 2,500 – 3,500 |
Seriously, always do a test stream before going live. Most platforms have a test mode, or you can just record locally in OBS to see how the final output looks. This one simple check can save you from the nightmare of a frustrating, lag-filled broadcast.
Answering Your First Live Streaming Questions
So, you’ve figured out the tech side of things—your gear is set, your software is configured, and you’re ready to go. But what happens after you click that “Go Live” button? A whole new set of questions usually pops up right about then.
Let’s walk through some of the most common things new streamers run into. Think of this as a quick field guide for those first few broadcasts, covering the practical stuff that tutorials don’t always mention.
What Do I Do with Only One or Two Viewers?
It’s the classic scenario: you’re live, and the viewer count says… 2. It can feel a little awkward, but how you handle this moment is crucial. Those first few viewers are your foundation. Treat them like VIPs.
Get personal! Address them by their usernames and ask them direct questions about their day or what brought them to your stream. Your aim is to create a conversation, not just a broadcast. A stream with three people actively chatting is infinitely more welcoming to a newcomer than a silent one.
Your energy with a small audience sets the precedent for all future growth. Make every single viewer feel seen and heard, and they’ll be the ones who come back again and again, turning into the core of your community.
What if My Stream Suddenly Dies?
It’s not a matter of if but when you’ll face a technical glitch. A dropped stream can be stressful, but it’s not the end of the world. The absolute most important thing is to keep your audience in the loop.
- Have a social media lifeline: Keep your phone nearby. If the stream goes down, immediately post on X (formerly Twitter) or in your Discord community. Just a quick “Whoops, internet hiccup! Working on getting it back up now!” goes a long way.
- Try the classic fix: Before you panic, try the simple stuff. Restarting your streaming software or even your router can often solve the problem in under a minute.
- Bounce back with a smile: Once you’re live again, thank everyone for sticking around. Don’t dwell on the problem—just jump right back into your content with positive energy.
Is It Possible to Make Money with a Small Audience?
Absolutely. You don’t need thousands of viewers to start monetizing. Many platforms have built-in tools that work great for channels of any size.
Affiliate links are a perfect place to start. If you’re talking about gear you use or a game you love, drop an affiliate link into your stream description or chat. It’s a genuine way to earn a small commission while recommending things you actually believe in. Plus, features like tips on Twitch or “Super Chat” on YouTube let your viewers support you directly from your very first stream.
The potential audience is staggering. The gaming live stream scene alone is projected to hit 1.4 billion viewers by 2025. There’s more than enough space for you to carve out your own niche. You can dig deeper into these live streaming viewership trends to see just how big the opportunity is.
Ready to build a powerful, custom streaming experience without the hassle of managing infrastructure? With LiveAPI, you can integrate high-quality live video directly into your own applications. Start building with LiveAPI today.