Knowing how to combine audio files is one of those foundational skills you’ll use constantly, whether you’re creating a podcast, producing a video, or just trying to organize your voice memos. It’s all about taking separate tracks and blending them into a single, cohesive file.
Why Bother Merging Audio Files Anyway?
Before we jump into the “how,” let’s talk about the “why.” Understanding the end goal is the best way to pick the right tool and technique for what you’re trying to accomplish. The reasons people do this are incredibly varied, from simple file cleanup to sophisticated audio production.
Real-World Scenarios Where Merging is a Must
If you’re a podcaster, this is your bread and butter. You’re constantly stitching together an intro jingle, the main interview, and maybe an ad or some outro music. For musicians, it’s the same idea, just with different ingredients—they might be creating a continuous DJ mix or layering vocals, guitar, and drum tracks into a finished song.
But it’s not just for creative projects. The applications pop up everywhere:
- Video Production: Think about a simple marketing video. The editor has to layer a voiceover, a subtle background music track, and maybe a few sound effects to make the final cut feel alive.
- App Development: A programmer might need to trigger multiple sounds at once in response to a user’s action, combining them on the fly to create a unique audio cue.
- Personal Organization: Ever tried to make sense of a dozen separate voice notes from a lecture? Merging them into one long file makes them infinitely easier to review and share.
This skill is central to the consumer audio market, which hit a value of $75.36 billion in 2024. The polished audio experiences we expect from our favorite streaming services and smart speakers often rely on this kind of backend audio processing. You can explore more data on the consumer audio market to see just how fast it’s growing.
The need for seamless audio merging is also critical in modern streaming. Technologies for live events, for example, have to manage multiple audio streams—like different language tracks or commentary—and sync them perfectly for the viewer. You can learn more about how this works in our guide to what is HLS streaming.
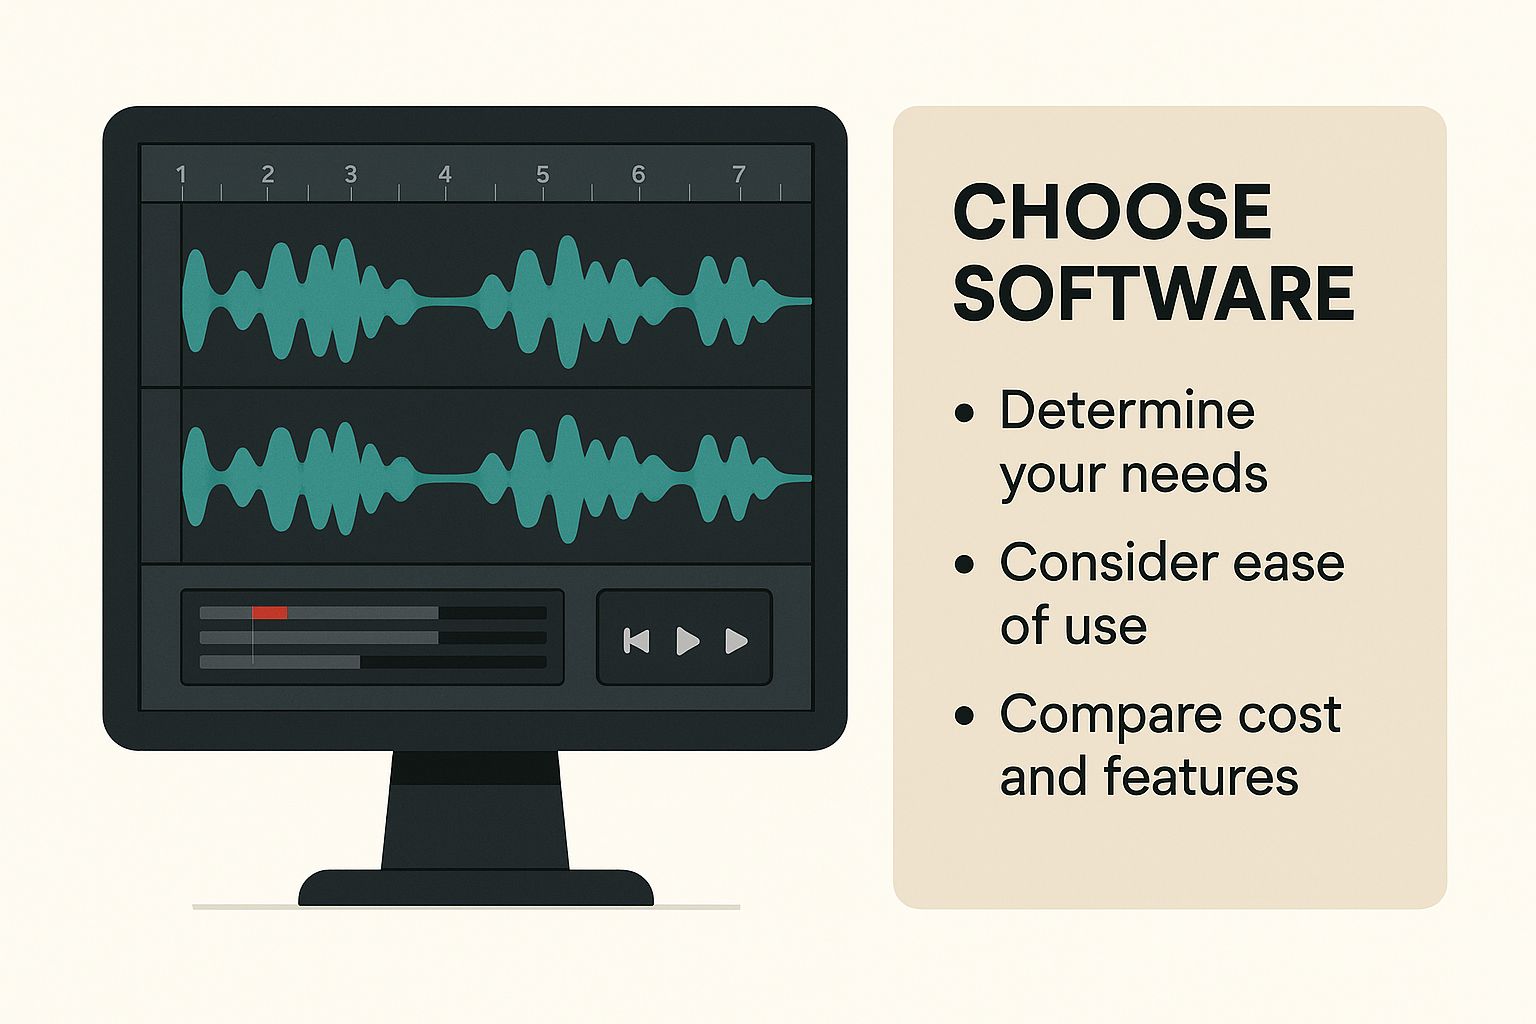
Choosing the Right Toolkit for the Job
So, how should you actually go about merging your audio files? The truth is, there’s no single “best” way. Your choice really boils down to what you’re trying to accomplish and how comfortable you are with different kinds of tools. It’s a trade-off between creative control, pure speed, and whether you need to bake this function into a bigger application.
For most people, especially if you’re just starting out, a visual editor is the way to go. These are applications with a graphical user interface (GUI) where you can literally see the sound waves. This makes it incredibly intuitive to drag, drop, and line up your tracks perfectly. If you’re layering a voiceover with some background music for a podcast, this hands-on approach is exactly what you need.
This visual feedback is the key. For any creative task, seeing your audio tracks laid out on a timeline gives you immediate context and a level of control that’s hard to replicate with other methods.
A Quick Comparison of Audio Merging Methods
To make the decision a little easier, let’s break down the three main approaches. This table gives you a quick snapshot of where each method shines, helping you match the tool to your specific needs.
| Method | Best For | Ease of Use | Flexibility & Automation |
|---|---|---|---|
| Visual Editors (GUI) | Creative projects, beginners, podcasters, one-off tasks. | Very High | Low |
| Command-Line Tools | Batch processing, automation, power users, quick merges. | Medium | High |
| Programming Libraries | Integrating into apps, custom workflows, developers. | Low (requires coding) | Very High |
As you can see, the right tool really depends on the job. A visual editor is fantastic for a single project, but you wouldn’t want to use one to manually merge a thousand files. That’s where the other methods come in.
When to Pick Each Method
Let your project’s demands guide your choice. Here’s a more detailed look at when you should reach for each tool:
- Visual Editors: Are you a podcaster, a video editor, or just someone who needs to manually adjust timing and volume with precision? This is your playground. Think of it for any creative, one-off project.
- Command-Line Tools: This is the workhorse for developers and power users. If you need to automate a repetitive task—like joining hundreds of sermon recordings or sound clips at once—the command line is your best friend.
- Programming Libraries: This path is for software developers. If you’re building an application or a website that needs to merge audio on the fly, a library gives you the power to integrate that feature directly.
The tool you choose has a real impact on the final result. Pay close attention to the format and compression settings, as they are crucial for maintaining audio quality. Learning about how a video codec functions can be helpful here, since both audio and video rely on similar principles for encoding and decoding data.
Ultimately, picking between a visual editor, a command-line tool, or a programming library is about finding the right balance. You’re weighing ease of use against the need for automation and flexibility. Just ask yourself: how many files am I working with, and is this a task I’ll need to do over and over again? The answer will point you in the right direction.
A Visual Approach Using Editing Software
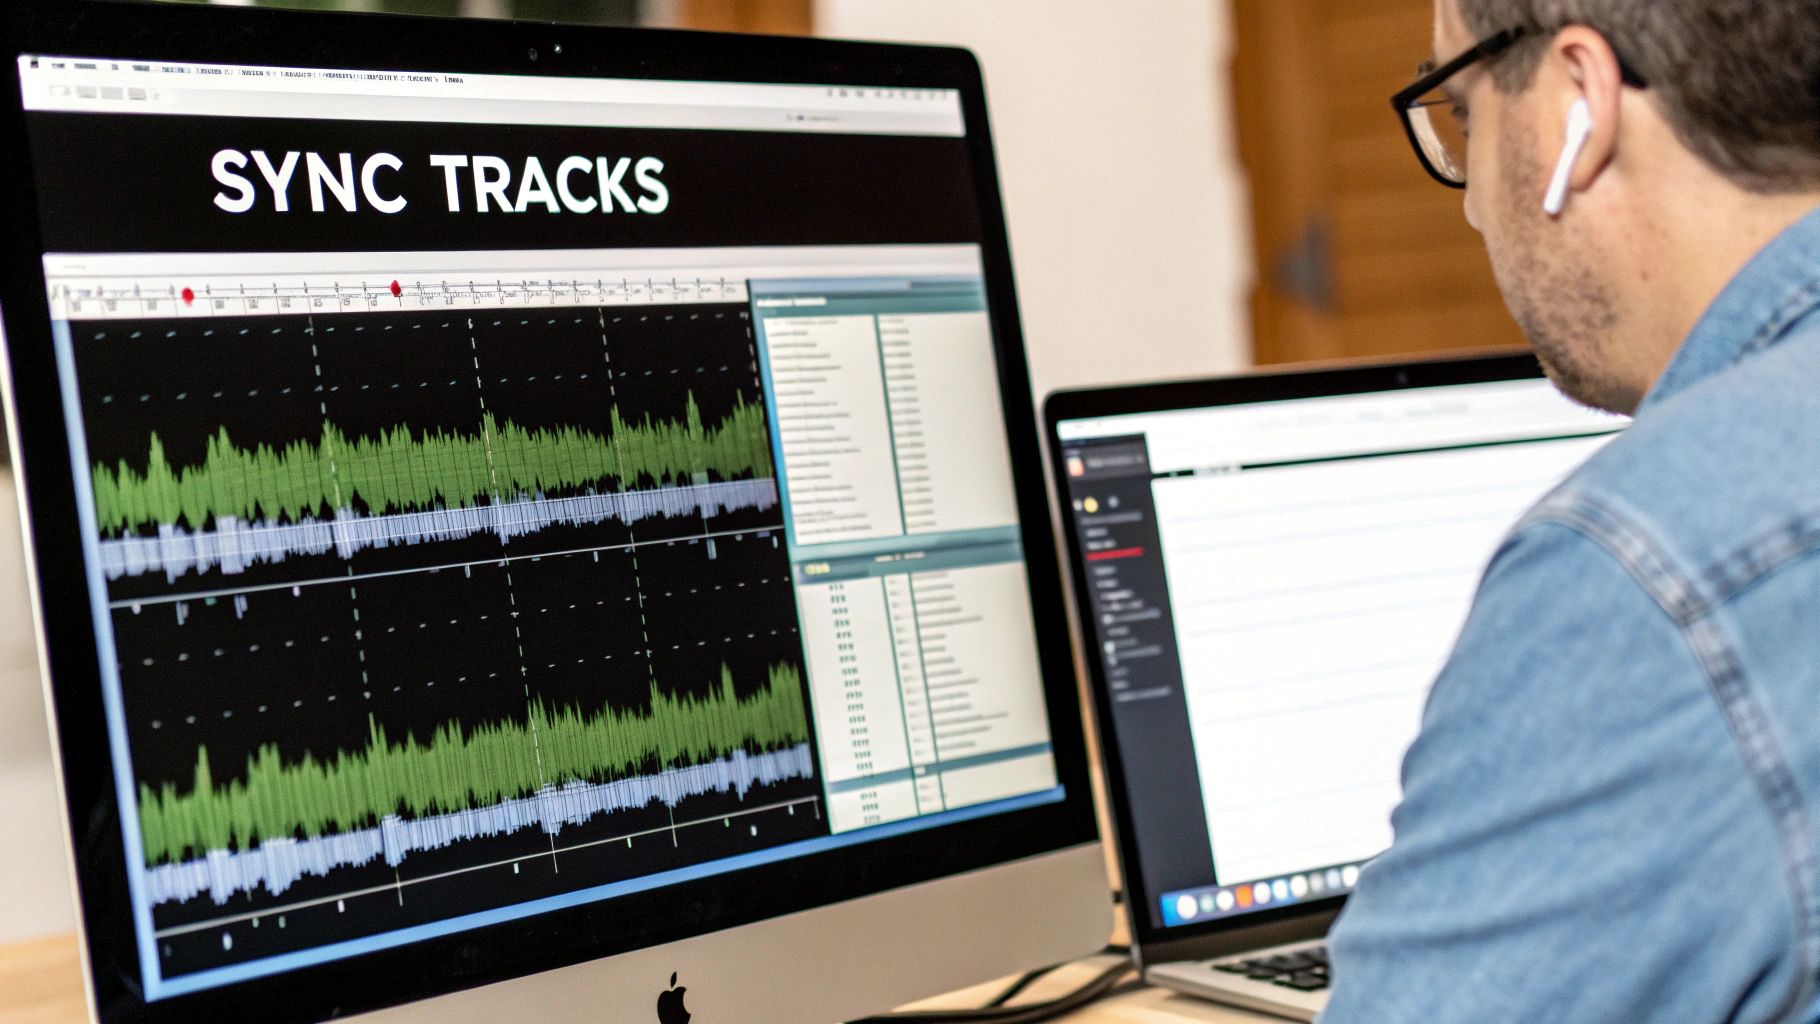
If you’re more of a visual person, command-line tools can feel a bit abstract. For those who prefer a hands-on workflow, applications like Audacity offer a much more intuitive way to merge audio. Instead of writing code, you get to see your soundwaves laid out on a timeline, which makes it incredibly easy to drag, drop, and align everything perfectly. It’s a great starting point for anyone new to audio editing because you get immediate feedback on your changes.

This visual method really shines in creative projects. Imagine you’re putting together a short promotional video and need to combine a voiceover with some background music. In a visual editor, you just import both files, and they’ll appear as separate tracks stacked on top of each other. Simple.
Arranging and Layering Your Tracks
With your files loaded, you can start the fun part. Just click and drag the music track so it starts a few seconds before the voiceover, creating a nice little intro. Then, you can easily lower the music’s volume right as the speaking begins to make sure the voice is front and center. This technique is often called ducking.
Here’s a common way you might tackle this:
- Import Files: Drag your voiceover and music files right onto the main timeline.
- Align Tracks: Slide the voiceover track to the exact spot it needs to start.
- Adjust Volume: Use the volume or “envelope” tool to dip the music’s loudness during the spoken parts.
- Add Fades: To wrap things up, apply a fade-out effect to the music for a smooth, professional finish.
This tactile control is what makes visual editors so popular. You’re not just telling a program what to do; you’re directly manipulating the audio and can listen back in real time to get the mix just right.
Knowing how to blend audio is a core skill, especially as the market for smart personal audio devices is projected to expand by 8% in 2025. This growth is driven by our demand for high-quality, seamlessly mixed audio experiences, from podcasts to videos. You can find more data on the personal audio market and its future trends.
Ultimately, this method gives you complete creative freedom, making it perfect for podcasters, video creators, and anyone who wants to merge audio in a forgiving, hands-on environment.
Using the Command Line for Speed and Automation
When you’re past the point of one-off creative projects, a visual editor starts to feel clunky and slow. For developers, audio engineers, or really anyone who needs to merge audio files in bulk, the command line is where the real power lies. It lets you script out processes to handle hundreds of files without ever clicking a mouse.
The undisputed king of command-line multimedia is FFmpeg. It’s a powerhouse—a free, open-source project that can handle pretty much any audio or video task you throw at it. It might look a little intimidating if you’re new to it, but the logic is surprisingly straightforward once you get the hang of it, and the efficiency gains are massive for repetitive work.
This screenshot from the official FFmpeg website gives you a sense of just how much this tool can do.
There’s a reason the documentation is so extensive. FFmpeg handles everything from basic format conversions to incredibly complex filtergraphs. It’s the Swiss Army knife for anyone working with media.
Joining Files End-to-End
One of the most common tasks is simple concatenation—just stitching files together one after the other. Imagine you have a podcast intro, a main segment, and an outro. You can join them into a single episode with one command.
First, you need to create a simple text file, let’s call it mylist.txt, that lists the files in the order you want them joined. It’s as simple as this:
file ‘intro.mp3’ file ‘main_segment.mp3’ file ‘outro.mp3’
With that list ready, pop open your terminal and run this FFmpeg command:
ffmpeg -f concat -safe 0 -i mylist.txt -c copy final_episode.mp3
So what’s happening here? You’re telling FFmpeg to use its concat function, read your file list, and—this is the important part—copy the audio streams directly without re-encoding. This method preserves the original quality and is lightning-fast.
Mixing Audio Tracks Together
But what if you need to overlay tracks, like putting background music under a voiceover? That’s where mixing comes in. For this, you’ll use FFmpeg’s amerge filter, which combines multiple audio inputs so they play at the same time.
This is a game-changer for tasks like programmatic ad insertion or adding a consistent audio watermark to a whole batch of files. The automation potential here can save you countless hours of manual editing.
The command looks a bit more involved, but it breaks down logically:
ffmpeg -i voiceover.wav -i music.mp3 -filter_complex “[0:a][1:a]amerge=inputs=2[a]” -map “[a]” -ac 2 final_mix.mp3
This command takes two inputs (voiceover.wav and music.mp3), merges them into a single stream, and outputs a final stereo file. Unlike simple concatenation, mixing almost always involves re-encoding the audio, a process that’s conceptually similar to what we describe in our guide on https://liveapi.com/blog/what-is-video-transcoding/.
This kind of audio processing is a huge deal across many industries. The global consumer audio equipment market is projected to grow from $16.31 billion in 2025 to a staggering $22.93 billion by 2030, with automotive audio being a major part of that growth. You can dive deeper into the growing audio equipment market on mordorintelligence.com to see where things are headed.
Sometimes, you need to go beyond command-line tools and bake audio merging right into your application. If you’re building a service that needs to process user uploads, generate dynamic audio content on the fly, or automate a content pipeline, a good programming library is your best bet.
This is where you move from manual tasks to fully automated workflows, letting your code handle everything from file selection to the final export based on user actions or database triggers.
Using Python and Pydub for Quick Merging
Python is a powerhouse for audio processing, largely thanks to its incredible ecosystem of libraries. For straightforward audio manipulation, Pydub is a fantastic tool that I often recommend. It takes away the complexity and gives you a clean, high-level way to work with audio files.
Let’s say you’re building an app that creates a personalized daily podcast by stitching together an intro, a news segment, and an outro. Pydub makes this almost trivial.
Here’s what that looks like in practice:
from pydub import AudioSegment
Load your audio files
intro_clip = AudioSegment.from_mp3(“intro.mp3”) main_content = AudioSegment.from_mp3(“content.mp3”)
It’s as simple as adding them together
full_briefing = intro_clip + main_content
Save the final merged file
full_briefing.export(“final_briefing.mp3″, format=”mp3”)
In just a few lines, that code loads two MP3s, joins them end-to-end, and spits out a new file. Pydub handles the messy details like format conversion and bitrate matching behind the scenes, which is a massive time-saver.
This level of integration is incredibly powerful. You can build complex, data-driven audio experiences, much like how modern video games dynamically layer sound effects and music to create a fully immersive environment.
Automating with Node.js and FFmpeg
If you’re a JavaScript developer working in a Node.js environment, you can still tap into the raw power of FFmpeg. Many excellent libraries essentially act as a bridge, letting you control FFmpeg directly from your JavaScript or TypeScript code. This is perfect for building server-side audio processing services.
A classic real-world use case is laying a dynamically generated voiceover on top of a standard background music track. You can pull this off with a library like fluent-ffmpeg.
Here’s how you could mix two tracks together:
const ffmpeg = require(‘fluent-ffmpeg’);
ffmpeg() .input(‘voiceover.wav’) .input(‘background_music.mp3’) .complexFilter([ // This filter merges the two audio inputs ‘[0:a][1:a]amerge=inputs=2[a]’ ]) .outputOptions(‘-map’, ‘[a]’) .save(‘mixed_audio.mp3’) .on(‘end’, () => { console.log(‘Audio has been successfully mixed!’); });
This approach gives you fine-grained control over the entire process, making it ideal for building scalable services that need to perform complex audio merges on demand. You get all the power of FFmpeg without ever leaving your JavaScript code.
Got Questions About Merging Audio?
Even with the best tools in hand, a few questions always seem to pop up when you start combining audio files. Let’s tackle some of the most common ones I hear, so you can sidestep any hiccups and get that clean, professional result you’re after.
Can I Merge Different Audio Formats?
Absolutely. This is a super common scenario, and thankfully, modern tools are built for it.
You can throw an MP3 and a WAV file into a tool like FFmpeg or a visual editor like Audacity, and it won’t break a sweat. The software handles the heavy lifting by re-encoding everything into a single, unified output format of your choice. It saves you the headache of having to manually convert everything before you even start.
Will I Lose Audio Quality When Merging?
This really comes down to your export settings. If you’re working with lossless files (think WAV or FLAC) and you export the final track back into a lossless format, you won’t lose a shred of quality. It’ll sound identical to the original source files.
The moment you export to a lossy format like MP3, though, some compression is going to happen. It’s just the nature of the format. To keep the quality top-notch, always export at a high bitrate. For MP3s, 320kbps is the gold standard for high-quality audio.
Think of it like this: joining files is about sequence, while mixing is about layering. Understanding this distinction is key to achieving your desired outcome, whether it’s a simple playlist or a complex soundscape for a video game.
What’s the Difference Between Joining and Mixing?
This is a big one, and it’s easy to get them confused.
- Joining (or concatenating) is simply placing audio files one after another, end-to-end. It’s perfect for stringing together chapters of an audiobook or creating a continuous playlist.
- Mixing is about layering tracks so they play at the same time. The classic example is laying background music underneath a voiceover for a podcast. They’re two totally different techniques for very different creative goals.
At LiveAPI, we provide developers with the tools to build powerful video and audio applications without getting bogged down by infrastructure. See how our robust APIs can simplify your next project at https://liveapi.com.