To really get HD video encoding right, you have to nail the fundamentals first. This means picking the right codec—like the old reliable H.264 or the super-efficient AV1—and a sensible container like MP4. From there, you’ll need to choose a bitrate that gives you great visual quality without creating a massive file that buffers forever. It’s a balancing act, but it’s crucial for giving your users a great streaming experience.
Getting a Grip on Core Encoding Concepts
Before you start hammering out FFmpeg commands or building automation scripts, it’s worth taking a moment to understand the pieces that truly define your video’s quality and performance. Think of encoding less as a single step and more as a series of deliberate choices. Every decision you make here directly affects device compatibility, file size, and ultimately, what your viewers see on their screens.
For a more detailed primer, we’ve got a full guide on what video encoding is. But for now, let’s focus on the big three: the codec, the container, and the bitrate. Get these right, and you’re well on your way.
Codecs: The Compression Engine
The codec (short for coder-decoder) is the algorithm that does all the heavy lifting of compressing your video data. Your choice here has a massive ripple effect on everything that follows.
- H.264 (AVC): This is the undisputed workhorse of the internet. Its main selling point? Near-universal compatibility. If your video absolutely must play on any device or browser from the last ten years, H.264 is the safest, most reliable choice.
- H.265 (HEVC): As the successor to H.264, HEVC boasts around 50% better compression efficiency. That’s a huge deal. It means you can hit the same visual quality at half the bitrate, which is a game-changer for 4K content or just saving on bandwidth costs. The catch? Licensing fees and spotty hardware support have slowed its adoption.
- AV1: This is the royalty-free option from the Alliance for Open Media, which includes heavy hitters like Google, Netflix, and Amazon. AV1 squeezes files even smaller than HEVC, but it demands a ton of processing power to encode. For high-volume streaming platforms, the long-term bandwidth savings often make the upfront encoding cost a worthwhile investment.
Even though H.264/AVC still holds about 45% of the video encoder market share thanks to its incredible device support, newer codecs like AV1 are quickly gaining ground.
To help you decide, here’s a quick rundown of the main players.
Practical Codec Comparison for HD Video
| Codec | Compression Efficiency | Device Compatibility | Licensing | Best Use Case |
|---|---|---|---|---|
| H.264 (AVC) | Good | Excellent | Royalty-free | Maximum compatibility for web and mobile. |
| H.265 (HEVC) | Excellent | Good | Royalties apply | 4K/UHD content, premium VOD, bandwidth savings. |
| VP9 | Excellent | Good | Royalty-free | YouTube and Android-focused delivery. |
| AV1 | Superior | Growing | Royalty-free | High-volume streaming (VOD) where bandwidth is key. |
Ultimately, the “best” codec depends entirely on who you’re trying to reach and what your budget for bandwidth and compute looks like.
Containers: The Digital Wrapper
If the codec is the engine, the container is the chassis that holds everything together. It’s a wrapper format that bundles the compressed video, the audio, and all the metadata—like subtitles or chapter markers—into a single, neat file.
Key Takeaway: The container doesn’t actually affect the video’s quality; the codec does. The container just defines how all that data is organized.
You’ll see common containers like .mp4, .mkv, and .mov, which are all flexible enough to hold video encoded with different codecs. For modern streaming, the video is often chopped up into smaller chunks inside containers like .ts (for HLS) or .m4s (for DASH) to make adaptive bitrate streaming possible.
Designing a Practical Adaptive Bitrate Ladder
Once you’ve locked in your codec and container, the next real challenge is figuring out how to deliver that video to everyone, everywhere. This is where a smart Adaptive Bitrate (ABR) ladder comes into play. Think of it as a set of different versions of your video, each with a specific resolution and bitrate, ready to go.
The whole point is to give the video player options. A user with a fiber connection gets the pristine 1080p stream, while someone on a shaky mobile network automatically switches to a lower-resolution version. A well-designed ladder is your best weapon against the dreaded buffering wheel.
This flow shows how the core pieces—codec, container, and bitrate—all come together to build each “rung” on your ABR ladder.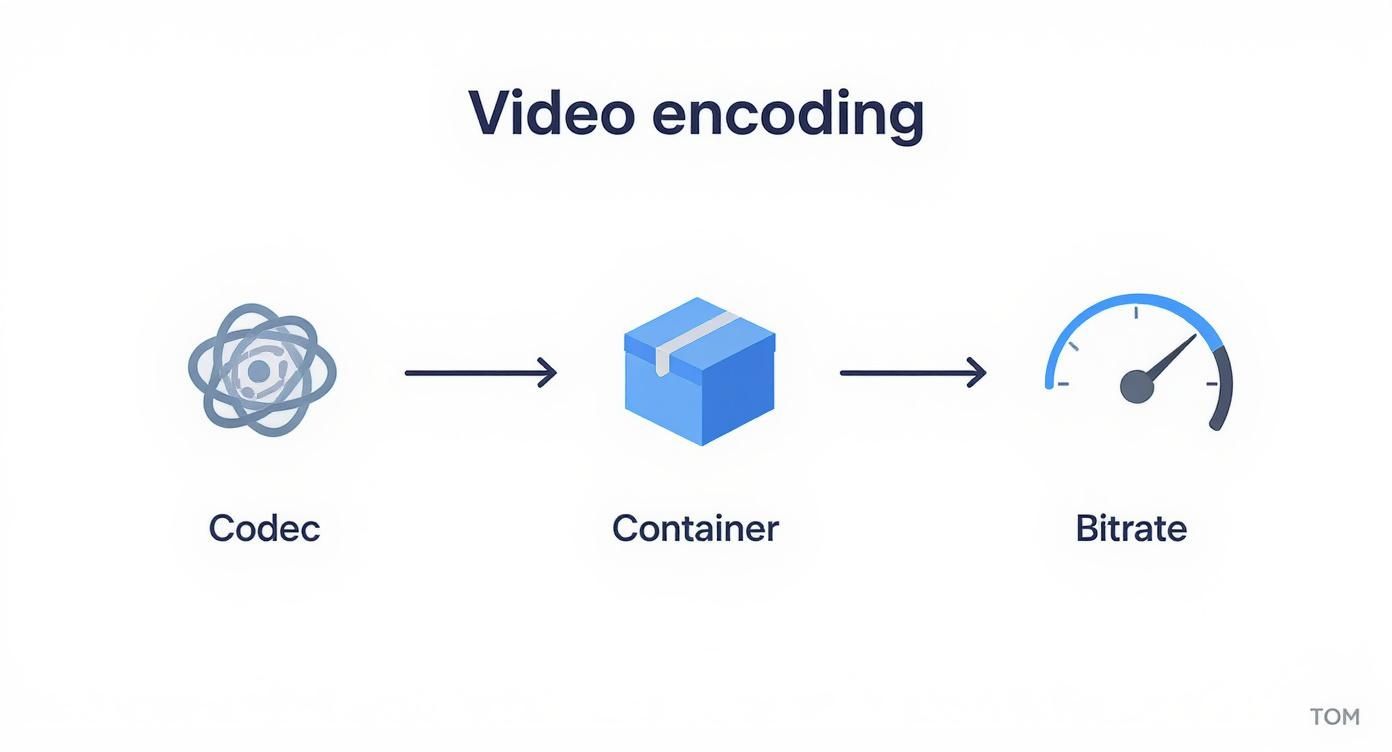 Every rendition in your ladder is a unique mix of these three elements, built for a specific network speed and device.
Building Your HD Ladder Rungs
Building a solid ABR ladder is definitely more of an art than a science, but there are some battle-tested guidelines. The goal isn’t just to create a ton of rungs; you want to create meaningful steps that give viewers a noticeable quality jump without being redundant. You want to avoid the player switching between two renditions that look identical but use more bandwidth.
A classic mistake is to just cut the bitrate in half for each step down in resolution. This almost always starves the lower-quality streams, making them look terrible, while wasting bandwidth at the top. A much better way is to think about the actual perceived quality at each step.
For a deeper dive into the nuts and bolts, our complete guide on adaptive bitrate streaming is a must-read. It really is a foundational concept for modern video delivery.
The top of your ladder should always match your source video. If you’re starting with a 1080p file, your highest rendition should be 1080p. From there, you strategically work your way down, creating distinct versions for different network scenarios.
A Sample ABR Ladder for 1080p HD Streaming
Let’s walk through a practical, field-tested ABR ladder for a standard 1080p (1920×1080) source. This isn’t a one-size-fits-all solution, but it’s a fantastic starting point you can tweak for your own content.
| Resolution | Video Bitrate (kbps) | Audio Bitrate (kbps) | Recommended Profile |
|---|---|---|---|
| 1920×1080 | 4500-6000 | 128 | High |
| 1280×720 | 2500-3500 | 128 | High |
| 854×480 | 1000-1500 | 96 | Main |
| 640×360 | 600-800 | 64 | Main |
| 426×240 | 300-400 | 64 | Baseline |
This structure is solid and has served many production workflows well. The choices here are deliberate.
Here’s a breakdown of the thinking behind this setup:
- 1080p Rendition: This is your top-shelf version, aimed at users with fast, stable connections. A bitrate between 4500-6000 kbps delivers that crisp detail you want for big screens.
- 720p Rendition: This is the workhorse for most modern HD streaming. It looks great on laptops and tablets and is a perfect fallback from 1080p when the network hiccups.
- 480p Rendition: This step is critical for mobile users. The quality is still very watchable on a smaller screen, hitting that sweet spot between visual clarity and lower bandwidth use.
- 360p & 240p Renditions: These are your safety nets. They ensure that even viewers on the weakest connections can watch without interruption. It won’t be HD, but for many, a smooth playback experience trumps everything else.
You’ll also notice the use of different H.264 profiles. The High profile gives you the best compression but needs more horsepower to decode, making it ideal for your top tiers. Main and Baseline profiles are less demanding, ensuring that older phones or less powerful devices can handle the stream—which is exactly what you need for the lower rungs. This thoughtful strategy ensures you encode HD video for both incredible quality and universal accessibility.
Getting Your Hands Dirty with FFmpeg for HD Video
Alright, let’s move from theory to practice. It’s time to roll up our sleeves and work with FFmpeg, the command-line powerhouse for just about everything video-related. This section is all about practical, ready-to-use commands for encoding HD video. Think of these examples as battle-tested starting points for your own projects, giving you precise control over quality and performance.
The official FFmpeg website is your best friend here, with exhaustive documentation for every flag and filter you can imagine.

Honestly, spending time digging through those docs is the best way to uncover advanced tricks that go way beyond the basics.
Deconstructing a Two-Pass H.264 Command
When you’re dealing with on-demand video (VOD), a two-pass encode is the gold standard. It’s the best way to strike that perfect balance between visual quality and file size. The first pass simply analyzes your video to figure out the best way to allocate bits, and the second pass does the actual encoding using that intel. It takes a bit longer, but the results are significantly better for a given bitrate.
Here’s a solid command for a 1080p, two-pass H.264 encode:
Pass 1: Analysis
ffmpeg -y -i input.mp4 -c:v libx264 -preset medium -b:v 5000k
-pass 1 -an -f mp4 /dev/null
Pass 2: Encoding
ffmpeg -i input.mp4 -c:v libx264 -preset medium -b:v 5000k
-pass 2 -c:a aac -b:a 128k output.mp4
So, what’s going on here? Let’s break down the key flags:
-c:v libx264: This tells FFmpeg to use the H.264 video codec.-preset medium: This is a great middle-of-the-road option, balancing encoding speed and compression. Faster presets likeveryfastwill lower the quality, while slower ones likeslowwill improve it but take more time.-b:v 5000k: We’re setting the target average video bitrate to 5000 kbps, a solid choice for high-quality 1080p.-pass 1/-pass 2: This is how we tell FFmpeg which step of the two-pass process it’s running.-an: In the first pass, we discard the audio with-anbecause we only need to analyze the video frames.
I always recommend this two-pass approach for the highest-quality renditions in an ABR ladder. The encoder is smart enough to use more bits for complex, high-action scenes and fewer for static shots, which really optimizes the final viewing experience.
Need for Speed? Using Hardware Acceleration
While two-pass software encoding gives you incredible quality, it’s a CPU-eater and can be slow. When speed is your main concern—especially for live streams or quick VOD turnarounds—hardware-accelerated encoding is a game-changer. This offloads all the heavy lifting to a dedicated chip on your GPU.
If you have an NVIDIA GPU, you can use the NVENC encoder (h264_nvenc). Check out how much simpler the command becomes:
ffmpeg -i input.mp4 -c:v h264_nvenc -preset p5 -b:v 5000k
-c:a aac -b:a 128k output_nvenc.mp4
The main difference is swapping to -c:v h264_nvenc. The -preset p5 flag is specific to NVENC and gives a good balance of performance and quality, roughly on par with a medium software preset. A single command like this can be 5-10x faster than its CPU-based counterpart.
This push for faster encoding isn’t happening in a vacuum. The explosion of HD streaming has fueled some serious competition and innovation. Market analysis shows big regional differences in the video encoder and decoder market, with North America accounting for a massive 38.5% of the global revenue, driven largely by the adoption of these accelerated streaming solutions.
Practical Commands for Everyday Scenarios
Now that we have the core concepts down, let’s put them to work in a couple of common situations. Use these as a jumping-off point and tweak them for your own needs.
Preparing a VOD File for ABR
Let’s say you’re creating a 720p version for your ABR ladder. You’ll need to resize the video and adjust the bitrate. This command also sets a fixed keyframe interval, which is absolutely critical for smooth adaptive streaming.
ffmpeg -i input_1080p.mp4 -vf “scale=1280:720” -c:v libx264
-preset medium -b:v 2800k -maxrate 3000k -bufsize 5600k
-g 60 -keyint_min 60 -c:a aac -b:a 128k output_720p.mp4
Here are the important additions:
-vf "scale=1280:720": This is a video filter (-vf) that resizes the output to 720p.-maxrateand-bufsize: These help keep the bitrate from spiking, which is a big deal for streaming clients.-g 60 -keyint_min 60: Assuming a 30fps video, this forces a keyframe every 60 frames (2 seconds). This is a standard practice for HLS and DASH segmenting.
A Basic Command for Live Streaming
For a live stream, you’re almost always using a single pass and pushing the output to an RTMP endpoint. Constant Bitrate (CBR) is often the way to go here to ensure a stable, predictable stream for your viewers.
ffmpeg -re -i input.mp4 -c:v libx264 -preset veryfast -b:v 4000k
-maxrate 4000k -bufsize 8000k -pix_fmt yuv420p -g 60
-c:a aac -b:a 128k -f flv rtmp://a.rtmp.youtube.com/live2/YOUR-STREAM-KEY
Key flags to pay attention to for live scenarios:
-re: This tells FFmpeg to read the input at its native frame rate, which simulates a live camera feed.-preset veryfast: Speed is everything in live streaming. This helps minimize latency.-f flv: Sets the output container to FLV, which is the standard format for RTMP.
These examples should give you a solid foundation. From here, you can start swapping codecs, tweaking bitrates, and chaining filters to build a powerful pipeline to encode HD video for any application you can think of.
Building an Automated Encoding Pipeline
Firing off FFmpeg commands manually is fine when you’re just testing things out. But for a real-world application, that approach hits a wall fast. To handle video uploads reliably and at scale, you need to graduate from one-off scripts to a fully automated pipeline—a system that can take a new video, process it, and get the final assets ready for delivery without anyone having to lift a finger.
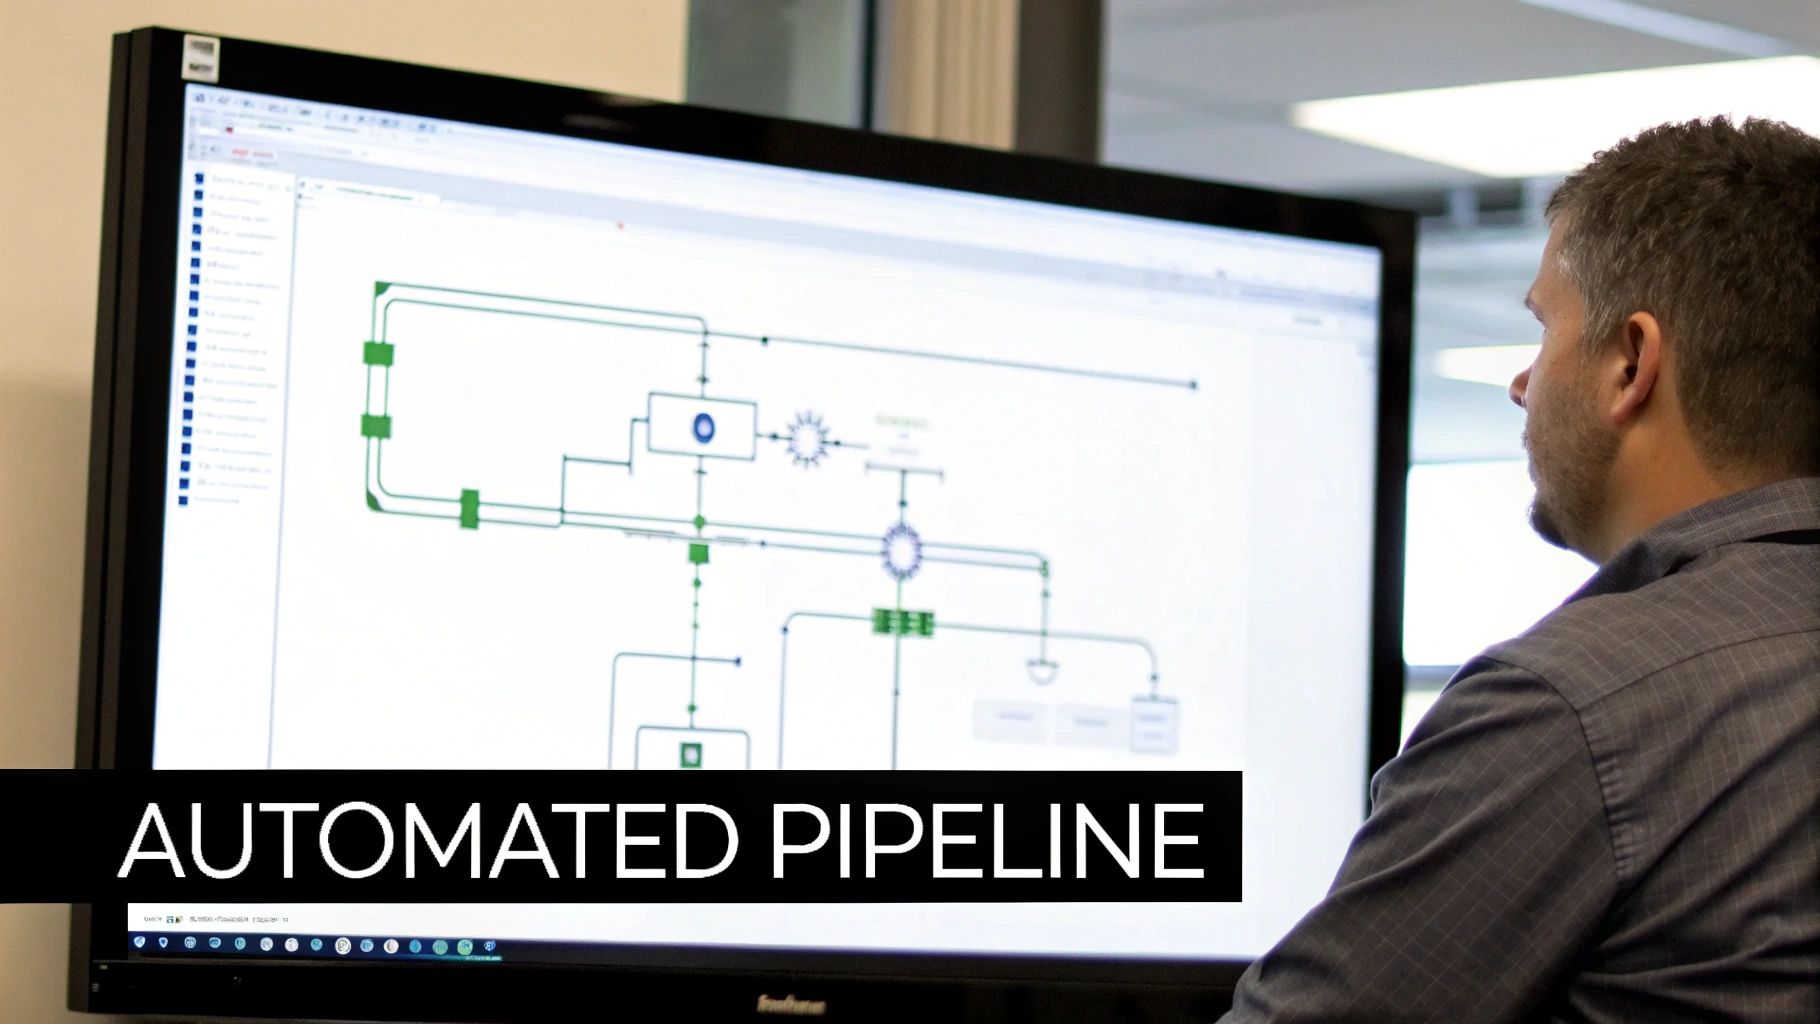
The trick is to decouple the initial request from the heavy lifting. When a user uploads a video, your main application shouldn’t get stuck waiting for a long, CPU-intensive encoding job to finish. Instead, its only job should be to hand off the task to a system built specifically for that kind of work.
Designing a Decoupled Architecture
The most battle-tested way to build this is with a message queue. Think of it as a buffer that sits between your user-facing application and your backend encoding workers, preventing one from overwhelming the other.
Here’s what that flow looks like in practice:
- A user uploads their source video to a cloud storage bucket, like Amazon S3 or Google Cloud Storage.
- Your app gets notified of the upload and immediately creates a job message. This little packet of data has everything the worker needs: the file’s location, the user ID, and which encoding presets to use (like your ABR ladder).
- This job message gets pushed into a queueing service—something like AWS SQS, RabbitMQ, or Google Cloud Pub/Sub.
- Meanwhile, you have a separate fleet of worker instances whose only job is to poll this queue. One of them snags the message, downloads the video, runs the FFmpeg commands to encode HD video, and uploads all the finished renditions and manifests back to your storage.
The beauty of this setup is twofold. Your main application stays snappy and responsive, and you can spin up or shut down encoding workers based on how many jobs are in the queue. This is not just a more resilient design—if a job fails, the message can just go back in the queue for another worker to try—it’s also far more cost-effective.
Integrating Encoding into CI/CD
Automation isn’t just for user content; it’s a game-changer for your own development and content management workflows. Hooking up video processing to your CI/CD pipeline can eliminate a ton of manual drudgery.
For example, what if your marketing team just drops a new video into a folder in your Git repo? With a tool like Jenkins, GitLab CI, or GitHub Actions, you can set up a trigger for that exact event.
A common pattern is to set up a webhook that kicks off a pipeline run whenever a new file is pushed to a specific ‘source-videos’ directory. The pipeline then automatically initiates the encoding job, effectively turning your version control system into a content management hub.
The CI/CD job just needs to run a script that packages up the request and sends it to your queue, exactly like your main app would. Once the encoding is done, the assets can even be deployed straight to your CDN. The whole process, from content commit to live delivery, becomes completely hands-off. It’s here you start to see the real power of a well-architected system to encode HD video at scale.
If you’re digging into the nuances of these processes, understanding the difference between video transcoding vs encoding is a great next step. It gives you the context needed to build even smarter pipelines.
Scaling Your Worker Fleet
As your platform takes off, your encoding needs will grow with it. This is where the decoupled, queue-based architecture really shines. Cloud providers make it easy to set up auto-scaling groups to manage your worker fleet automatically based on simple rules.
- Scale-Up Policy: If the queue has more than, say, 100 messages waiting, spin up a few more worker instances to chew through the backlog.
- Scale-Down Policy: If the queue has been empty for a few minutes, terminate the idle instances so you’re not paying for servers that are just sitting there.
This elastic approach means you can effortlessly handle a sudden flood of uploads from a viral post without breaking a sweat, all while keeping your infrastructure costs in check during quiet periods. It’s the final piece of the puzzle that turns a simple encoding script into a professional, scalable video platform.
Optimizing for VOD vs. Live Streaming
https://www.youtube.com/embed/RIgjNIh0b4g
The core principles of encoding HD video are the same whether your content is on-demand or live, but that’s where the similarities end. The delivery mechanics are worlds apart. For Video on Demand (VOD), you’re aiming to create the perfect file on your own time. For live streaming, it’s a high-wire act of delivering a stable, high-quality experience in real-time.
Fundamentally, VOD is about efficiency at rest and during delivery. Live streaming is all about speed and reliability under pressure. Getting this right means you have to tailor your entire encoding and delivery architecture for each format.
VOD Best Practices for Smooth Playback
With VOD, time is your greatest asset. Use it to perfect your video files long before a viewer ever clicks play. The whole game here is to prepare a bulletproof set of files that can be delivered efficiently from anywhere in the world.
A few strategies are absolutely essential:
- Content Chunking: Modern streaming isn’t about sending one massive MP4 file. Protocols like HLS and DASH work by breaking the video into small “chunks.” This is what allows a player to seamlessly switch between quality levels. Your encoding pipeline has to be set up to output these segments along with the manifest file that acts as a table of contents for the player.
- Smart CDN Integration: A Content Delivery Network (CDN) is completely non-negotiable for any serious VOD service. By caching your video chunks on servers physically close to your users, a CDN slashes latency and kills buffering. Just make sure it’s configured to properly handle video manifests and segments.
- Reliable Asset Storage: Your master encoded files need a safe home. A durable, highly-available object storage service like Amazon S3 or Google Cloud Storage is the standard. This keeps your source of truth secure and provides a central, reliable point for your CDN to pull from.
Live Streaming: Mission-Critical Goals
Live streaming is like performing without a safety net. The entire focus shifts to minimizing latency and maximizing stability. Every millisecond matters, and a single interruption can send viewers scrambling for the exit.
Your top priority in a live workflow is establishing a resilient, low-latency glass-to-glass pipeline. This means optimizing every single step—from the camera’s capture to the final playback on a viewer’s device—to shave off those critical seconds.
Here’s where you need to focus your energy:
- Attack Latency: For the first-mile contribution (from the source to your encoder), use protocols built for speed like SRT (Secure Reliable Transport) or WebRTC. For the final delivery to the viewer, Low-Latency HLS (LL-HLS) and DASH are quickly becoming the industry standard.
- Keep the Stream Stable: I almost always recommend Constant Bitrate (CBR) encoding for live streams. It produces a predictable data flow, which is much easier for networks to handle and helps prevent the player’s buffer from either overflowing or running dry.
- Build in Failover: What’s your plan B if the primary encoder dies? Any professional setup has redundant encoders and multiple ingest points. If one stream stumbles, the system should automatically and instantly switch to a backup without the viewer ever knowing anything went wrong.
Quality Assurance From Start to Finish
Whether it’s live or VOD, you can’t improve what you don’t measure. A solid quality assurance (QA) process is the only way to catch problems before your audience does. This is about more than just making sure the video plays.
The demand for pristine HD and UHD content is fueling massive growth in the tools that support these workflows. The global video encoder market, valued at around $2.5 billion in 2025, is projected to hit over $4 billion by 2032, all driven by this relentless pursuit of quality. You can dive deeper into the numbers by exploring this market’s growth trends.
For robust QA, you need a mix of automated checks and perceptual metrics. Tools like VMAF (Video Multimethod Assessment Fusion) give you a score that closely mimics how a human would actually rate the video quality. Set up automated alerts for VMAF score drops, silent audio, or frozen frames. This proactive approach lets you find and fix encoding errors, ensuring a consistently great experience for your viewers.
Answering Your Top HD Encoding Questions
When you’re deep in the weeds of a video project, the same handful of encoding questions always seem to pop up. Getting these fundamentals right can be the difference between a smooth-running pipeline and a frustrating bottleneck. Let’s tackle some of the most common queries I hear from developers working with HD video.
Think of this as a field guide to sidestepping common pitfalls and getting your encoding workflow dialed in.
What’s the Best Bitrate for 1080p HD Video?
This is the classic “it depends” question, but I can give you some solid, real-world starting points. There’s no single magic number; the right bitrate is all about the content itself.
For on-demand video with a lot of movement—think sports or action scenes—you’ll want to aim for a variable bitrate (VBR) between 5,000 and 8,000 kbps using the H.264 codec. This gives the encoder the flexibility to allocate more data to complex frames. On the other hand, if you’re encoding something with less motion, like a presentation or a screen recording, you can often get away with 3,000 to 4,000 kbps and see no visible drop in quality.
Live streaming is a different beast entirely. Here, consistency is king. A constant bitrate (CBR) of around 6,000 kbps is a safe bet, as it provides a predictable data stream that helps prevent buffering for your viewers.
My Go-To Tip: For any VOD file, always use a two-pass encode. The first pass analyzes the video to figure out where the complex scenes are, and the second pass uses that information to intelligently distribute the bits. It takes more time upfront, but the quality-to-size ratio is so much better. It’s a trade-off that’s almost always worth it.
Should I Use H.264 or H.265 for My Project?
This is the central dilemma: do you prioritize maximum compatibility or ultimate efficiency?
- Go with H.264 (AVC) if you need your video to play absolutely everywhere. It’s the undisputed champion of compatibility. Every modern browser, smartphone, and smart TV can handle it without breaking a sweat. If you can’t risk a playback failure, H.264 is your safest choice.
- Opt for H.265 (HEVC) when your main goal is to conserve bandwidth and reduce file sizes. It delivers the same visual quality as H.264 at roughly half the bitrate, which is a massive advantage for 4K content or for streaming high-quality HD over spotty connections. Just be aware of potential licensing costs and the fact that hardware support, while growing, isn’t as universal as H.264’s.
Your decision really hinges on your audience and how you’re delivering the video. If you control the playback environment (like inside your own mobile app), H.265 can be a game-changer for your operational costs.
How Can I Speed Up My FFmpeg Encoding Times?
Slow encodes are a developer’s nightmare. The good news is you have a couple of powerful levers to pull to speed things up.
The single biggest impact comes from hardware acceleration. This moves the heavy lifting from your server’s CPU to dedicated hardware on a GPU or modern processor, which is built for exactly this kind of work.
- For NVIDIA GPUs: Use the
h264_nvencencoder. - For Intel CPUs (with Quick Sync): Use the
h264_qsvencoder.
Another quick win is the -preset flag in FFmpeg. The default is medium, but switching to fast or veryfast can slash your encoding times. You’ll take a small hit on compression efficiency (meaning a slightly larger file for the same quality), but for time-sensitive jobs like live streams, the speed boost is non-negotiable.
What Is a Keyframe Interval and What Should I Set?
A keyframe, also known as an I-frame, is a full video frame that doesn’t rely on any other frames to be decoded. The frames that follow it just describe the pixels that have changed since the last keyframe. The keyframe interval, then, is simply how often these full frames appear in the video stream.
For adaptive bitrate streaming (think HLS and DASH), the industry-standard keyframe interval is a non-negotiable 2 seconds. This is crucial because it allows the video player to switch between different quality levels cleanly and quickly at any 2-second chunk boundary, which results in a much smoother experience for the viewer.
Setting this in FFmpeg requires knowing your source video’s frame rate. For a standard 30 fps video, a 2-second interval works out to 60 frames. You’d enforce this with the flags: -g 60 -keyint_min 60.
Ready to stop wrestling with FFmpeg and start shipping your video features? LiveAPI provides a robust, developer-first platform that handles all the complexities of video encoding, streaming, and delivery. Focus on building your application, not your infrastructure.
Get started and integrate powerful video capabilities today with LiveAPI.