Ever wonder how you can stream a 4K movie without waiting hours for it to download? The magic behind it is something called a video codec.
At its core, a codec is a digital packer. It takes a massive, raw video file and expertly shrinks it down to a size that’s manageable enough to send over the internet. The name itself is a mashup of its two jobs: coder and decoder. It compresses the video on one end and decompresses it on the other so you can watch it.
Decoding the Digital Language of Video
Think about it like this: trying to stream a raw, uncompressed video is like trying to mail a full-sized poster in a regular envelope. It just won’t work. Instead, you’d scan it, turn it into a much smaller JPEG file, and email it in seconds. A video codec does the same thing, but for moving pictures, and on a much more sophisticated level.
Raw video footage is gigantic. Just one minute of uncompressed 4K video can take up tens of gigabytes. You can’t stream that over a normal internet connection. This is where the “coder” part of the codec comes in, using incredibly smart algorithms to find and remove redundant visual data, often shrinking the file by over 99%.
The Coder and Decoder Dance
When you press play on a streaming service, the “decoder” on your device—whether it’s your phone, laptop, or smart TV—springs into action. It takes that compressed data and instantly reconstructs it, putting all the frames back together for you to see.
This whole compression-decompression cycle happens on the fly, giving you that smooth, uninterrupted playback without the impossible task of downloading a monstrous file first.
The most common video codec you’ll run into is H.264, also known as Advanced Video Coding (AVC). It’s so widespread that it dominates the global video codec market, used in everything from professional broadcasting to your favorite streaming apps. You can find more great insights on codecs over at Wowza.com.
Clearing Up a Common Confusion: Codec vs. Container
It’s really easy to mix up codecs and container formats. You’ll often hear people use a term like “MP4” as if it’s a codec, but they are two completely different things that work together.
A codec is the compression method used on the video data. The container is the digital wrapper that holds the compressed video, audio, and other metadata together in a single file.
Here’s a simple analogy to lock it in:
- The Codec (e.g., H.264, AV1): This is the language the story is written in.
- The Container (e.g., .MP4, .MOV): This is the physical book—the cover and binding that holds the pages (video), the foreword (audio), and the table of contents (metadata) all in one place.
You could have the exact same H.264-encoded video wrapped in an .MP4 container or a .MOV container. The video itself is identical; only the box it’s delivered in has changed. Getting this distinction right is the first major step to really understanding how video delivery works.
To make this crystal clear, here’s a quick breakdown.
Codec vs. Container At a Glance
| Concept | Role | Example |
|---|---|---|
| Video Codec | Compresses and decompresses video data to reduce file size. | H.264, H.265 (HEVC), AV1 |
| Video Container | A file format that bundles video, audio, and metadata together. | .MP4, .MOV, .MKV, .WebM |
Think of the container as the file extension you see (.mp4), while the codec is the invisible engine running under the hood.
The Constant Battle: Quality vs. File Size
At the heart of every video codec lies a fundamental trade-off: picture quality versus file size. There’s no silver bullet for getting flawless video in a tiny package. Instead, codecs are designed with different philosophies to strike a balance, which places them into two main camps: lossless and lossy.
Getting a handle on this difference is the first major step in mastering video engineering. It’s the reason you’d pick one codec for a professional editing suite and a completely different one for streaming to millions of viewers.
The Perfectionist’s Approach: Lossless Compression
Imagine you need to create a digital archive of a priceless painting. You’d want a copy so perfect it captures every brushstroke, every subtle hue, every tiny crack in the paint—an exact replica. That’s the core idea behind lossless compression.
A lossless codec shrinks a video file by finding more efficient ways to organize the data, but it never throws a single bit of information away. When the video is uncompressed, it’s a 100% bit-for-bit perfect reconstruction of the original source.
- Pro: You get the absolute maximum quality with zero data loss.
- Con: The file sizes are massive, making them completely impractical for streaming over the internet.
This kind of fidelity is non-negotiable in professional post-production. Editors, colorists, and VFX artists need to work with the original, untouched data to make precise adjustments. Think of it like a digital negative in photography; it holds all the information you need for creative work. But the storage and bandwidth needed to handle these files make them a non-starter for final delivery to viewers.
The Pragmatist’s Approach: Lossy Compression
Now, what if you just want to share a picture of that same painting online? Sending a gigabyte-sized file to millions of people isn’t going to work. Instead, you could hire a skilled artist to create a stunning sketch that captures the essence of the painting, cleverly leaving out microscopic details the average person would never notice anyway. This is the art of lossy compression.
A lossy codec makes an educated guess about which visual details the human eye is least likely to notice and strategically throws that data away. This can slash file sizes by more than 99% while keeping the perceived quality incredibly high.
When it comes to streaming, “lossy” isn’t a dirty word—it’s a brilliant and essential feature. Without it, platforms like YouTube, Netflix, and every live streaming service you can think of simply wouldn’t be possible. The algorithms are smart about what they discard. They might tone down detail in chaotic, fast-moving scenes or in complex textures like a field of grass, where your eyes can’t process all the information anyway.
Choosing the Right Tool for the Job
This constant tug-of-war between quality and file size means your codec choice is always about context. There is no single “best” codec, only the best one for what you’re trying to accomplish right now.
- For Editing and Archiving: You’ll want a “mezzanine” codec like Apple ProRes. It’s designed to provide pristine, nearly-lossless quality for editing, color grading, and creating your master files.
- For Streaming and Delivery: You need a highly efficient lossy codec like H.264 or H.265 (HEVC). These are engineered to deliver the best possible viewing experience at the lowest possible bitrate, ensuring your audience gets smooth playback, even on a spotty connection.
Ultimately, truly understanding video codecs means understanding this core compromise. By picking the right compression strategy for each stage of your workflow, you can build a pipeline that delivers stunning video—whether it’s destined for a Hollywood editing bay or a smartphone screen halfway across the world.
The Most Common Video Codecs in the Wild
Now that we’ve got the basics down, let’s look at the actual codecs you’ll run into every day. Each one has its own history, its own strengths, and a reason it’s used. Think of them as different tools in your toolbox—knowing which one to grab for the job at hand is crucial for any developer or content creator.
We’ll start with the undisputed veteran, move to its more efficient successor, explore the royalty-free challengers, and finish with a look at codecs built for the editing suite. This gives you a solid map of the most important options out there today.
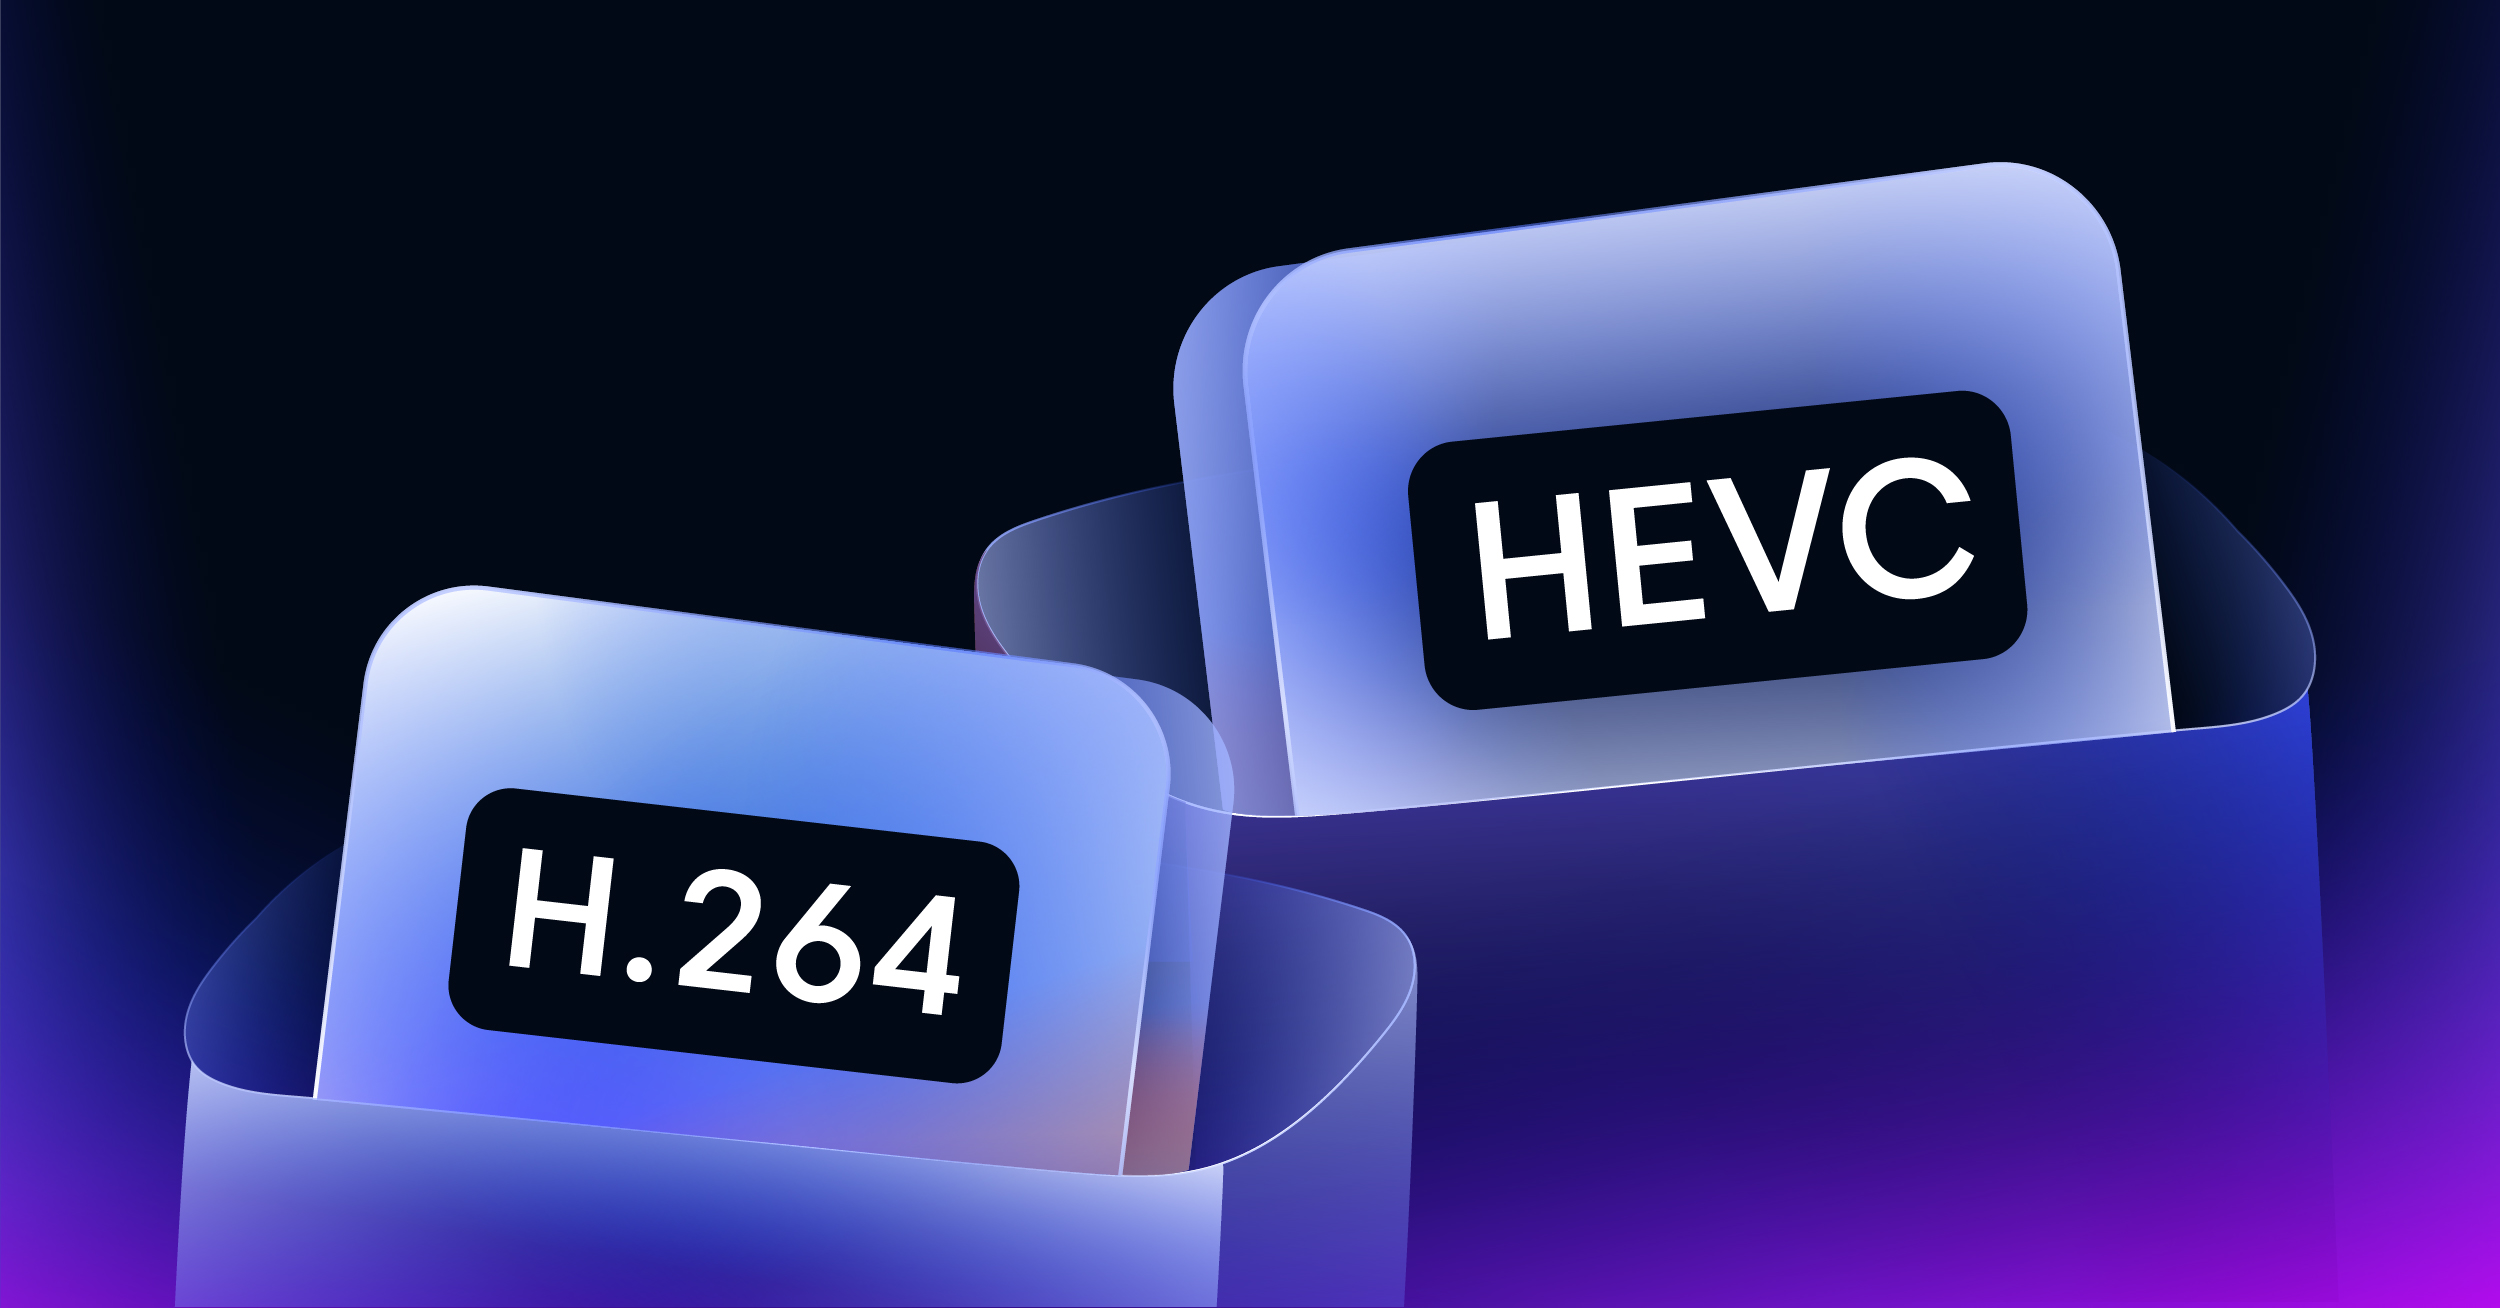
H.264 (AVC): The Universal Standard
If one codec rules the internet in terms of sheer compatibility, it’s H.264, also known as Advanced Video Coding (AVC). For well over a decade, it’s been the workhorse powering everything from YouTube and Vimeo to live broadcasts and video conferencing.
Its biggest advantage is its ubiquity. H.264 is supported by pretty much every device with a screen, from smartphones and web browsers to smart TVs and older hardware. This makes it an incredibly safe and reliable choice for reaching the widest possible audience without worrying about playback failures. While newer codecs are more efficient, H.264 remains the king of compatibility.
H.265 (HEVC): The Efficient Successor
Next up is H.265, or High-Efficiency Video Coding (HEVC), which arrived in 2013. It offers a massive jump in performance, boasting up to 50% better compression efficiency than H.264. In simple terms, HEVC can deliver the same video quality at half the bitrate, or noticeably better quality at the same bitrate. This has fueled the rapid growth of the next-generation video codecs market, a trend explored in-depth by Maximize Market Research.
That efficiency makes H.265 the go-to choice for streaming 4K and 8K content, where every bit saved counts. So why isn’t it everywhere? Adoption has been held back by a notoriously complex and expensive licensing situation, with multiple patent pools demanding fees. You can get the full story in our detailed guide on the HEVC video format and its licensing challenges.
Key Takeaway: H.264 offers universal compatibility, but H.265 provides a significant leap in compression. It’s ideal for high-resolution video delivery, but only if you’re prepared to navigate its licensing maze.
Every codec is trying to solve the same fundamental problem: balancing visual quality against file size. It’s a constant seesaw act.

As you can see, cranking up the quality usually means bigger files, while shrinking file size can hurt how the video looks. Each codec manages this trade-off in a slightly different way.
The Royalty-Free Challengers: VP9 and AV1
The licensing headaches of H.265 spurred a powerful open-source movement, led by some of the biggest names in tech. This has given us two fantastic, royalty-free alternatives.
- VP9: Developed by Google, VP9 was the predecessor to AV1 and offers compression efficiency right on par with H.265. You’ll find it all over Google’s ecosystem—most famously on YouTube—and it’s well-supported in modern web browsers and Android devices.
- AV1 (AOMedia Video 1): This is the future of open-source video. It’s backed by the Alliance for Open Media, a powerhouse consortium that includes Amazon, Apple, Google, Meta, Microsoft, and Netflix. AV1 delivers roughly 30% better compression than both H.265 and VP9.
So, what’s the catch? AV1’s superior performance comes at the cost of computational complexity. Encoding AV1 video requires a lot more processing power than older codecs, which can drive up server costs and encoding times. For massive streaming platforms, though, the huge bandwidth savings often make that initial encoding investment more than worthwhile.
Popular Video Codec Comparison
To help you decide which codec best fits your needs, here’s a quick comparison of the major players. This table breaks down their key characteristics, from how well they compress video to how much they might cost you in licensing fees.
| Codec | Compression Efficiency | Compatibility | Licensing | Primary Use Case |
|---|---|---|---|---|
| H.264 (AVC) | Good | Universal | Royalty-bearing | General-purpose streaming, live broadcasts, legacy device support. |
| H.265 (HEVC) | Excellent | Good (but requires modern hardware/software) | Complex & costly | 4K/8K UHD streaming, high-efficiency broadcast. |
| VP9 | Excellent | Good (strong in browsers & Android) | Royalty-free | Web streaming (especially YouTube), real-time communication. |
| AV1 | Exceptional | Growing (supported by major browsers & platforms) | Royalty-free | Premium VOD streaming (Netflix, YouTube), next-gen web video. |
| Apple ProRes | Low (visually lossless) | Limited (post-production focused) | Included with Apple software | Professional video editing, mastering, and archiving. |
Ultimately, the “best” codec depends entirely on your specific goals. Are you aiming for the widest possible audience with H.264, or pushing the quality envelope with AV1 while saving on bandwidth? This table should serve as a solid starting point for making that decision.
Apple ProRes: The Post-Production Workhorse
Not all codecs are built for streaming to your phone. In the world of professional video editing, color grading, and visual effects, the goal isn’t maximum compression—it’s maximum quality preservation. This is where Apple ProRes comes in.
ProRes is a family of “mezzanine” or “intermediate” codecs. That just means they’re designed to be used during the post-production process. They use a very light, visually lossless form of compression that keeps all the fine detail needed for editing and color work, while creating files that are far more manageable than raw, uncompressed video.
You would never use ProRes for streaming over the internet; the files are simply too big. Instead, it acts as the high-quality master format from which you create your final, compressed delivery files using something like H.264 or AV1. It’s a perfect reminder that choosing the right codec is all about context and knowing where you are in the video lifecycle.
How to Master Your Encoding Settings

Knowing what a codec is gets you in the door, but knowing how to control it is what really unlocks its power. Your encoding settings are the knobs and levers you turn to fine-tune the delicate dance between video quality, file size, and device compatibility. This is where the magic happens.
Getting these parameters right is the difference between a frustrating, buffering mess and a flawless viewing experience. They directly impact how your video looks, how much data it eats up, and whether it plays smoothly for everyone, everywhere.
The Foundation: Bitrate Control
The most fundamental setting you’ll work with is bitrate. It’s essentially the data budget you give the encoder for each second of video. Think of it like this: a bigger budget usually buys you better quality, but it also creates a much larger file. A smaller budget shrinks the file size, but you risk seeing compression artifacts like blockiness or blur.
You can manage this budget in two main ways:
- Constant Bitrate (CBR): This approach is straightforward. It assigns the exact same amount of data to every single second of video, whether it’s a quiet talking-head shot or a massive explosion. Its predictability makes it the go-to for live streaming, where a steady data flow is king for preventing buffer wheels.
- Variable Bitrate (VBR): This is a much smarter strategy for on-demand video. VBR is dynamic, allocating more data to complex, high-action scenes and pulling back on simple, static shots. The result? Better overall quality for a similar file size.
For a deeper dive into the mechanics, our guide on what video encoding is breaks it all down. But while VBR is a solid choice, there’s an even more efficient method for on-demand content that puts visual quality first.
A Smarter Approach: Constant Rate Factor (CRF)
For any pre-recorded video, the real gold standard is Constant Rate Factor (CRF). Instead of telling the encoder to aim for a target bitrate, CRF tells it to achieve a specific level of visual quality. You pick a quality target—a CRF value of 23 is a fantastic sweet spot for H.264—and the encoder uses whatever bitrate it needs, frame by frame, to hit that target.
This quality-first approach is incredibly efficient. The bitrate can swing dramatically from one moment to the next, but the perceptual quality—how good it looks to a human eye—remains consistent. You get the best possible look for the smallest possible file.
This makes CRF the top choice for building a VOD library, as it ensures all your videos have a uniform level of quality.
Understanding the Group of Pictures (GOP)
Another setting that has a huge impact is the Group of Pictures (GOP). Modern video compression is clever; it doesn’t store every frame in full detail. It starts with a complete picture, called an I-frame, and then for the next few frames, it only records the changes.
- I-frame (Keyframe): A full, self-contained image. It’s the reference point.
- P-frame (Predicted): A lightweight frame that only stores what changed from the previous frame.
- B-frame (Bi-directional): The most efficient of all, this frame can look both backward and forward to find redundant information.
The sequence from one I-frame to the next is the GOP. A longer GOP (say, 2 seconds) squeezes the file size down because it uses more of those efficient P and B-frames. The trade-off? A viewer can only jump to an I-frame, so a really long GOP can make seeking or scrubbing through the video feel sluggish.
Simplifying Compatibility with Profiles and Levels
Finally, let’s demystify Profiles and Levels. These settings might sound intimidating, but they’re really just standardized presets designed to guarantee your video plays back on different devices.
A Profile defines which compression tools the encoder is allowed to use (like B-frames or specific color formats). A Level, on the other hand, puts a cap on technical specs like resolution, frame rate, and maximum bitrate.
Just think of them as compatibility checklists. For H.264, the “Main” profile at “Level 4.1” is a super common combination that ensures your video will play on a massive range of hardware, from old phones to new smart TVs. Choosing the right profile and level is how you make sure your beautifully encoded video actually works for your audience.
Choosing Between Hardware and Software Encoding
When it’s time to compress your video, the real work can be handled by two very different parts of your computer: the central processor (CPU) or a specialized graphics processor (GPU). This is the core of the software encoding vs. hardware encoding debate, and it’s a decision that has a huge impact on speed, quality, and cost—especially when you’re operating at scale.
Think of software encoding, which runs on the CPU, as a master craftsman. It meticulously examines every single frame, making smart, complex decisions to squeeze out the best possible quality for a given file size. But just like any artisan, this process is slow. Really slow.
Hardware encoding, on the other hand, is like a high-speed assembly line. It offloads the job to a dedicated chip on a graphics card—like NVIDIA’s NVENC or Intel’s Quick Sync—built for one thing and one thing only: compressing video incredibly fast. It gets the job done in a fraction of the time, but sometimes it cuts a few corners on quality to keep up the pace.
The Speed vs. Quality Trade-Off
So, which one is right for you? It really boils down to your priorities.
Software encoding is the gold standard when quality is paramount and you’re not in a hurry. A video-on-demand service like Netflix, for example, can afford to spend hours running powerful software encoders on their files. The goal is to create perfectly optimized versions for their library, because every bit they save without dropping quality translates into lower storage and delivery costs down the line.
But for live streaming, waiting hours is out of the question. You have milliseconds. This is where hardware encoding is the undisputed champion. A gamer broadcasting live to an audience needs to encode and send their video instantly. A hardware encoder can do this in real-time without causing the game to lag into a stuttering mess.
The central question is this: Do you need the best possible quality for an archive, or do you need blazing-fast speed for a live broadcast? Your answer determines whether you choose the meticulous artist (software) or the high-speed assembly line (hardware).
Why This Choice Matters for Your Business
Getting this right is fundamental to building a video workflow that’s both effective and economical. The global video encoder market, which includes both hardware and software, was valued at over USD 2.6 billion and is expected to grow beyond USD 4.5 billion by 2034, according to Precedence Research. That kind of money is flowing into the market because this choice is absolutely critical for anyone serious about video.
Here’s a simple breakdown to help you decide:
- Software Encoding (CPU)
- Pros: Delivers the highest possible quality and compression efficiency.
- Cons: Extremely slow and resource-heavy, which can drive up server costs.
- Best For: Creating master files for a VOD library, archiving important content, or any scenario where quality cannot be compromised.
- Hardware Encoding (GPU/ASIC)
- Pros: Incredibly fast with very low latency.
- Cons: Quality and efficiency are generally a step down from the best software encodes.
- Best For: Live streaming, real-time communication like video calls, and any workflow where speed is the top priority.
In the real world, most large-scale video platforms don’t just pick one. They use a hybrid strategy: hardware encoders handle the initial high-speed ingest for live streams, while a fleet of software encoders works in the background to transcode those streams into the various quality levels needed for on-demand playback later.
Putting Codecs to Work with FFmpeg
Theory is one thing, but the best way to really get a feel for what a video codec does is to roll up your sleeves and control it yourself. For that, we turn to FFmpeg, the open-source command-line tool that is the undisputed Swiss Army knife for all things video. It’s the engine humming away under the hood of countless media applications.
With just a few simple commands, you can take any source file and transcode it, tweaking every parameter we’ve discussed. This hands-on experience is what bridges the gap between knowing about codecs and actually implementing them in a real-world video pipeline.
Basic Transcoding with H.264 and H.265
Let’s jump right in with a practical example. Say you have a file named input.mov and want to convert it to an MP4 using the H.264 codec. The most basic command is dead simple:
ffmpeg -i input.mov -c:v libx264 output.mp4
Here’s a quick breakdown of what’s happening:
-i input.mov: This points FFmpeg to your input file.-c:v libx264: This tells FFmpeg to use thelibx264software encoder for the video stream. It’s the most popular and robust H.264 implementation out there.output.mp4: And this is the name of the new file you’re creating.
That’s a start, but we can do better. Let’s add a quality setting using the Constant Rate Factor (CRF). A CRF of 23 is a fantastic, widely-recommended starting point for H.264 that balances quality and file size.
ffmpeg -i input.mov -c:v libx264 -crf 23 output.mp4
This command tells the encoder to aim for a consistent visual quality rather than a specific bitrate, which almost always gives you a much better result for the file size. For a deeper dive into this entire process, check out our complete guide on what video transcoding is and why it’s the backbone of modern streaming.
Building an Adaptive Bitrate Ladder
For professional streaming, you never just deliver a single file. You create a whole set of them at different resolutions and bitrates—this is called an Adaptive Bitrate (ABR) ladder. This ladder lets the video player seamlessly switch between quality levels to match a viewer’s connection speed, which is the key to preventing that dreaded buffering wheel.
Here’s a sample ABR ladder that provides a solid foundation for most on-demand streaming. Think of each row as a separate target for your transcoder.
| Resolution | Video Bitrate (kbps) | Audio Bitrate (kbps) |
|---|---|---|
| 1920×1080 | 5000 | 192 |
| 1280×720 | 2800 | 128 |
| 960×540 | 1400 | 128 |
| 640×360 | 800 | 96 |
You’d run a separate FFmpeg command for each rung of this ladder, adjusting the resolution and bitrate settings for each one. This set of files, bundled with a manifest, is what gives the player the power to deliver the best possible experience to every user.
Balancing Speed and Quality with Presets
Let’s be honest: software encoding can be slow. To manage this, FFmpeg’s libx264 and libx265 encoders come with built-in presets that let you decide on the trade-off between encoding speed and compression efficiency. These presets range from ultrafast all the way to veryslow.
ultrafast,superfast,veryfast: These prioritize speed, but you’ll get larger files as a result.medium: This is the default setting and usually offers a great balance.slow,slower,veryslow: These squeeze every last bit of quality out of the file size, but at the cost of much longer encoding times.
For instance, using the slow preset tells the encoder to work harder and use more advanced algorithms to find better ways to compress the video:
ffmpeg -i input.mov -c:v libx264 -crf 23 -preset slow output.mp4
Choosing the right preset is a strategic decision. For a VOD library, running encodes overnight with the slow or veryslow preset can save you a bundle on storage and bandwidth costs down the line. But if you just need a quick preview, fast will get the job done in a fraction of the time. Once you master these commands, you have direct control over the final product.
Got Questions About Codecs? We’ve Got Answers.
As you start working with video codecs, you’ll inevitably run into some specific, practical questions. Let’s tackle a few of the most common ones that come up for developers and creators.
Why Do I Have to Pay to Use Some Codecs?
It all comes down to patents. The most efficient and widely used codecs, like H.264 and H.265 (HEVC), are built on a mountain of patented technologies owned by dozens of different companies. These companies band together into “patent pools” to collect royalties from anyone using their intellectual property.
This is precisely why royalty-free options like AV1 have gained so much traction. It was created by a consortium of tech giants (including Google, Apple, and Netflix) to provide a powerful, open-source alternative that sidesteps those complex and expensive licensing headaches.
Can a Codec Really Affect Streaming Latency?
Absolutely. Your choice of codec has a very real impact on latency, especially when it comes to live streaming. A more advanced codec like AV1 demands more computational muscle to encode, which can add precious milliseconds of delay right at the start of your stream.
On the flip side, a more efficient codec can actually lower latency for the viewer. How? By creating a smaller, more compact stream that’s less likely to stutter or buffer over a shaky network connection.
For extreme low-latency use cases like cloud gaming or remote surgery, some engineers even create custom codecs. They might strip out features like motion prediction entirely, sacrificing some compression to achieve the absolute fastest encode and decode times possible—often an order of magnitude faster than standard hardware encoders.
What’s the Deal with Intra-Only Codecs?
Think of an intra-only codec as one that only uses I-frames (keyframes). In simple terms, it compresses every single frame as a standalone, high-quality image, almost like a sequence of JPEGs. It never references past or future frames to save space.
This approach leads to much larger files compared to codecs that use P- and B-frames, but it brings two huge advantages to the table:
- Blazing Speed: The encoding and decoding process is incredibly simple and fast.
- Rock-Solid Stability: If one frame gets corrupted or lost in transit, it doesn’t impact any of the surrounding frames.
You’ll find this technique used all the time in professional video editing workflows with codecs like Apple ProRes and in specialized streaming applications where pristine quality and reliability are more important than bandwidth savings.
Ready to build your own streaming application without the infrastructure headache? LiveAPI provides developers with robust, scalable APIs for live and on-demand video, complete with powerful transcoding, adaptive bitrate streaming, and global delivery. Start building with LiveAPI today.